I can't even begin to tell you how amazing it feels to type the words "Vestibule Project Status: Complete." This statement has been quite a long time coming! As many of you know, the reconfiguration of the smallest room in our house was a labor intensive effort that stretched on from October 2010 to February 2012. A truly ridiculous timeline for a room that is roughly 3' x 3', but we got 'er done.
For those of you new to our site, and for the readers who have blocked this long and drawn out project from their memory, to quickly recap: when our first dog Oliver was diagnosed with cancer in April 2010, we knew the time left with him was limited and precious. And since he was a first-floor only pup (his short legs made navigating our stairs a difficult venture), we wanted to stop our upstairs projects to be closer to him. (More on that here.) After six months of a total renovation freeze, we got a little of our DIY mojo back and started working on our vestibule. Here's our little buddy, checking on the early progress of the project.
The overall goal of the project was rather simple...restoration. At one point in our home's history, an owner decided to reconfigure the vestibule so that the main front door was flush with the front of the house.
What this left us with was an awkward entry and front door configuration that was barely functional. When the front door swung in, anyone trying to enter our home was left with a tight squeeze as the door didn't fully open beyond the second door opening. It was a nightmare.
Alex and I knew from the beginning that at some point we wanted to restore original function and move the front door back to its original location, inside the vestibule, and add French doors to the front of our home. From our basic inspection work we were able to determine this was surely the configuration when our house was built around or just after 1885.
So despite its modest size of only 3' x 3', this project encompassed many aspects of DIY renovation and restoration including:
Whew! If you haven't already picked up on it, we at Old Town Home are guided by a mantra of "anything worth doing is worth doing right." We don't like to cut corners, and some may say that we go a bit overkill on any given project. (My husband, in particular, is guilty of this overkill mentality.) But hey, that's what makes us who we are. And for that matter, will soon make our renovation stretch into its second decade.
The one last final detail we had to tackle to officially call this project done was to apply a coat of primer and two coats of shiny black paint to the inside of the French doors. So we took advantage of the nice weather over the three day Presidents' day weekend to do just that.
Because we were using 1Shot Lettering Enamel (a very high gloss oil paint), the doors had to be painted while laying flat, otherwise the paint would sag as it dried. So Alex took down the doors and relocated them to our super high tech and sophisticated paint area. Our paint area is so sophisticated that there are cracks in the ceiling that allow plaster sand to fall onto our work area, thus requiring Alex to apply tape and grocery bags over the cracks to keep sand out of our work. How awesome is that?
Next up, we removed the door hardware with the exception of the hinges.
We kicked off the painting with a coat of the Chromatic Primer, which needed a minimum of 12 hours of drying time. It's a special primer that was required for the lettering enamel, and the same one we used for the front of the doors.
The next morning Alex got to work on the first coat of black paint. Another 24 hours of drying time elapsed and the next day he applied the final coat. We gave it a good 36 hours of drying time before reattaching the hardware and reinstalling the French doors in their new, final home.
For the observent readers, yes, Alex is wearing the same painting outfit, and apparently wears those same clothes often. Perhaps we need to go on a "working on the house clothes" shopping trip.
Ok, back to our paint progress. Why black you might ask? I actually went a little against the grain and chose black for several reasons.
- To pick up on the black in the floor tile, the black threshold, and the black cast iron stairs at the front of our home.
- Consistency of color. With these two small doors, that on occasion will remain open, I didn't want the choppy look of one color on one side, and one color on the other. This would be visible not only when they're open, but also through the panes of glass.
- Black is a grounding color. With all of the white wainscoting and trim in the space, not to mention the intense amount of natural light and the turquoise door, I thought the room could handle a little black.
Am I worried it will make the space feel too small? No, not at all actually. With sight lines passing through the panes of glass to the street, not to mention the space is merely a "pass through" and not a room you spend time in, so I don't worry that the room will feel weighted down by the black.
And here's a look at the final end result as seen from the inside of the house. Personally, I really love it.
Here's a quick look back at some of the highlights of the project:
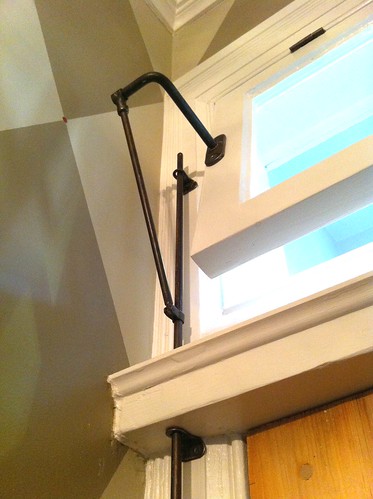
And we were able to add function my making the inner transom operable with some salvaged hardware found on eBay.
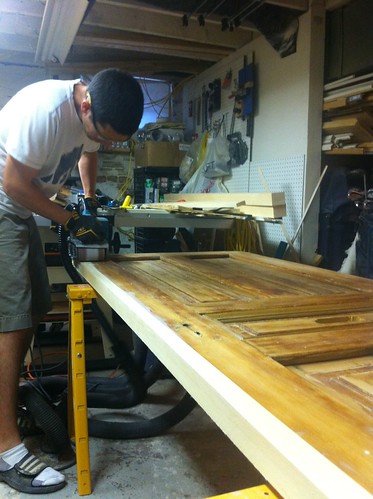
We put in a lot of time and effort to widen the door ever so slightly. Note to self, if we ever do this again, buy a door that's larger than the opening, not smaller.
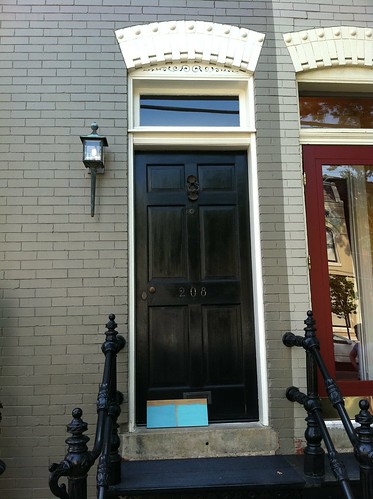
We bid a fond farewell to our old door while selecting the new colors.
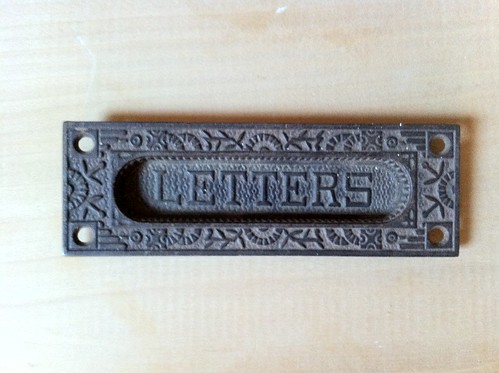
And after much debate and a few problems, we settled on our an antique letter slot hardware.
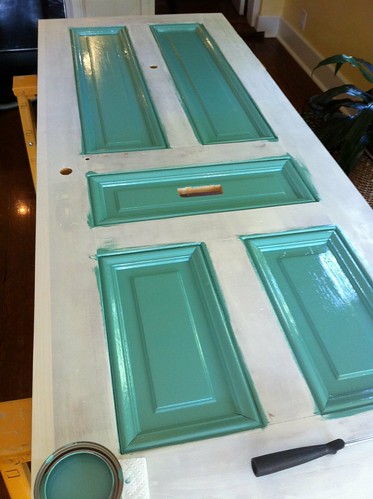
The paint process was a long one with a lot of cure time.
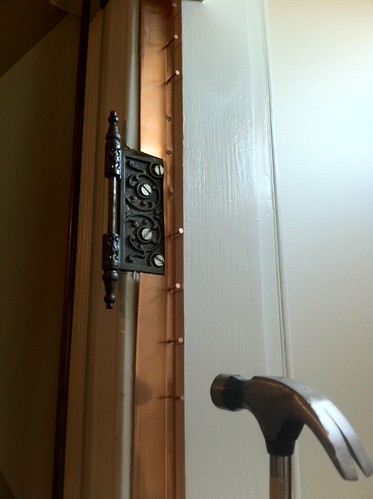
And we fancified a bit with classic weather stripping through the use of spring bronze.
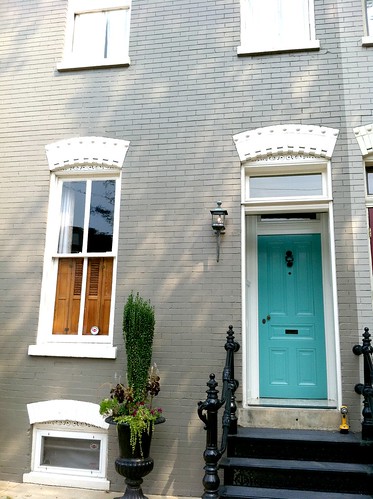
After months of work, we were finally able to enjoy our new door and door color!
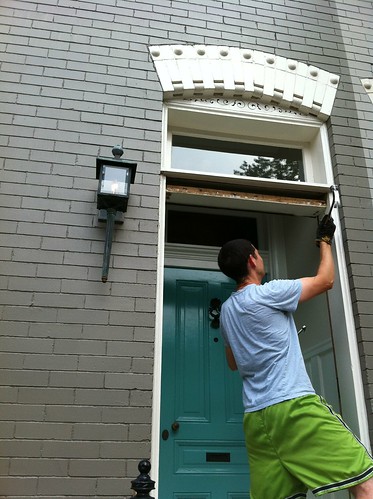
We removed some items that had been installed over the years to bring the opening back to it's original size.
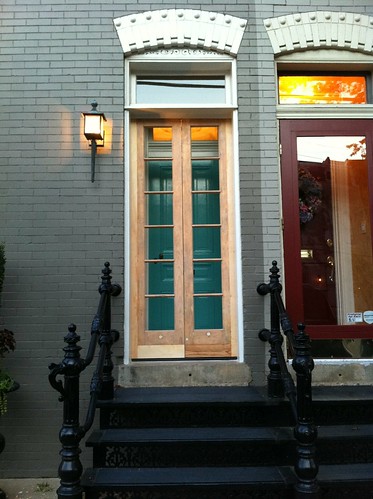
And test fit our new French doors, once...twice...well more like hundreds of times.
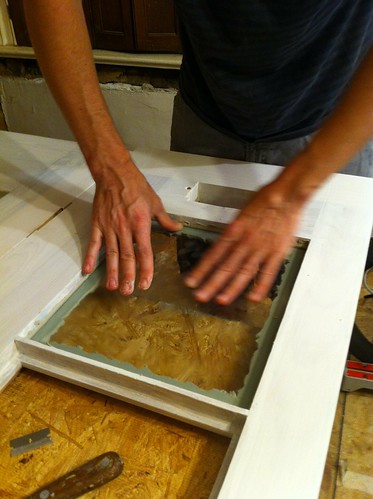
Alex spent many hours on the window glazing process.
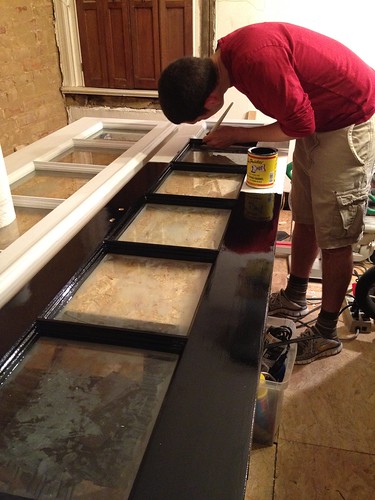
And after extensive research, he found a super high gloss enamel to make our shiny doors a reality.
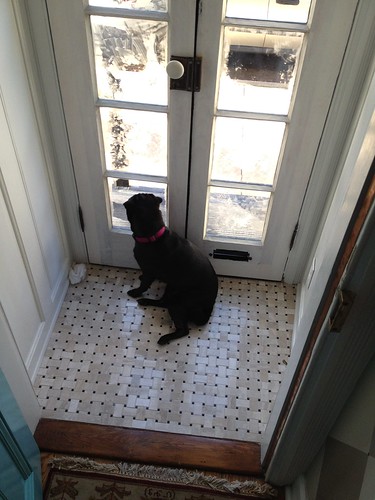
Since she waited so patiently, Lulu got her first taste of the new view.
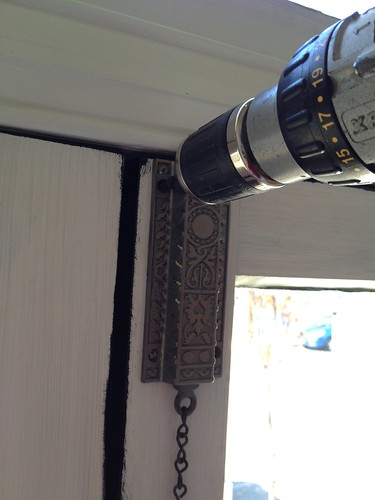
And we found the perfect antique slide bolt for the doors. We also figured out one had been in nearly the same spot at some point many years ago. It made us feel like we were really doing it right.
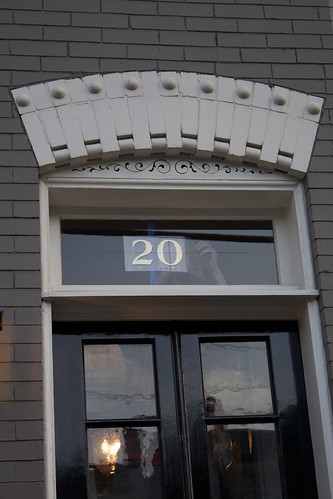
We chose a classic style for our new transom numbers.
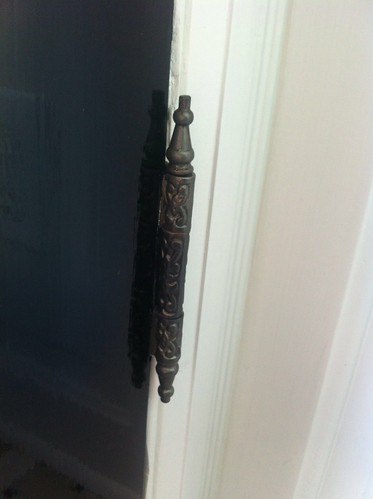
And we used these same decorative cast iron steeple tipped hinges on the new doors that we used throughout the rest of the first floor. It's been a hunt to find all matching items, but well worth it.
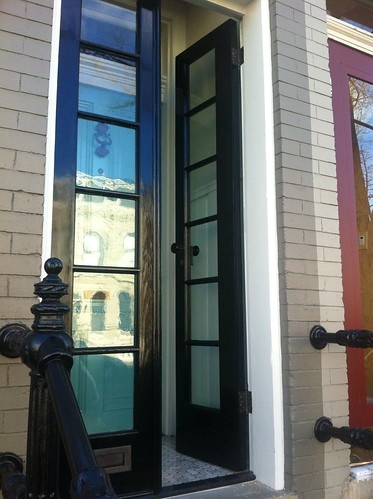
We will be able to open the outer doors and the inner transom for a nice breeze.
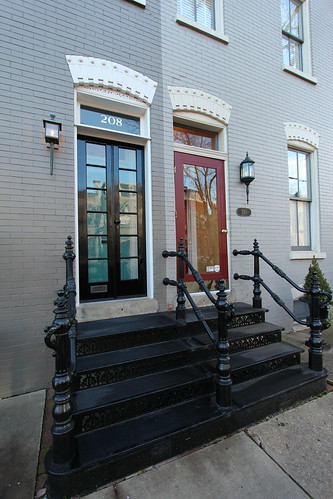
And now we have an end result to be proud of. It's amazing how far our house and our neighbor's house have come.
Not only did we start this project to spend more time closer to our dog Oliver, but we dreamed of how he could enjoy the space, including gazing out through the French doors at squirrels high in the trees or at hot lady dogs walking down the street. Despite our best efforts, Ollie lost his battle to cancer a mere two weeks after we began work on the vestibule.
For this reason, we dedicate the vestibule project to our snaggle toothed companion and take comfort knowing that our current crew members, Lulu and Mel, will love and appreciate the space as much as he would have.
What are your thoughts on our end result? Is it all it should be after nearly a year and a half of effort? Perhaps we're just crazy and should have left it as it was? I don't know if I would agree to wait another year and a half to do it again, but I sure love the finished product.
As seen on...

![]()
![]()