We're all likely familiar with the tried and true DIY trend of upcycling, but have you heard about downcycling?
How many times have we seen someone using pallet wood for their feature wall or coffee table? The idea is simple, but the statement in decor is impactful. You take something distressed and often seen as a castoff, typically used for shipping who knows what from some factory to a warehouse, and you rip it apart, sand it, scrape it, and eventually proudly display your creation in your home.
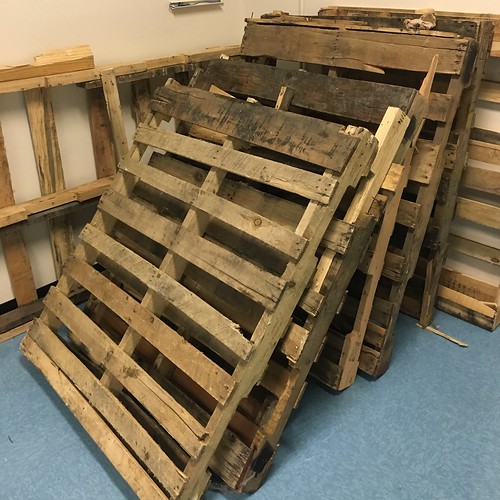
But now that we've seen the boom of practically free wood, we're faced with a DIY crisis. Yes, it's true, our love of all things character laden and weathered has led to the great pallet shortage of 2016. As a result, we're doing our part and joining in on the "downcycling" trend.
Following this new craze, what starts as this...
...when we're done, it ends up looking like this.
Pretty cool, right? Are you ready for the step by step instructions? Okay.
Step 1, check the date. Ah yes, it's April 1, and this was our attempt at a little foolishness.
What have we really been up to lately? Well, starting a whole lot of stuff without actually finishing anything. Unfortunately that's no joke. We're very close on having the downstairs bathroom project wrapped up and can't wait to share the final look, but that's still a weekend away. But what else is new? When it comes to April Fool's Day, I'd say we're often the fools in this respect. However, there's one project that's in progress I'd love to share with you today.
Our house's beautiful original staircase is one of the things that really sold us on the house. The chunky original newel post, heavy molding, and classic look sang out to us when we were looking.
We had great plans for the space below the stairs, but these plans had to change when we had our HVAC duct work installed. The air return needed to be nestled under the stairs.
Faced with a need for a design change, we had a few options. We could just put up some studs and drywall and call it a day, or we could build something with lots of trim and molding that extends the look of the molding and beadboard already on the stairs and looks like it's always been there. If you were a guessing person, which approach would do you think we'd take?
We started the process by building the wall we'll need regardless of our approach. A simple stud wall with a gap below the air return I can use for access to the crawl space.
But once that stud wall was in place, we were able to start on the design aspect that will make this look like it really belongs in the house. Specifically, creating a built-in bench we'll use for outside cushion storage.
Our goal here is to add a little interest under the stairs, and some storage too. We framed out an area that will act as our bench and if you squint really hard, you might be able to see the look we're going for.
One of the things that will really help this whole project is the fact that we have a large collection of salvaged beadboard in the attic of the house. It looks to have come out of one of the rooms in the house at some point, and it's just piled up in the attic storage area. We started to pull a few pieces out to see what we had to work with, and it looks like we'll have plenty of good pieces for the whole project.
Using a mixture of salvaged wood, new molding cut to match the old, and plain old stock pine or popular, it's my hope that this bench will be functional and will look like it belongs. We'll also be looking to use an old cast iron register cover for the air intake, and are thinking about possibly putting a small light in the area to add some additional interest.
We'll have lots more on this project in the coming weeks as we're able to knock more of it out. We're really excited about this, and the hallway and staircase project as a whole. We have our work cut out for us for sure, but we're hopeful this center hall staircase will really become a highlight of our home.