Okay, so I may be exaggerating a little, but it wasn't pretty. The first time we tried to install two part crown was in our living room project, and it was ugly. I'm talking ugly on both the initial work on the install, and our frustrated communication with each other.
At one point in the process Wendy got so frustrated with me (which was likely well deserved as I had gotten very frustrated with the crown moulding) that she had to walk away and cool off, lest she end up maiming me with my own nail gun. The problem was that she chose to walk away to take a walk around the yard (and out of ear shot) without realizing I was standing on a ladder and holding the crown in place above my head...with one end already nailed...and my nail gun out of reach. I ended up holding that piece in place for nearly 20 minutes until Wendy returned. Upon her return, I politely asked her to hand me my nail gun before my arms fell asleep.
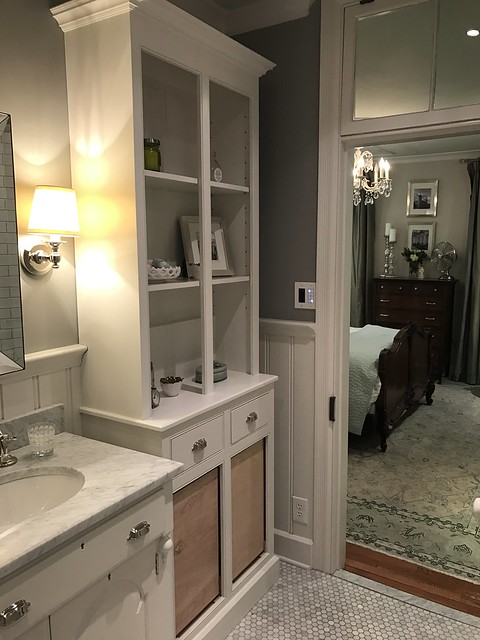
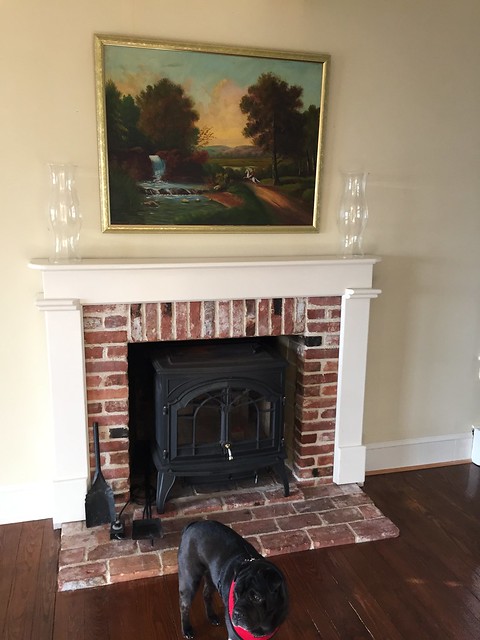
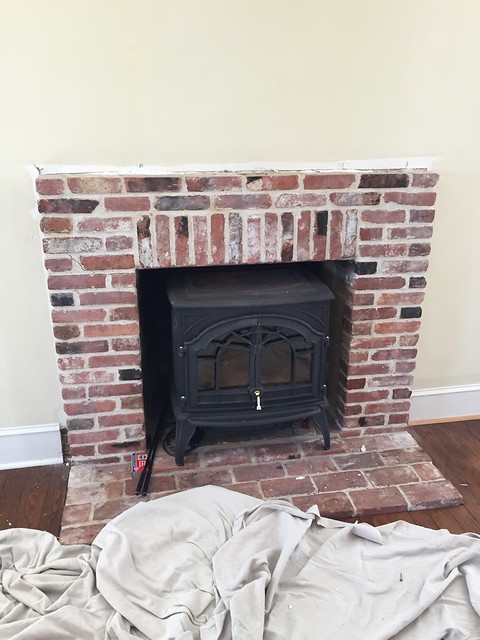
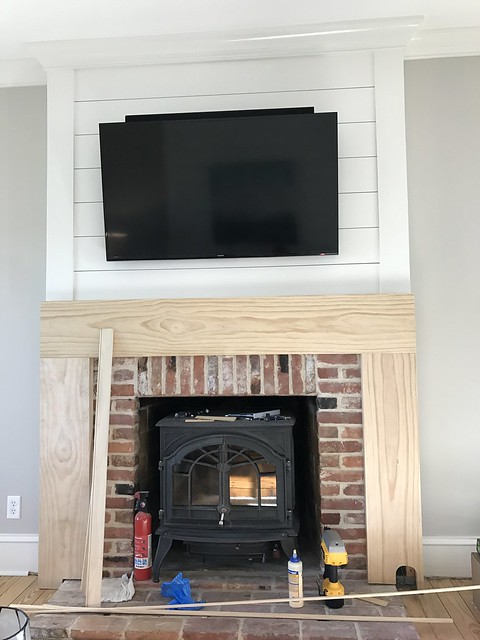
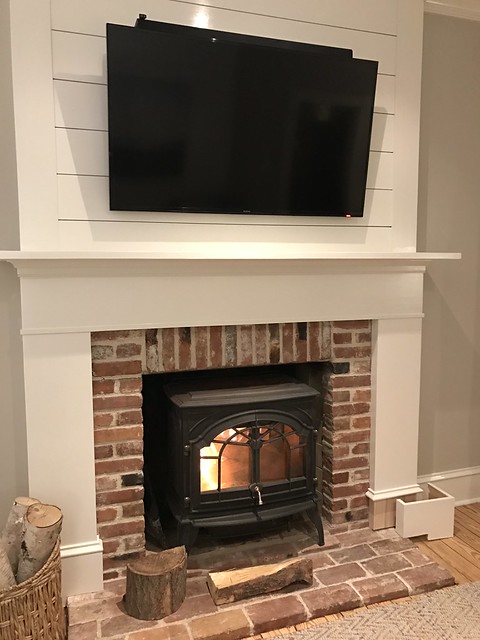
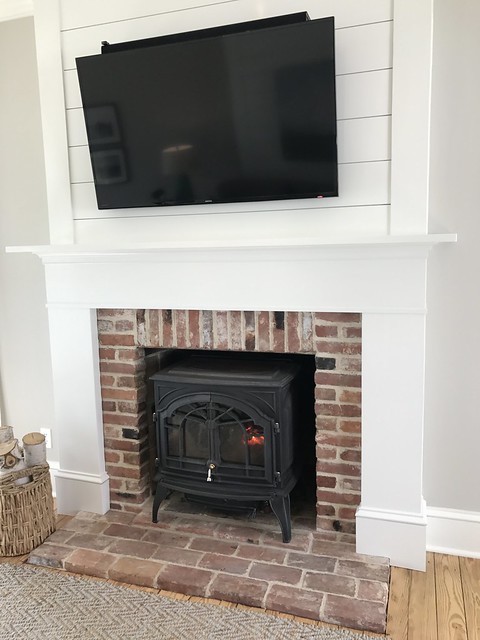
Though we really love how the crown turned out in the living room, the strife it caused during the process had us a little gun shy when it came to doing the same in our dining room project. Two part crown helps mask wavy plaster walls, and provides a great nailing backer for crown when studs aren't predictable or available, but the difficulty of install when your ceiling and walls are not consistent (because you live in an old house), certainly makes it tricky. But alas, we want to be cohesive on the first floor, so two part crown it is!

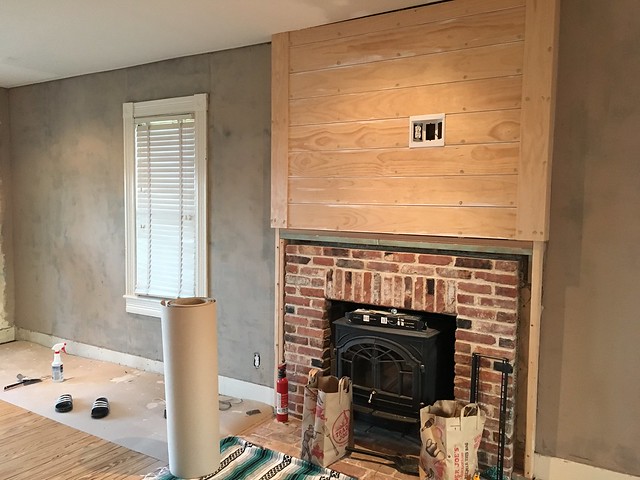
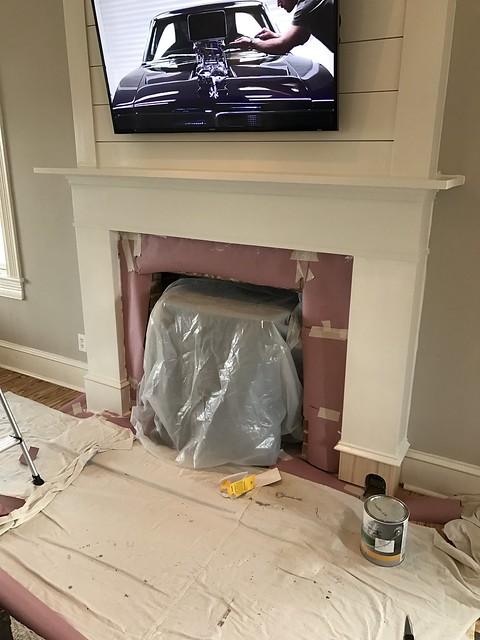
One thing is for sure, our dining room project is humming right along! We last gave you an update on our Master of Plaster base coat. The next time we were back at the house we followed the base coat up with a quick finish coat of plaster to complete the room. The finish coat goes on smooth and easy, and is very thin. The best part is that you can work really fast with the finish coat, so the whole room only took a few hours.
more]]>Okay, so I may be exaggerating a little, but it wasn't pretty. The first time we tried to install two part crown was in our living room project, and it was ugly. I'm talking ugly on both the initial work on the install, and our frustrated communication with each other.
At one point in the process Wendy got so frustrated with me (which was likely well deserved as I had gotten very frustrated with the crown moulding) that she had to walk away and cool off, lest she end up maiming me with my own nail gun. The problem was that she chose to walk away to take a walk around the yard (and out of ear shot) without realizing I was standing on a ladder and holding the crown in place above my head...with one end already nailed...and my nail gun out of reach. I ended up holding that piece in place for nearly 20 minutes until Wendy returned. Upon her return, I politely asked her to hand me my nail gun before my arms fell asleep.
Though we really love how the crown turned out in the living room, the strife it caused during the process had us a little gun shy when it came to doing the same in our dining room project. Two part crown helps mask wavy plaster walls, and provides a great nailing backer for crown when studs aren't predictable or available, but the difficulty of install when your ceiling and walls are not consistent (because you live in an old house), certainly makes it tricky. But alas, we want to be cohesive on the first floor, so two part crown it is!
One thing is for sure, our dining room project is humming right along! We last gave you an update on our Master of Plaster base coat. The next time we were back at the house we followed the base coat up with a quick finish coat of plaster to complete the room. The finish coat goes on smooth and easy, and is very thin. The best part is that you can work really fast with the finish coat, so the whole room only took a few hours.
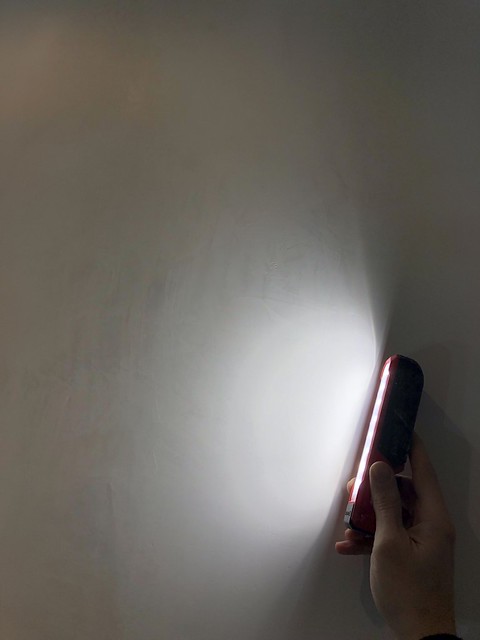
Applying some light at a very harsh angle showed us just how smooth and great the wall was looking.
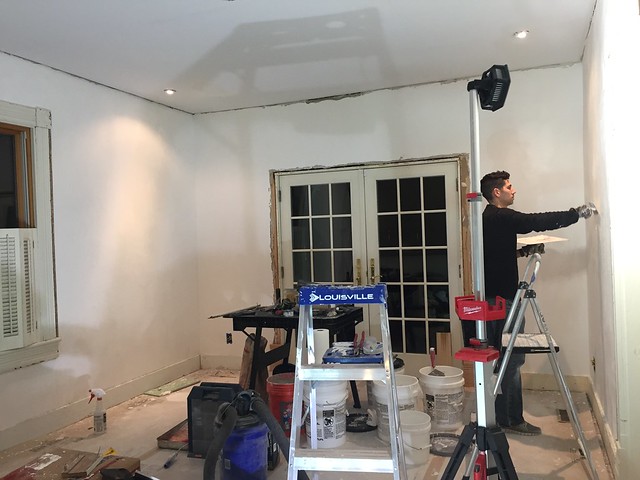
After giving enough time to fully cure, Wendy and I moved into the daunting phase of hanging crown. We'd hoped for the best but prepared for the worst. We had a pre-game pep talk to remind ourselves to be patient with the other if things went sideways, and tried to come up with a better game plan than the first time around.
Our first attempt at the two part crown had an underlying failure that was based on the simple assumption that the ceiling was level around the room. When we installed three pieces of backer and then tried to put the crown on that backer, and it was all completely off, we were shocked. "Fool me once, shame on you...fool me twice...uhhhh...you ain't gonna fool me again."
Prep Work
This time around we decided to do things a little differently. The first step in our process was to create a few templates or jigs that would help us identify issues *before* nailing pieces of trim in place, rather than after. This would hopefully prevent the need to pull installed pieces off of the wall as we had to do previously.
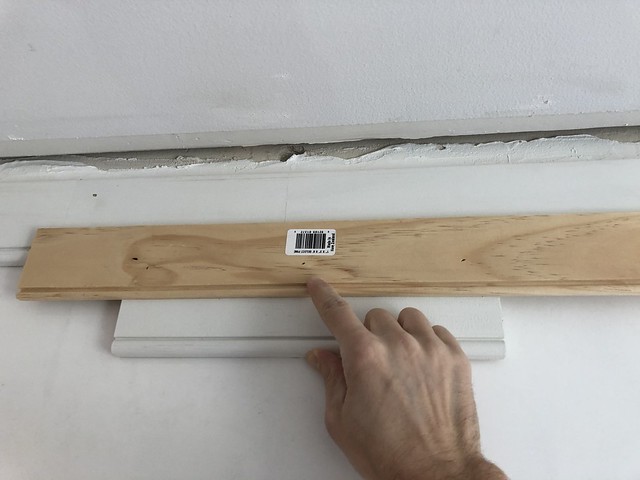
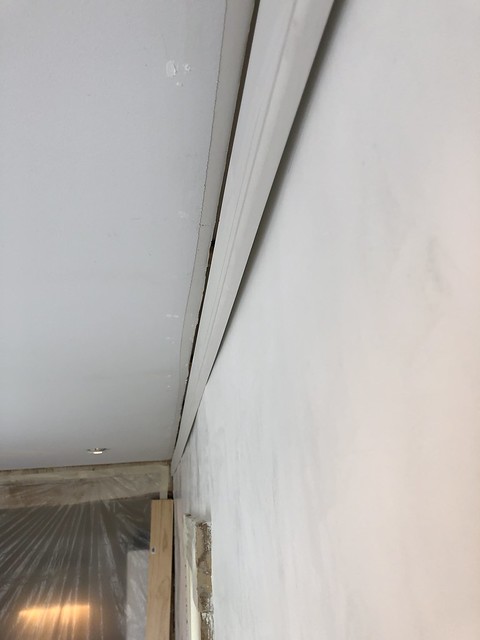
The first template was a representation of the two part crown itself. This would allow me to hold it in place around the room in sections and mark the bottom line on the wall with pencil. The line represents where the bottom of the backer would fall if it more or less followed the ceiling all of the way around the room.
The second template was a reveal representation. Its job was to allow us to set a pencil line on the installed backer that indicates where the bottom of the crown piece should fall on the backer to provide a consistent reveal. This would allow us to force the crown up or down in order to make sure we didn't have an exposer of backer that was either too large or small, even if the ceiling dipped or rolled around the room.
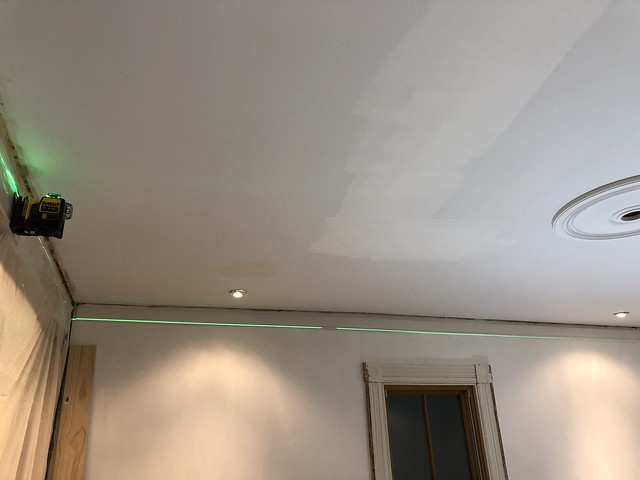
Equipped with the bottom pencil line from the first template, the other critical piece of this install was the use of a laser line that would show us where the bottom of the backer would sit if the room were level, ceiling wasn't wavy, and walls were all square and plumb....HAHAHAHAHA! Good one, right?
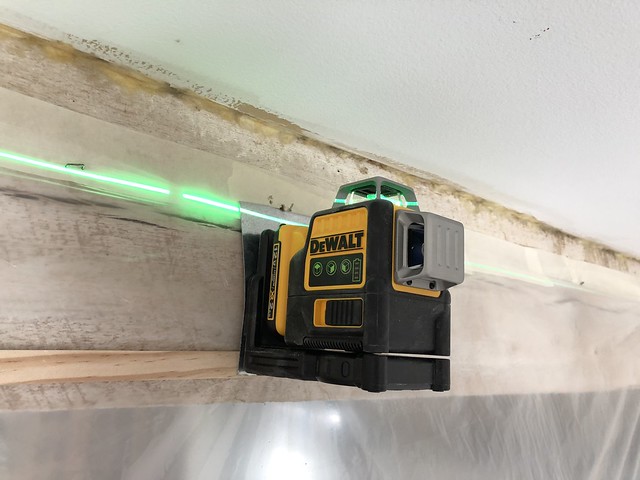
No expensive tripods needed here. I just screwed a piece of metal from some leftover duct to the beam and then used the magnets from the laser level housing to position it where it needed to be.
The laser line ultimately let us see where we needed to fudge the backer up or down in an attempt to split the difference if the ceiling was too out of whack. When it came to installing the backer piece we wanted to hit as close as we could to the pencil line, but the laser allowed us to also make sure we were not making the gap between the ceiling and the line too small or too tall.
Install
Armed with our pencil and laser lines, we got to installing. Our install process for two part crown isn't what I first imagined back before we'd first tried installing it. I assumed we'd install all backer pieces, then we'd install all crown on the backer. The reality of what works best for us is far different.

When doing crown I prefer to work from left to right, in a clockwise motion around the room (if you think of the room as the face of the clock seen from above). This lets me cope my joints in the room on the left, which tends to work best for my preferences and moderate preference to left handedness.
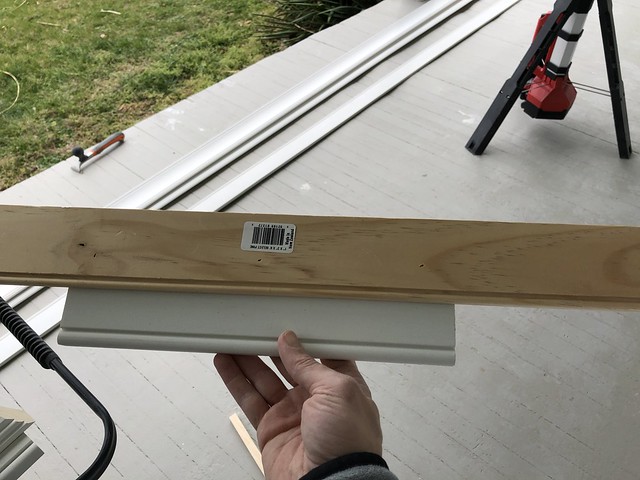
The first step in our process is to install the first length of backer. We're coping all of the joints, so this first piece should be the easiest from a cut perspective since you don't need to worry about any corners. You just cut the two ends flat and to the right length of the room.
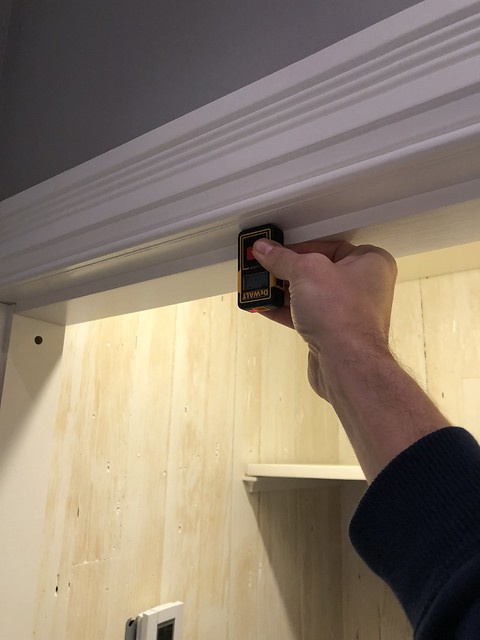
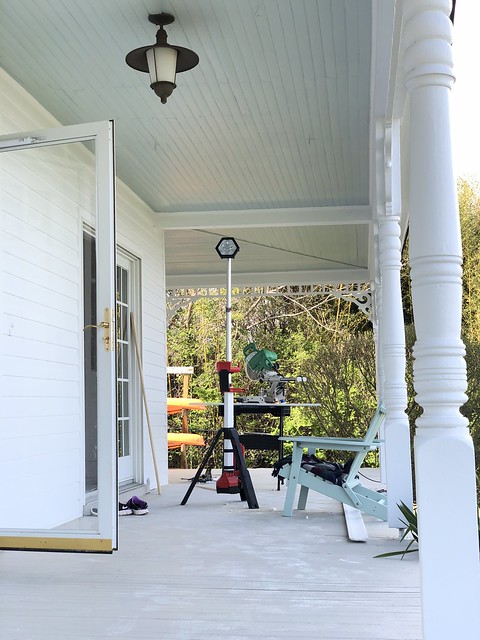
Now here's a key tool improvement this time around. We used a little 30' pocket laser distance measurer to get our cut lengths. The first install we did we tried to use a tape measure. Most of the lengths are more than 12', you need someone standing at either end holding the tape, you need to worry about sag in the middle, stand out, accurate measurements, adding on 3" to your measurement to account for the tape etc. It's a pain! With the laser measurer you get a dead nuts measurement every time and it's clear, quick, and easy. For only about $30, you can't go wrong adding this to your list of tools.
We cut our first backer piece to length and nailed it in place, trying our best to hit the pencil line on the bottom. The backer can flex slightly, so I like to tack it in place with a nail on one end, then move to the other end and tack it there. At that point the whole backer is on the wall, but can be flexed up or down to hit the pencil line.
Before nailing anything else on the backer I use the reveal jig to provide a consistent line where the crown will be installed. Most importantly this shows me where I can nail to be sure the crown will cover the nail hole. This way we can shoot as many nails as needed without worrying about filling those holes since they'll all be covered. We're shooting for roughly 1" of reveal on the bottom of each piece of backer.
When it comes to nailing all of the backer piece in place we were able to flex it slightly up or down to match the pencil line.The flat piece of backer flexes far easier than crown. I used 2-1/2" 16ga nails on the backer and tried to hit studs wherever possible.
After the first backer piece was installed we then moved onto the next backer piece. The idea here is to stay one backer piece ahead of each crown piece. So the order in this room is:
- 1st Backer
- 2nd Backer
- 1st Crown
- 3rd Backer
- 2nd Crown
- 4th Backer
- 3rd Crown
- 4th Crown
This order lets us ensure the crown and backer work well together without getting out too far ahead of the crown, which can lead to the whole thing being out of whack, which results in needing to take down sections to rework, which results in spousal spats and abandonment while holding pieces of moulding above your head. The other important piece is to not fully nail the next piece of backer into place until you finish up the prior crown piece. This lets you test fit the next crown piece before moving forward with nailing. We just tack the two ends of the backer and then move back to installing the crown.
Before installing the first piece of crown on the first piece of backer, you need to accommodate for the fact that a final backer piece will butt up against the first end of the first backer piece. In other words, you can't install the crown from wall to wall or it will get in the way of the last backer piece. (Trust me, I made this mistake the first time and had to cope the last backer piece to the crown profile like a schmo.) To account for the final backer piece I just held a scrap of backer against the first backer piece and gave myself a pencil line not to exceed with the crown.

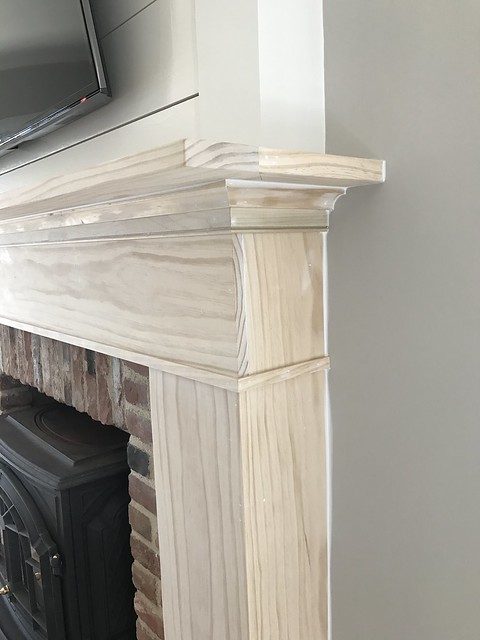
Much like the first piece of backer, the first piece of crown is easiest because there is no need to cope either end. Again, using the laser distance measurer we grabbed our length and cut it flat on the saw. When it came to putting this piece in place we first held it up to be sure it would hit our reveal pencil line nicely, then proceeded with nailing. We used 1-1/2" 18ga nails at the bottom of the crown to nail it into the backer, and 2-1/2" 16ga nails to attach it to the ceiling joists.
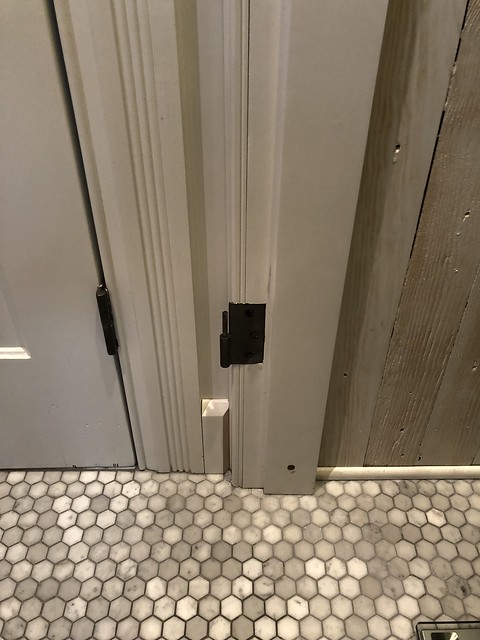
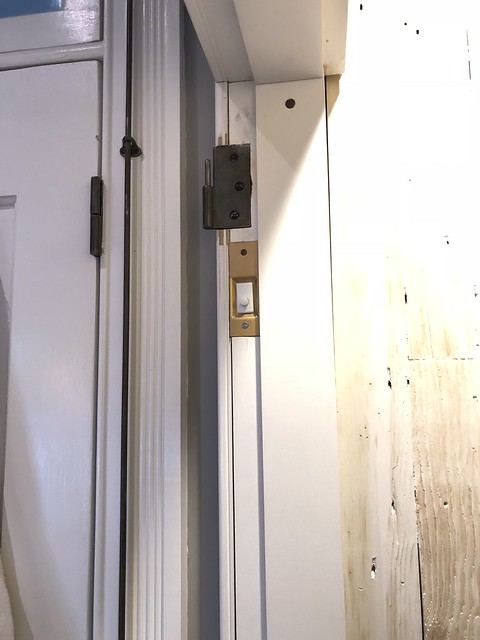
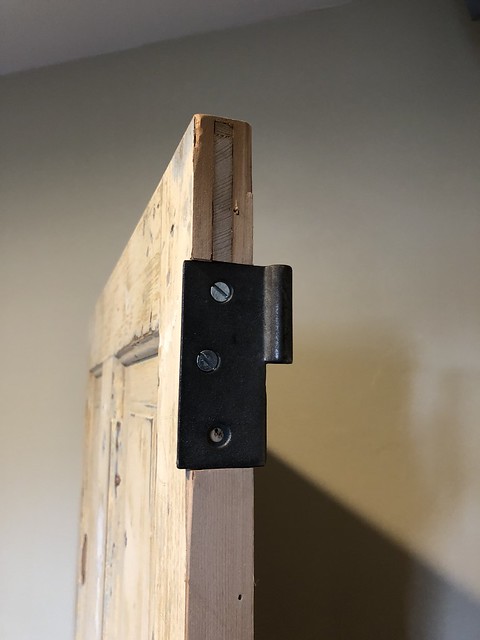
One trick I learned to deal with situations where the crown would nail well above the reveal pencil line was to pull the backer piece away from the wall slightly. Usually, in these situations, this was due to the fact that the plaster wall is a little wavy and the backer was nailed too snug against the wall. This would leave a gap between the crown and the backer, and then you push the crown back to nail it in place, the flex of the crown would force it up, leaving too large of a reveal. Prying the backer away from the wall and then nailing again with some shims behind the backer lets the crown nail with a good reveal, and you can easily fill any gaps created at the bottom of the backer with caulk, which will look far better than filling crown and backer gaps with caulk. Here's an example of just how wonky some old walls can be.
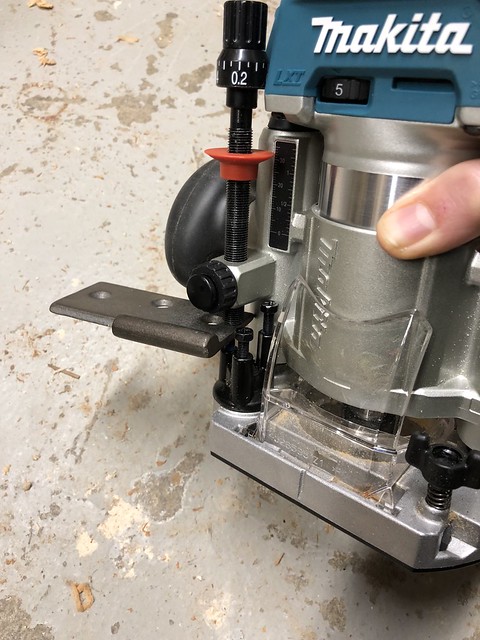
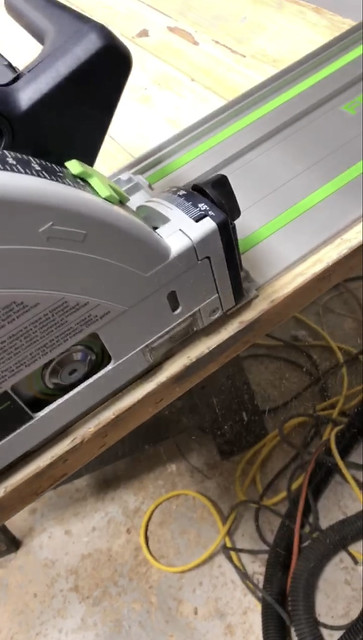
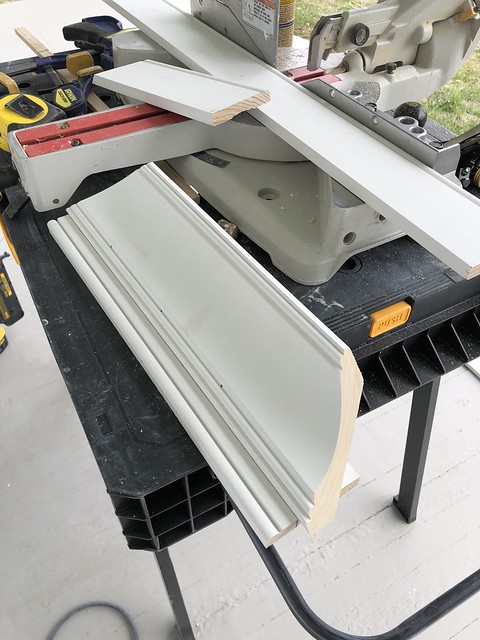
When it comes to coping, we're using a combination of a jigsaw with a special "Coping Foot" installed on its base, a scroll saw, and a set of wood rasps. Coping is not nearly as difficult as I once thought it was, it just takes a little patience. The most important part is to cut the piece you're coping as if you're mitering the joint. The angled cut gives you a good vision into the material you ultimately need to remove when you're cutting away the cope.
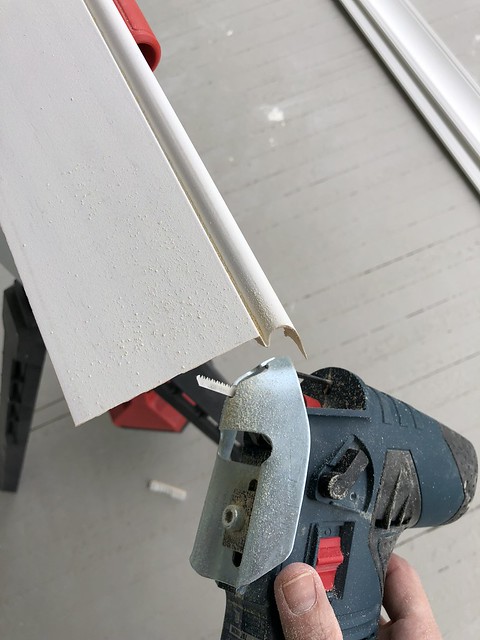
Cutting from the back of the moulding while watching what you're cutting from the top works best for me using the jigsaw. I also leave a little extra on the cut area and clean it up with the rasps to make a clean joint.
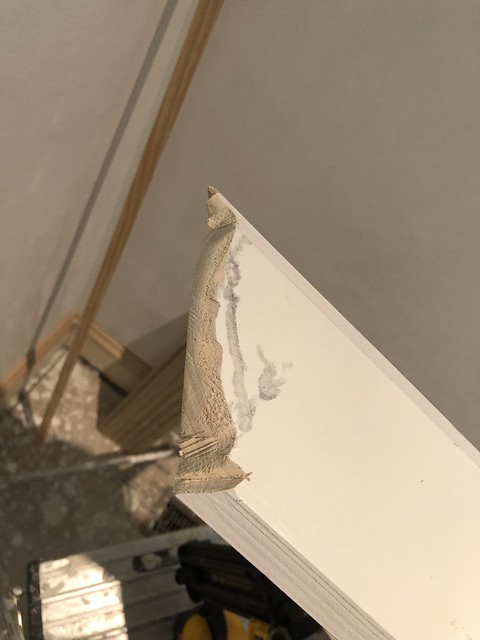
There are some guys out there that can use a rotary sanding disc on an angle grinder to sand away the area of the board that needs to be coped. I haven't this yet but it looks so wonderful and effortless (through tons and tons of practice) that I really want to give it a shot soon. I know it makes a huge mess of dust through, so you need to do it outside and with a good dust mask. But using the jigsaw method I'm left with a small gap that will caulk/paint closed pretty nicely.

With coping in hand and our process defined, we slowly worked our way around the room until we had most of our crown installed. The best news of all, we had somehow used this improved process and our pre-DIY pep talk promoting civility in the face of adversity to overcome our prior finish carpentry demons. I don't believe we had a single disagreement or even moment of contention during this install.

There's nothing like a good timelapse video to make a long process look like it runs much smoother and faster than in reality, so here are our first few hours working on the crown.
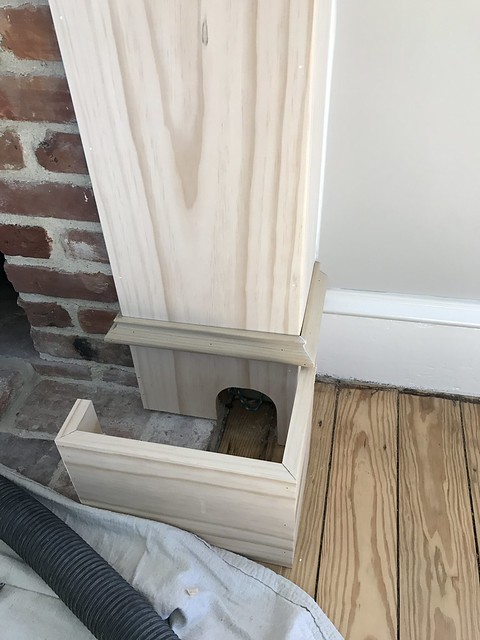
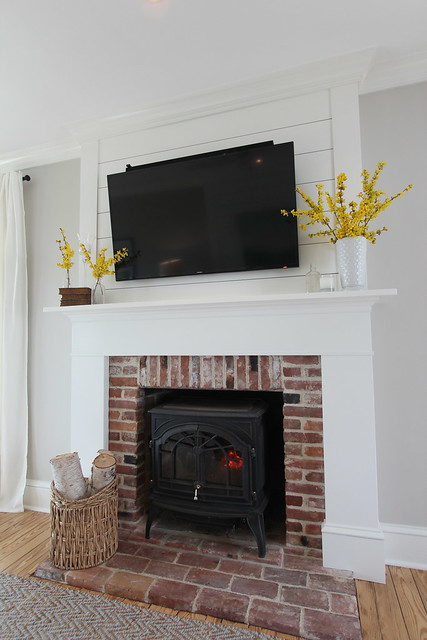
Since we're going to be wrapping the exposed beams in the room, the room does have what amounts to four "walls" for moulding, so we left one end of the room uninstalled. The 4th piece of backer and 3rd and 4th piece of crown will need to wait until the beam wrapping is done, so there's still room for a little squabble or two, but I'd say our results this time around, both from a finish carpentry, and a healthy marriage aspect, are greatly improved.

Wrapping the beam and posts with wood will be difficult as there are a lot of bows and issues to deal with. We're also not going to finish the backs of them yet since what we ultimately do in the kitchen will dictate how we finish that work. But we'll get it to a point where you won't be able to tell the back isn't finished when you're in the dining room.
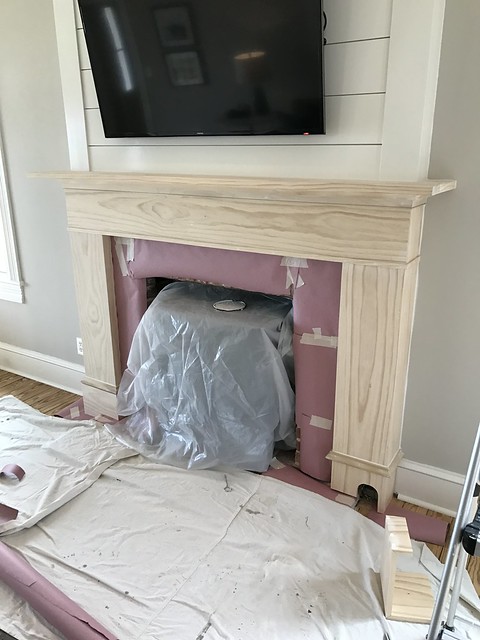
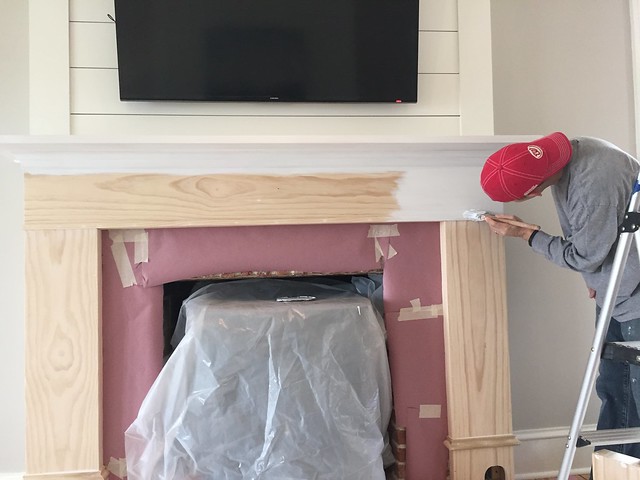
Since we really only get to work on this project one or two days per week, we have a few weeks left before we're 100% complete. At this point it's starting to look really good and like a true room, so that has us both really excited! We're still looking for that perfect antique farmhouse table with just the right amount of rustic patina to look great in the room. We know we could build one from reclaimed lumber, but there's something about sitting around a dinner table that has seen its share of stories that you'll never know that is so romantic that we'll be patient until we find one.
As far as the two part crown goes, now that we've installed it in a second room and have a good system down, it's far less daunting for the rest of the first floor. We're both really happy with how it's looking and the profiles we've chosen work really well with our old home.
]]>