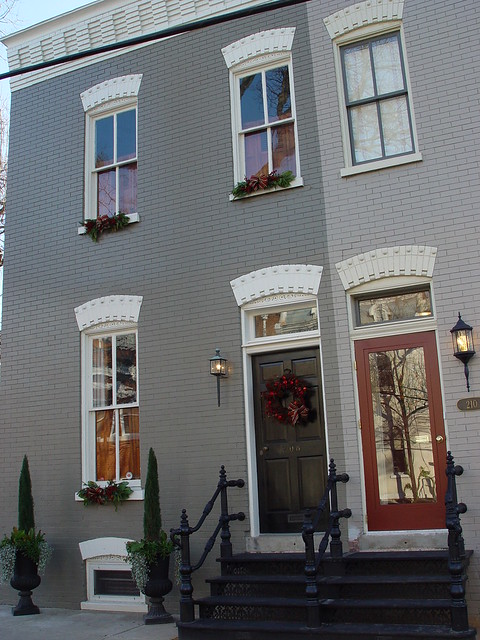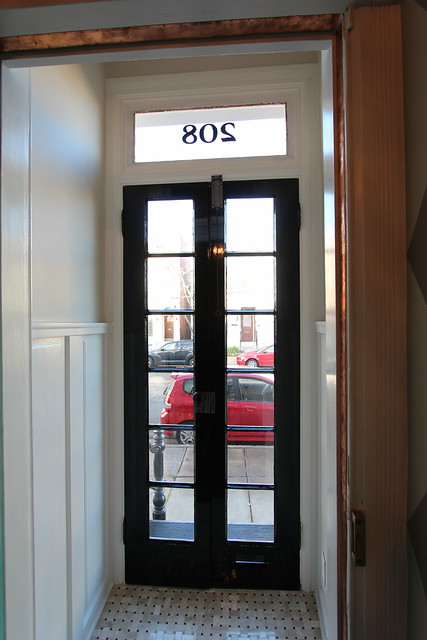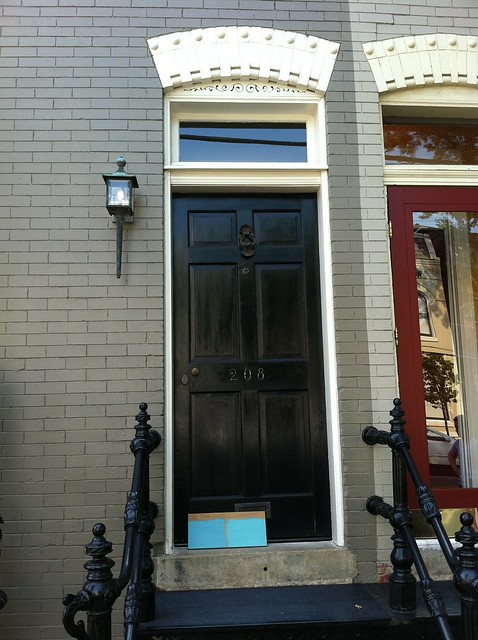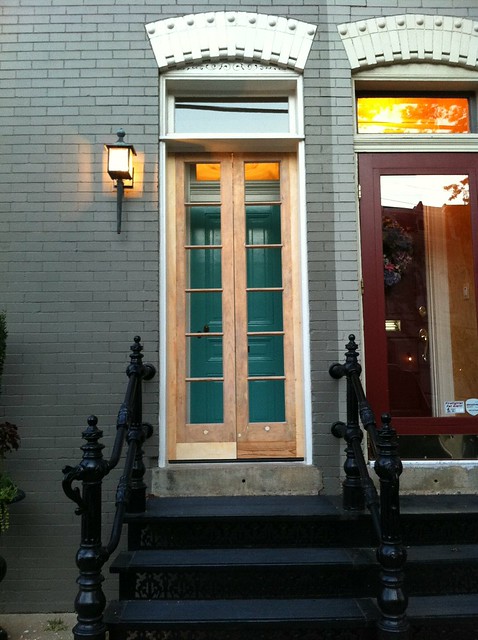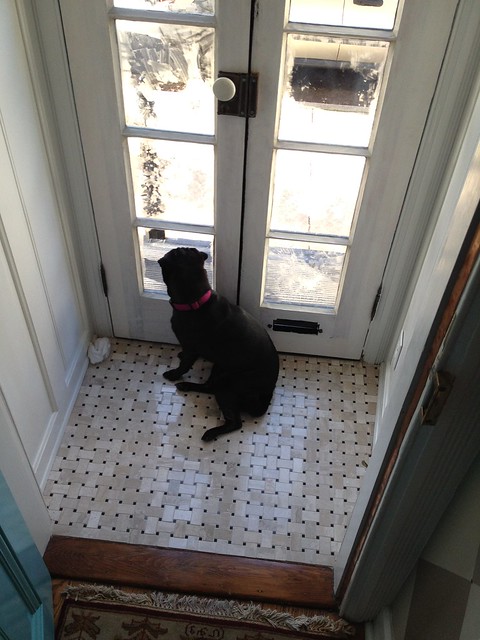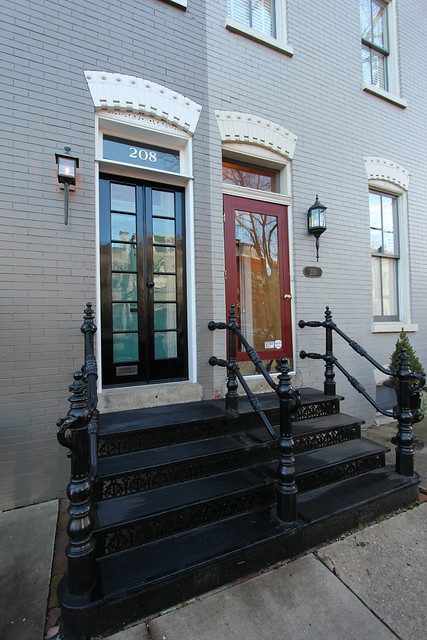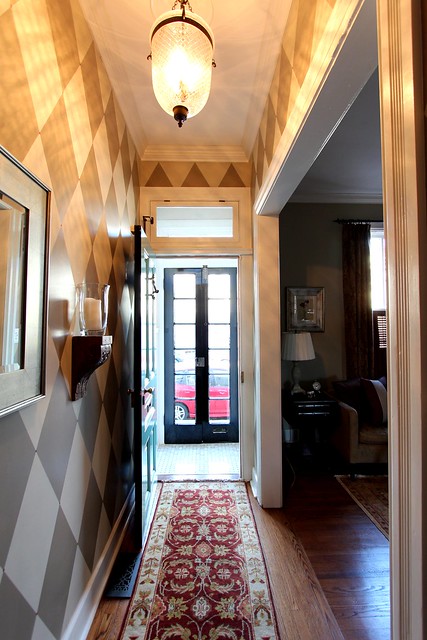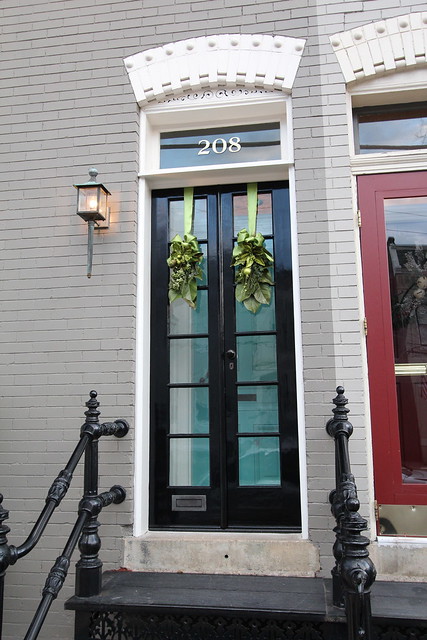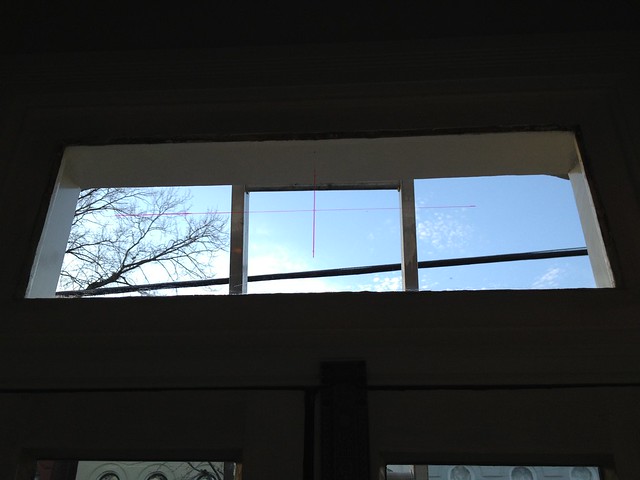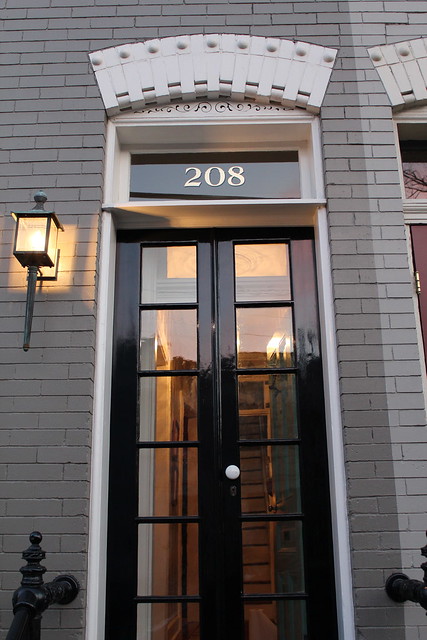
Beyond the depth, we've been able to open various doors and the transom at different times of the year and day to allow greater cross ventilation through the house as well as light into the front room and hallway.

And best of all, Lulu and Mel can sit up there to people/animal watch. It's like their very own TV.
more]]>
Beyond the depth, we've been able to open various doors and the transom at different times of the year and day to allow greater cross ventilation through the house as well as light into the front room and hallway.
And best of all, Lulu and Mel can sit up there to people/animal watch. It's like their very own TV.

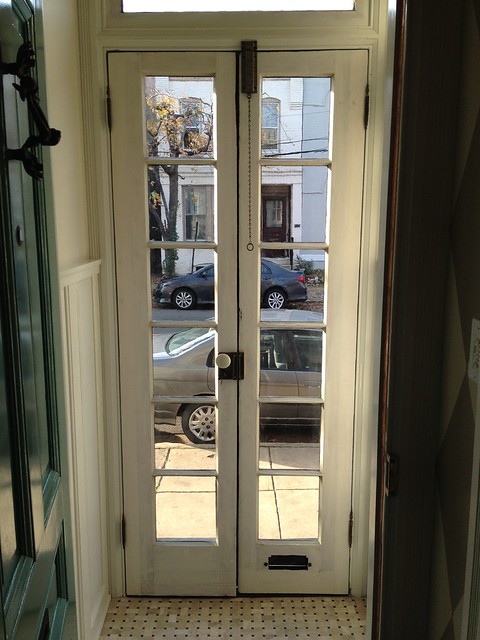
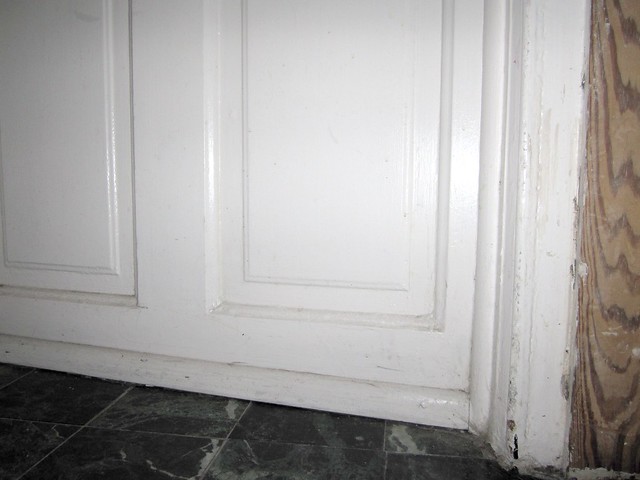
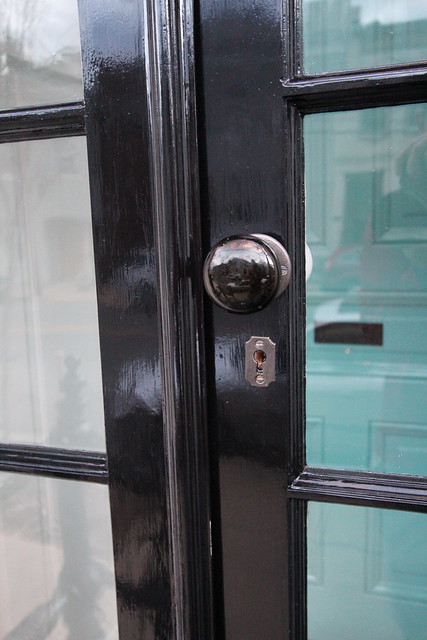
Though it's been great, we've had an issue with keeping the French doors open. This little issue exists because I never installed any door stops to protect the wall, so we've had a few instances of the door being opened too wide and the knob hitting the wainscoting. The other minor nuisance is that the left door likes to stay open, but the right door likes to shut. This is most likely due to the area being slightly out of level, but it's an annoying trait when we want the French doors to remain open to promote the cross ventilation I mentioned.
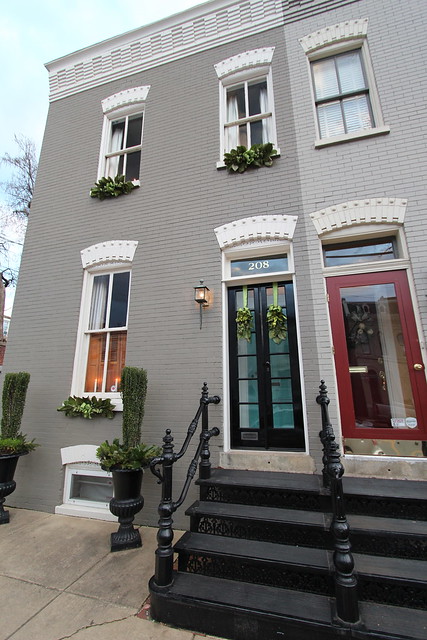
This became a more significant issue that requires a more urgent resolution once we agreed to participate in the Holiday Designer Tour of Homes. Since the guests on the home tour will be entering through the front door, the last thing we want is for some amount of damage to come to the vestibule or French doors because of our own negligence. To remedy this situation we knew we had to act.
I began researching, and quickly decided on a magnetic door stop. This solution would protect the door and wall from colliding, and it would also act as a catch for the doors, holding them in place until we want to close them. In this case, magnets are a simple, yet miracle solution.
When doing my research I found a great option that would work for our needs. It was carried by Renovators Supply and was offered in an array of available finishes. This seemed to be the only style i could find that both concealed all screws once it was installed and was also available in a black finish. I placed the order for two door stops, and they arrived this week.
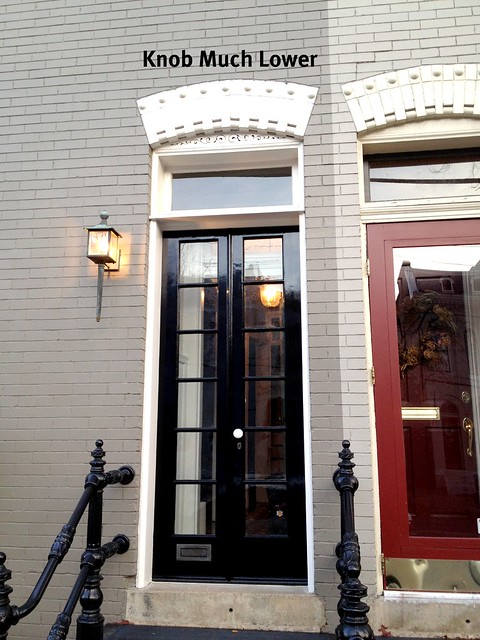
After a bit of debate between which side the stop should go on...
...and which side the catch should go on...
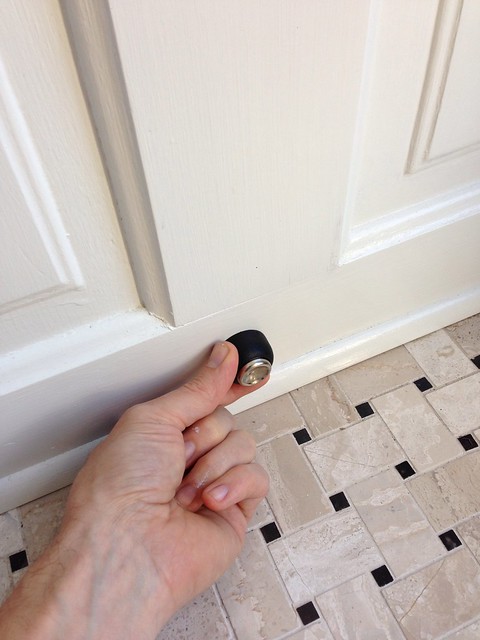
...we opted to mount the catch to the wall to ensure less intrusion into the vestibule when the doors are shut. We would then mount the two stops to the French doors near the middle to allow each door to open the maximum amount. Wendy actually Googled the "correct" placement and found mixed opinions.
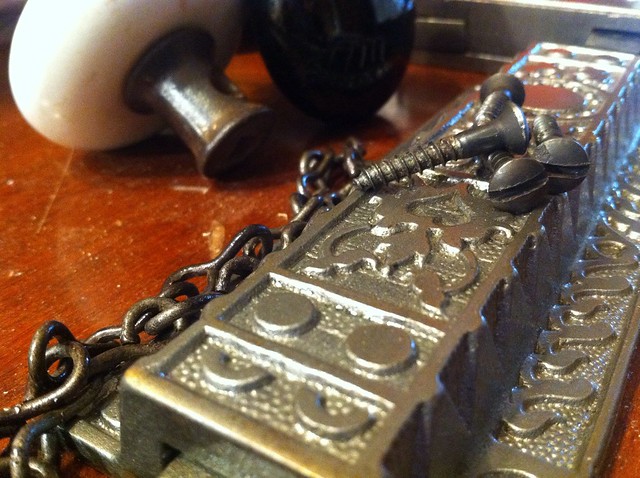
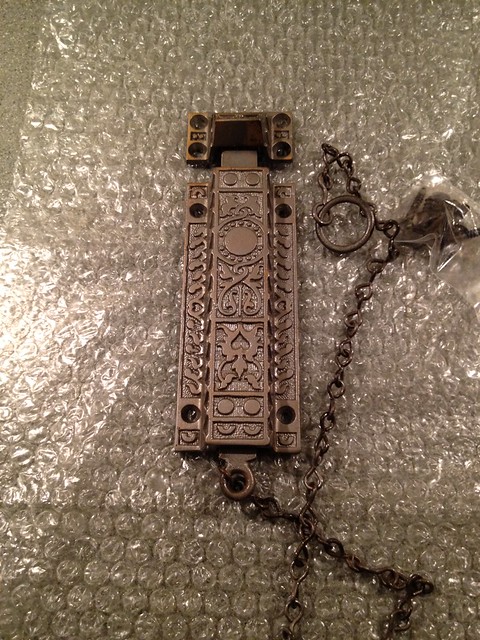
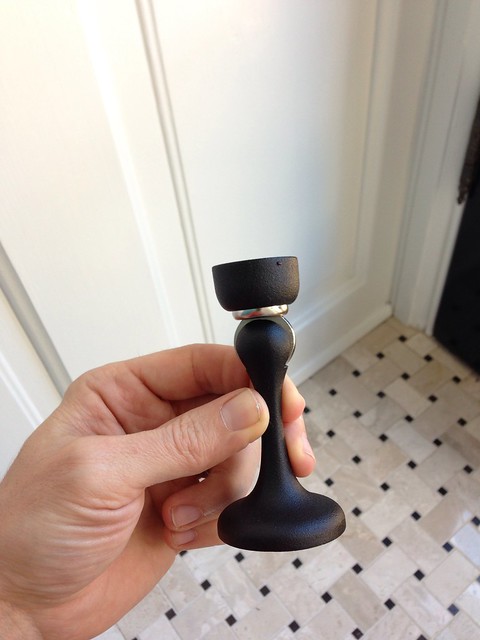
Actual installation was a piece of cake. The assembly consists of the stop piece and a mounting plate with a bolt through it. Here it is completely disassembled.

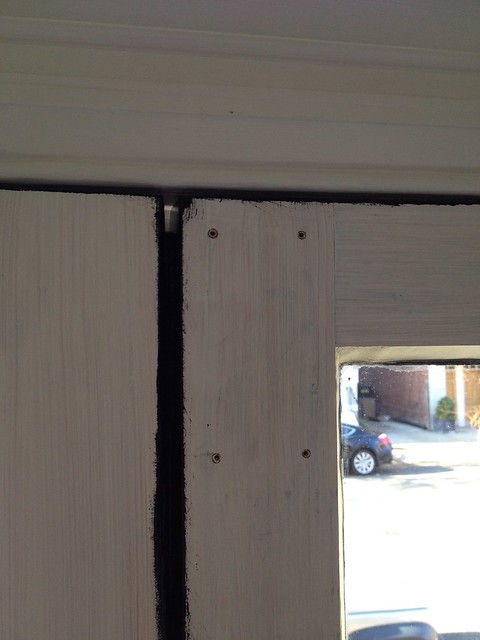
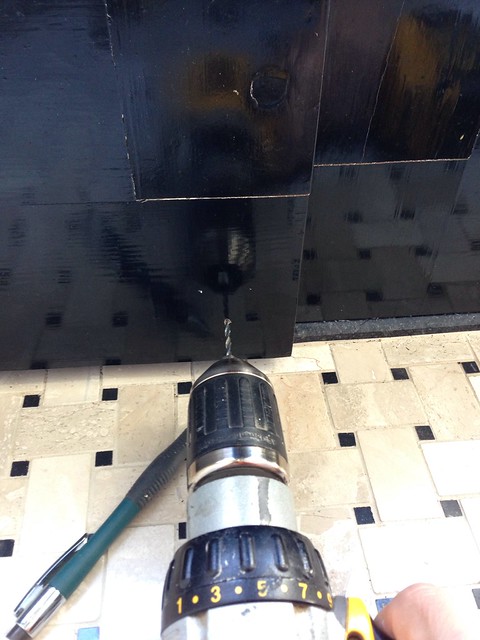
I used the plate to mark the hole locations on the left door...

...then drilled a few pilot holes.
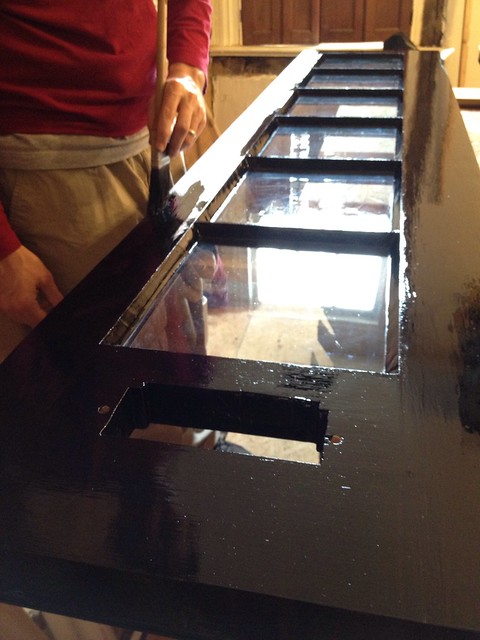
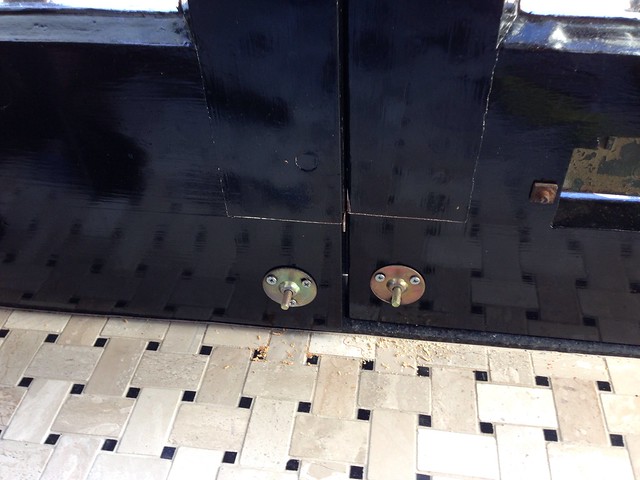
After screwing the first plate to the wall, I measured its location on the door to ensure the second stop would be installed in the same spot on the other door. (You can see where we're in need of another coat of high gloss paint on the doors. So annoying!)
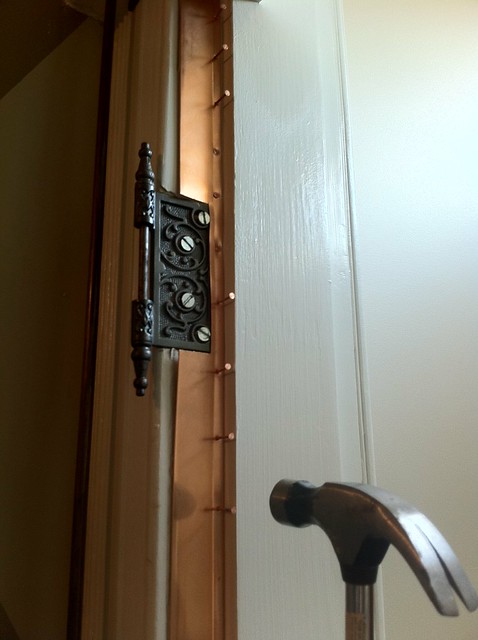
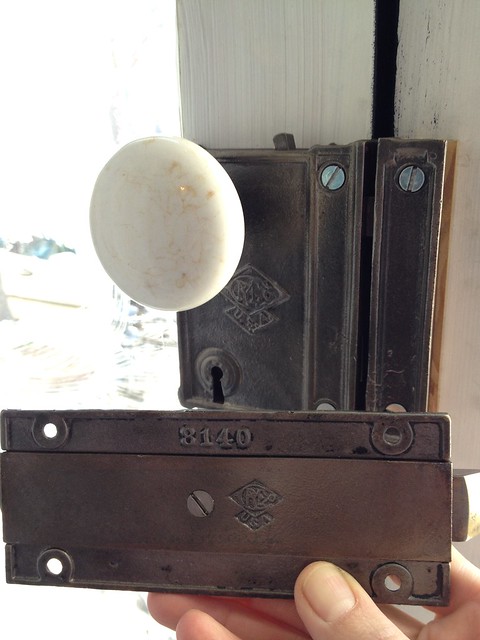
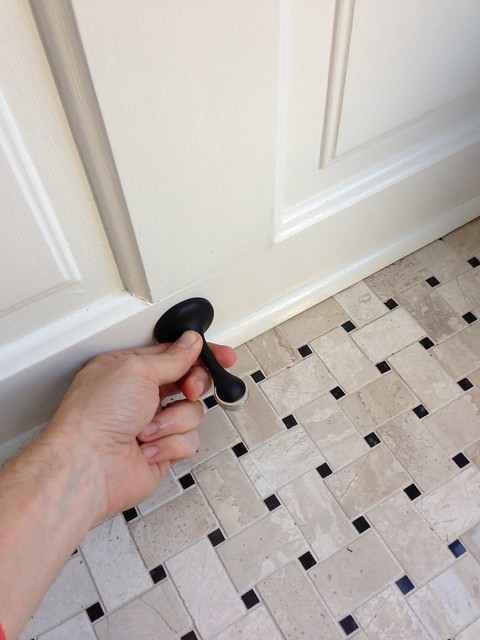
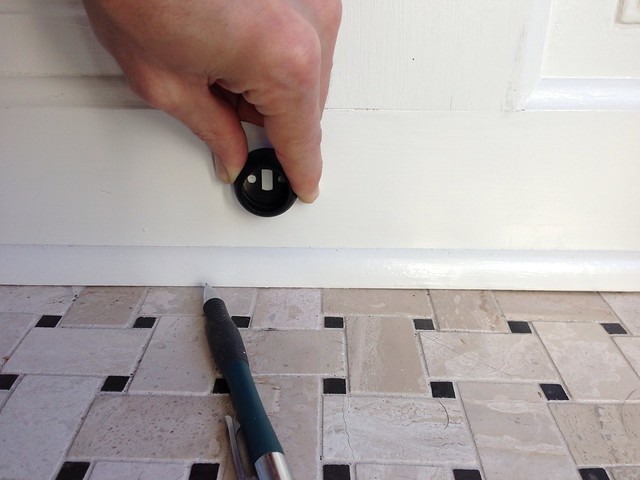
I screwed the stop into place on the first plate and placed the catch on the end of the stop. Opening the door, I let the catch rest against the wall in its ideal location based on the stop and marked where the catch should sit with two faint pencil marks that I could easily erase later.

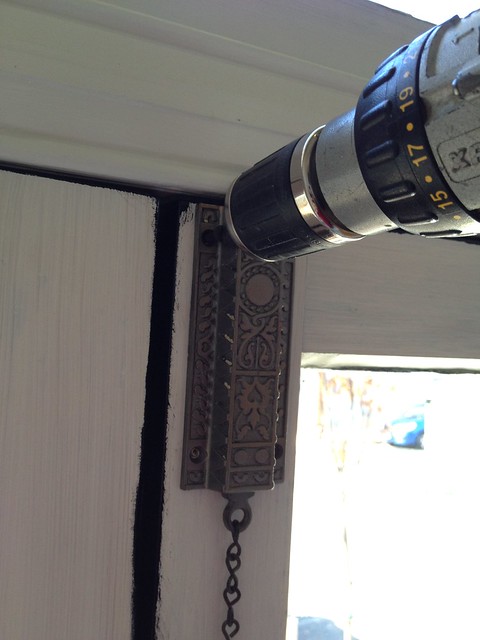
Much like the stop, the catch screwed onto a mounting plate. By removing the spring and silver catch strike, I could hold the catch in place on the wall while marking the concealed hole locations for the screws that affix the plate to the wall.
I once again drilled a few pilot holes (because pilot holes save you tons of headache) and screwed the mounting plate to the wall.

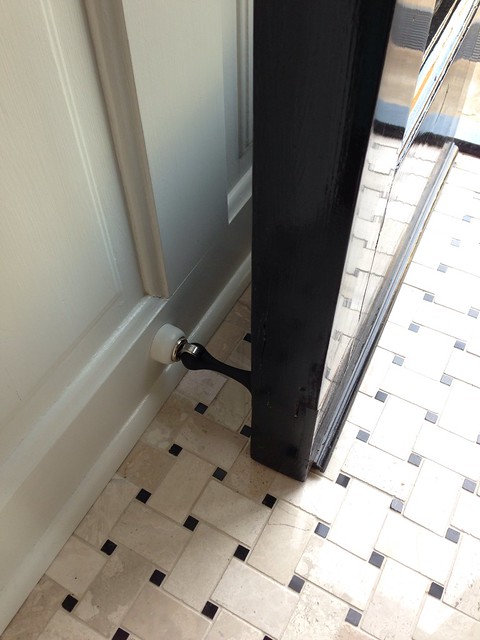
To install the catch, I just twisted it onto the mounting plate's threads and gave it a test. The install was a quick and successful endeavor. I repeated the same steps for the other door and took a look at the end results.
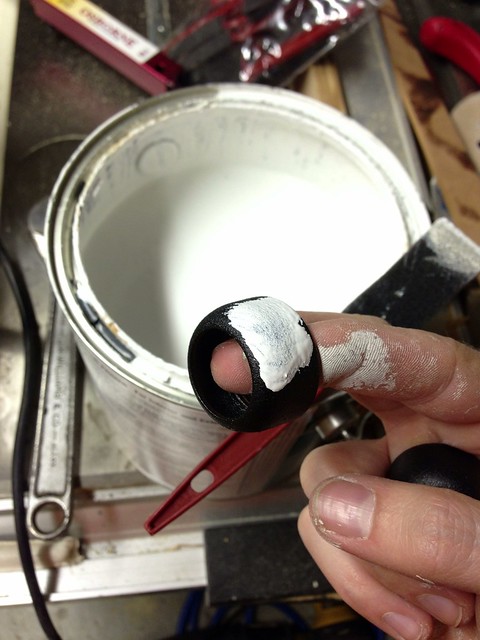
It worked well but didn't look great. The black catch against the white wall simply wasn't ideal.

To resolve this, I removed the catch, took out the spring and silver strike once again, and took the black piece to the basement to paint. I first applied a quick coat of primer with a foam brush followed by two coats of our white trim paint.
After allowing about two hours of dry time we re-installed the catches and were more than happy with the final results.
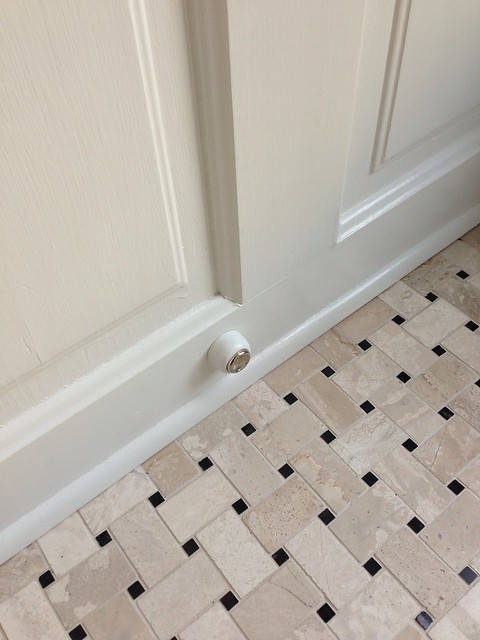
The black matte finished lent itself really nicely to being able to paint and change the color of the catch. Now the stops match the doors, and the catch matches the wall. Unless you're specifically looking for it, you really don't even notice them in place. I'm happy to say we'll no longer be going out with a bang through these French doors.
With one set of door stops down, we still have one to go. The interior door still needs a stop, but I think we're going the more traditional route and buying an antique wooden stop to mount directly to the baseboard. We'll fill you in on that when we actually locate and install one.
We'll also need to remove the French doors and put on another coat of paint due to some swelling that occurred during Hurricane Sandy. I made a rookie mistake and put a towel against the base of the doors to keep water from blowing under them. Unfortunately, this move kept moisture against the doors and it was absorbed into the wood. The end result being two doors that are pretty well stuck. I'll fill you in on the fix when I get around to making it in a few weeks.
What do you think of these door stops? Relatively unobtrusive and functional? Or a complete eyesore? Do you have a better stop that you can recommend? And do you think we're making the right move by using an antique wood stop on the interior door? I know this isn't the most gripping or exciting thing in the world, but like many home improvement items, it's a not-very-glamorous necessity that we still put a lot of thought into.
]]>