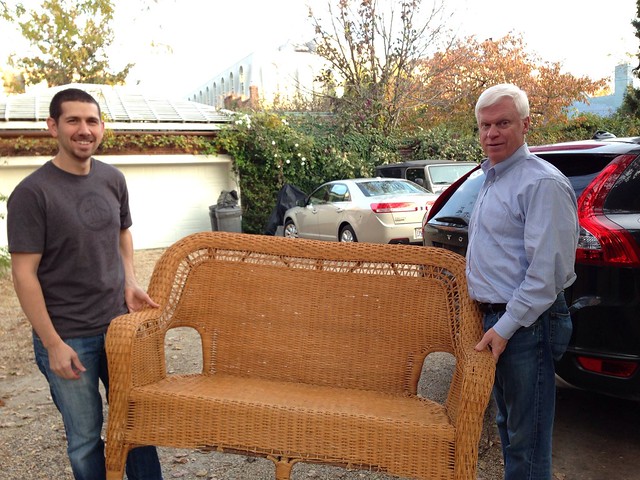
Before we got to this final step, Wendy and I had quite a bit of disagreement. We've actually been going back and forth on this issue for years. And I mean, quite literally, years. When we first received the chair, we had no idea what sort of seat had adorned the piece of furniture. Wendy's initial thought was to finish it with a piece of flat plywood covered in a bit of cushion and fabric, much like a typical dining room chair. Though this approach was an early possibility, when I began working on the chair I realized that it both wouldn't work and wasn't right for the shape and construction of the seat.
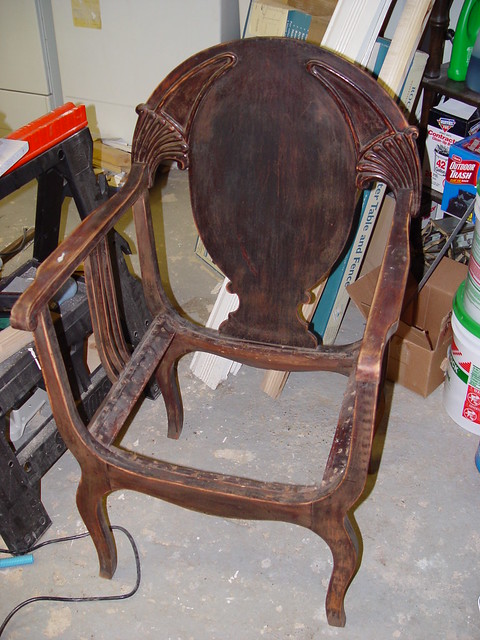
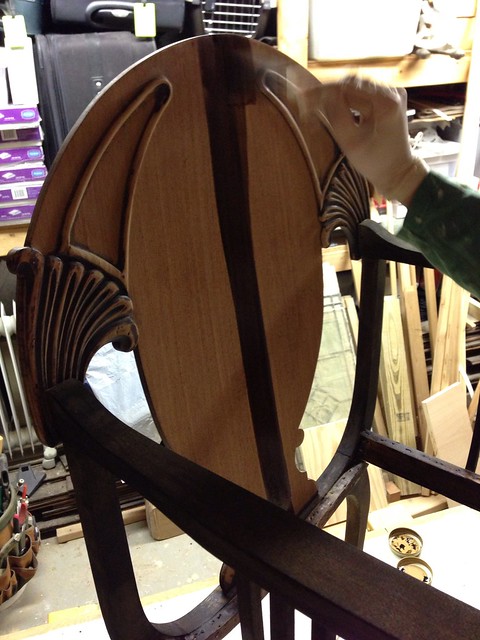
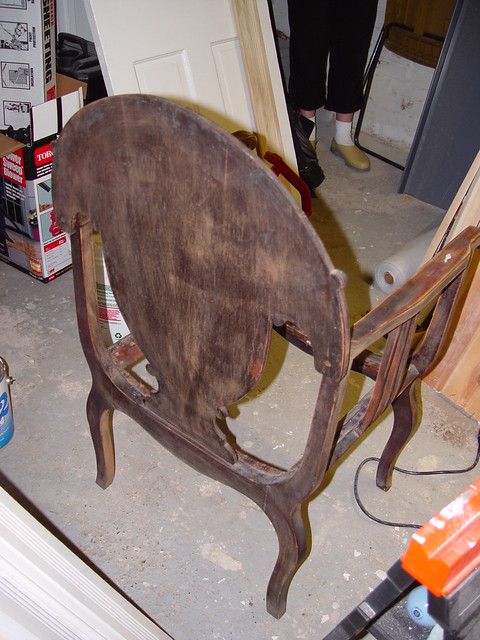
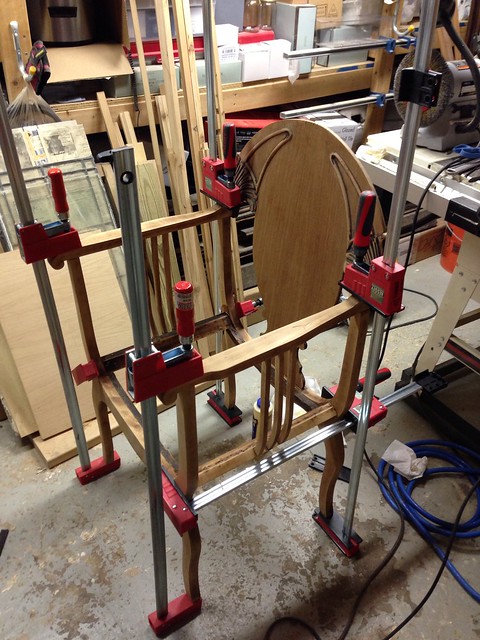
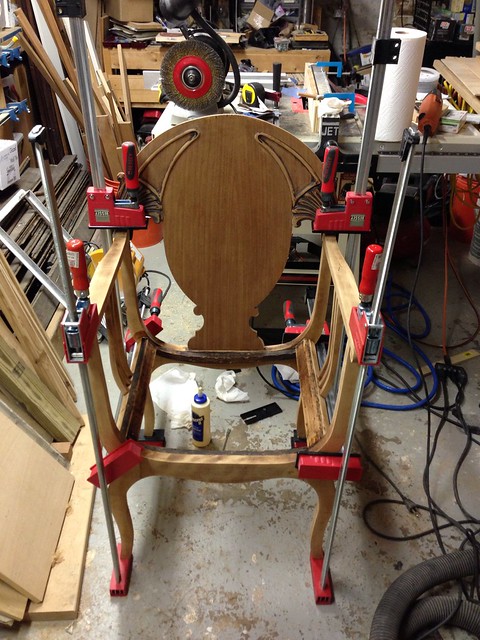
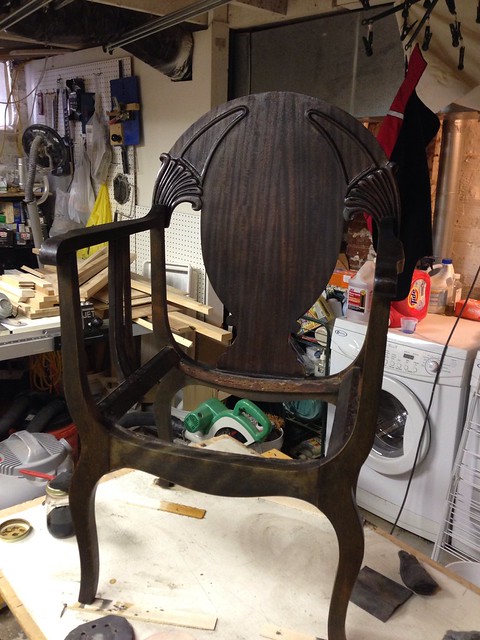
It wasn't until I actually paid attention to the curved front and back of the chair that I started to realize a more appropriate option. The seat was meant to be more of a U shape than a flat bottom seat. The side support rails of the seat area lent themselves to this shape as well. Any wood bottom would need to be shaped to fit in this opening, which would have been difficult at the very least. You can see the curve in the bottom when the chair was completely disassembled.

Secondly, as I removed nail after nail from the seat frame area, I also saw remnants of fabric that appeared to be burlap. After further inspection, I came to the conclusion that the chair 's original seat might have been woven fabric, covered in a padded cushion. Growing up, Wendy remembers the original seat of the chair was covered in a striped satin or silk, but the supports had long since deteriorated leaving the chair unusable.
more]]>
Before we got to this final step, Wendy and I had quite a bit of disagreement. We've actually been going back and forth on this issue for years. And I mean, quite literally, years. When we first received the chair, we had no idea what sort of seat had adorned the piece of furniture. Wendy's initial thought was to finish it with a piece of flat plywood covered in a bit of cushion and fabric, much like a typical dining room chair. Though this approach was an early possibility, when I began working on the chair I realized that it both wouldn't work and wasn't right for the shape and construction of the seat.
It wasn't until I actually paid attention to the curved front and back of the chair that I started to realize a more appropriate option. The seat was meant to be more of a U shape than a flat bottom seat. The side support rails of the seat area lent themselves to this shape as well. Any wood bottom would need to be shaped to fit in this opening, which would have been difficult at the very least. You can see the curve in the bottom when the chair was completely disassembled.
Secondly, as I removed nail after nail from the seat frame area, I also saw remnants of fabric that appeared to be burlap. After further inspection, I came to the conclusion that the chair 's original seat might have been woven fabric, covered in a padded cushion. Growing up, Wendy remembers the original seat of the chair was covered in a striped satin or silk, but the supports had long since deteriorated leaving the chair unusable.
After coming to this realization, I told Wendy that I thought we should "upholster" the chair ourselves and take care of the seat and support on our own. She was not in agreement.
We went back and forth on this issue over the last several years. Wendy felt we were ill prepared to handle this on our own, and that we should let a professional furniture restorer handle the whole thing. I felt quite the opposite, more specifically that we had the knowhow and ability to figure our a viable solution to the problem and would be able to complete the project in an equally satisfactory manner as the pros.
As this debate went on, unchanged, for years, I had time to plan. I did a fair amount of research and found chairs all over eBay and antique websites that showed a similar webbing pattern as what I believe our chair was originally built with.
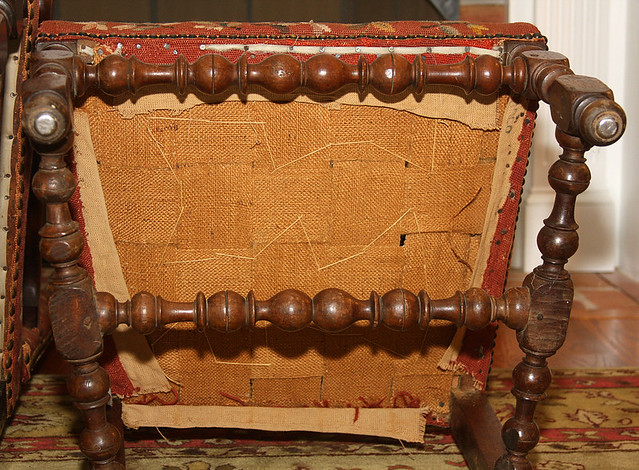
Photo Credit: User Superreverb on ar15.com
In most cases, what I saw was a jute webbing as an underlayment, following by a single or double layer of burlap over top of the jute. In some cases, the jute was stretched taught across the chair, while in others it was hanging in a looser configuration. But in all cases, I was able to see how the webbing should be installed by taking clues from our chair and comparing with reference photos of other chairs.
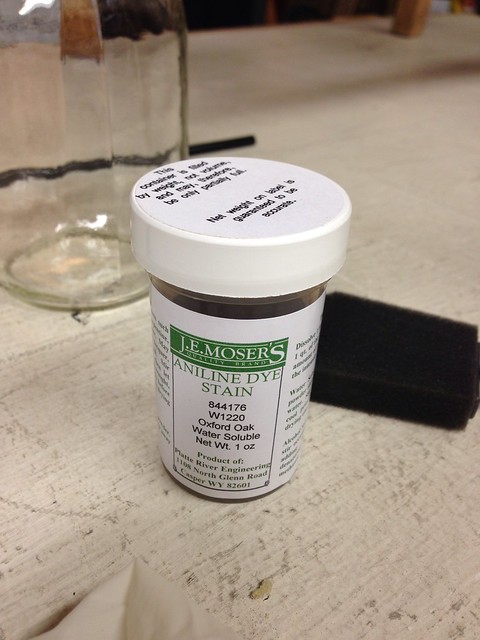
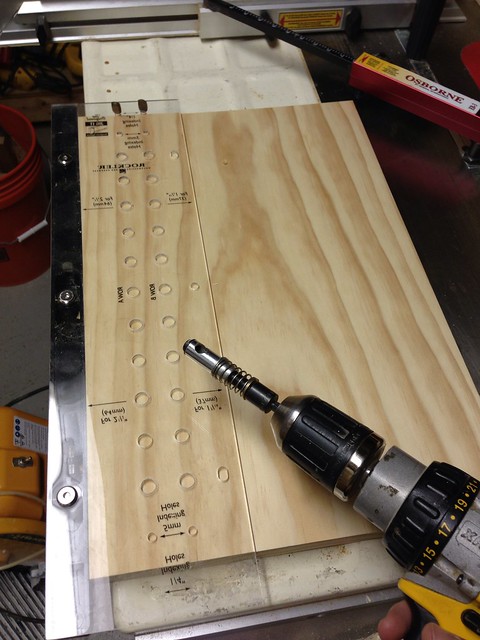
Through my various on again - off again research, I was able to locate a furniture webbing from Rockler that looked like it would fit the bill.
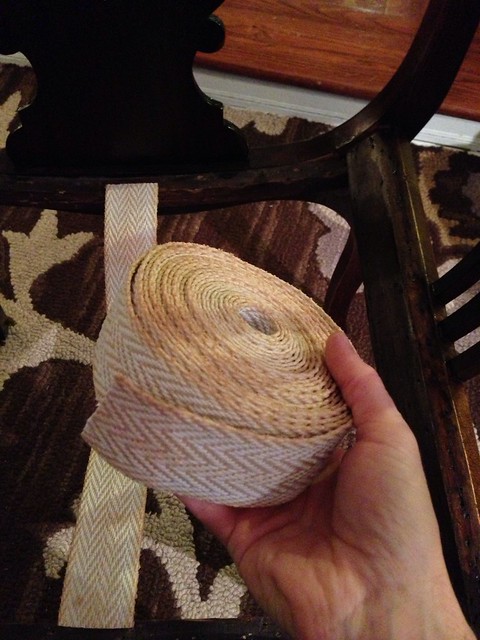
At the time I didn't realize I could have just used a roll of heavy duty jute (this was a while ago, before I discovered what jute was), so I went ahead and bought enough for the webbing. It ended up not being nearly as cheap as the jute could have been, but it's a bit thicker and seems more solid. To be totally honest, I wish I had known about the jute, as I may have opted for that instead.
A few weeks ago, after the years of debate had raged on, Wendy tired of the ongoing argument and allowed her desire for a "finished" chair in time for the home tour to trump her desire to send it out to have it upholstered. My desire to provide this finished (enough) project for Wendy inspired me to wake up on only about four hours sleep the morning of the home tour and attempt to install the webbing while doing the remaining items on our lengthy to do list.
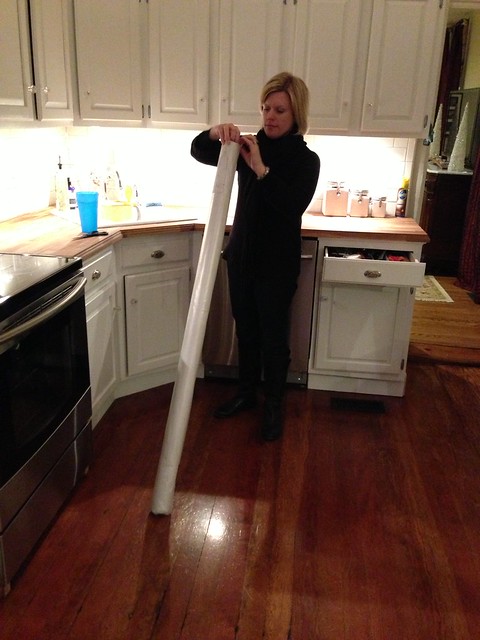
I grabbed our roll of chair webbing, a pair of scissors, and our electric stapler.
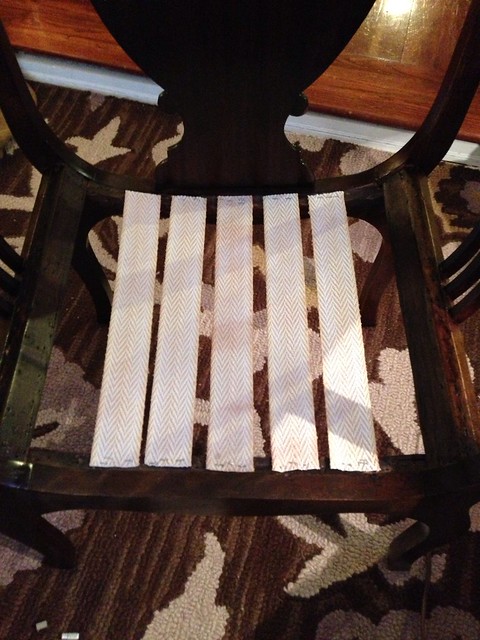
My first step was to cut the front to back strips of webbing since these would need to be stretched a bit to provide the majority of the chair's seat support.

Starting with middle piece, I began working out in either direction.
Let me just say, I don't know how I didn't freak out and destroy our electric stapler. This stapler had worked so well on projects in the past, but now, when I needed it the most, all of the staples seemed to be going into the chair in a bent, mangled, gnarly fashion. I wanted nothing more than for the stapler to come alive just so that I could strangle its life from it.
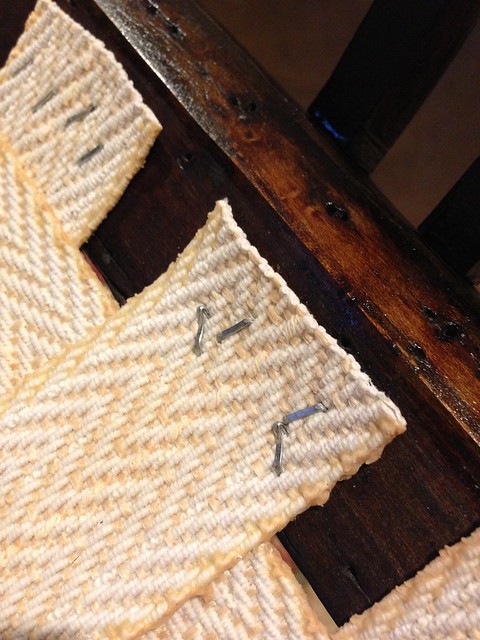
I knew I didn't have time for another solution, so I grabbed my needle nosed pliers and started pulling out the particularly bad staples, but for the most part, I just said "screw it for now" and soldiered through.
Once the main front to back pieces were in place, I began weaving in the side to side pieces. Since the chair's bottom follows the slight curve of the seat, I didn't want to stretch these pieces, but instead I just wanted to staple them in place in a manner that would allow the bottom of the seat to lay naturally with the curve of the wood.
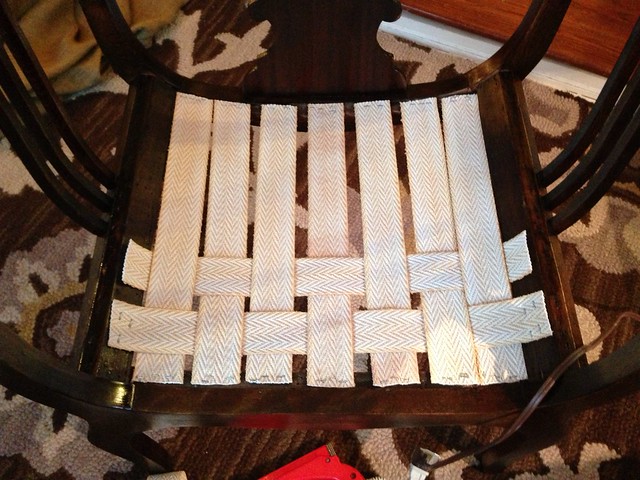
After about an hour of cutting, stretching, and stapling, I had a completed chair bottom.

I nervously tested it out, first by pushing with my hands, then gingerly sitting on the woven straps, and then finally giving in and putting my full weight down. Our chair that had once been a forgotten and wobbly mess was now a beautiful piece of functional heirloom furniture.
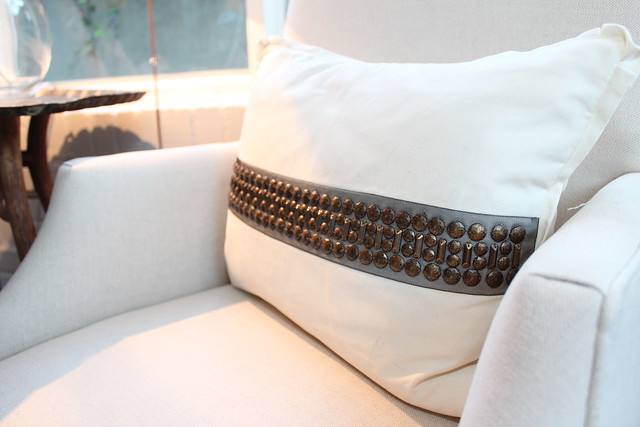
At this point we threw a pillow on it and called it "good enough" for the home tour. We didn't expect anyone to actually sit in it, so we figured we didn't need to worry all that much. Boy were we wrong.

Throughout the tour I bet there were dozens of people that sat in this little antique chair. When we arrived home the pillows were askew and the chair slightly moved. The best news of all was that the chair's webbing was in place, crinkled staples and all.
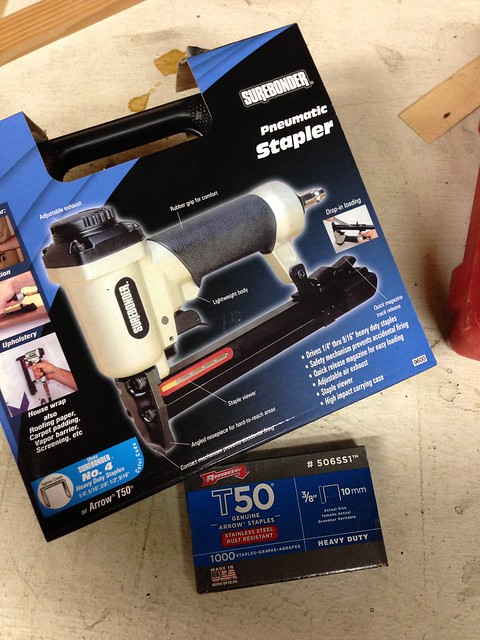
Though the chair had survived its major test, I'm often a bit of a perfectionist on items like this. Rather than leave well enough alone, I figured it was high time to put my "one new tool for every project" mantra to good use. I've long thought about getting a pneumatic stapler, and now that our electric stapler had turned into a giant disappointment and failed so miserably from an upholstery standpoint, I was ready to take it to the next level. I ordered an inexpensive upholstery stapler and it arrived a few days later.
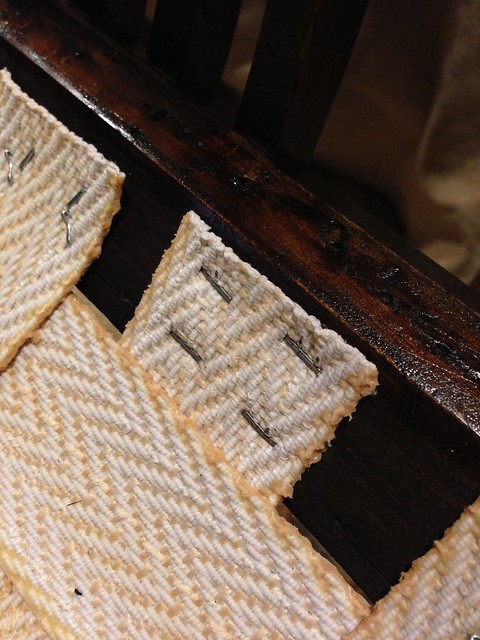
At this point, our chair was covered in bad staples, so I grabbed my needle nose pliers and got to work. I pulled out most staples from each area leaving one or two critical staples in place on each piece of fabric. This allowed me to staple with the new gun without losing any stretch or form of the weave.
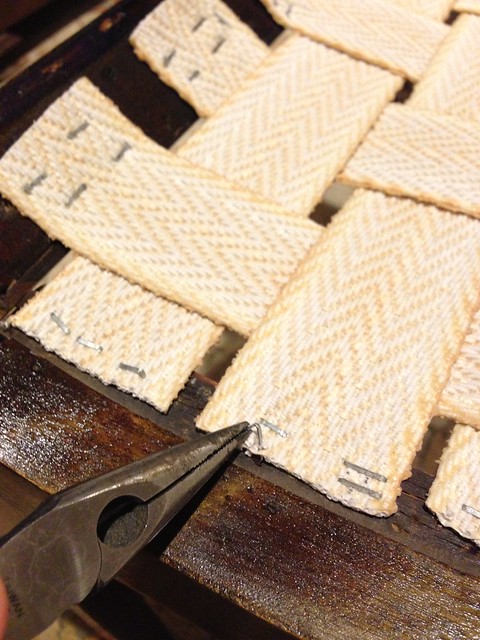
The staples went in perfectly. Flat, smooth, predictable, and therefore were far fewer thoughts of tool homocide, I assure you.
After a whole lot of effort in carefully removing and re-stapling, I had a neat pile of silver carnage...
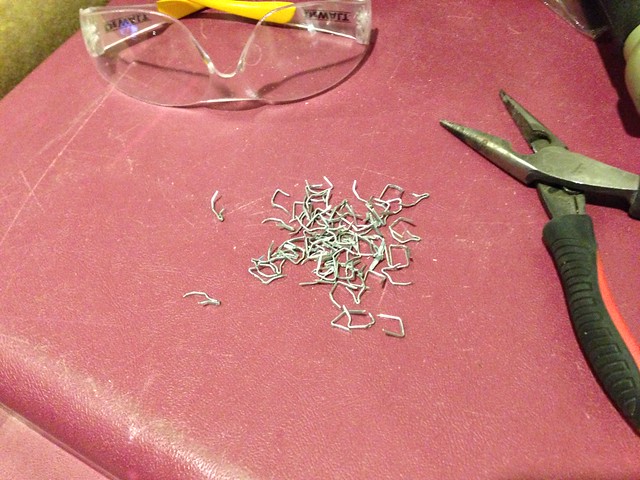
...but also a much more organized and workable basket weave, ready to stand up to all the rear ends that will meet this chair.
The final step to completing the chair's seat base was to apply a covering of burlap to the top of the basket weave. I'm not sure why this step is necessary, but I saw it in enough pictures to know I should do it. My guess, it has to do with keeping the basket weave from getting disturbed by the seat cushion upon repeated sitting.
We cut a piece of burlap that was larger than the dimensions of the chair, then folded the sides under prior to stapling. We used an iron to get a nice crase in the fabric and to give the burlap edges a much tidier look.
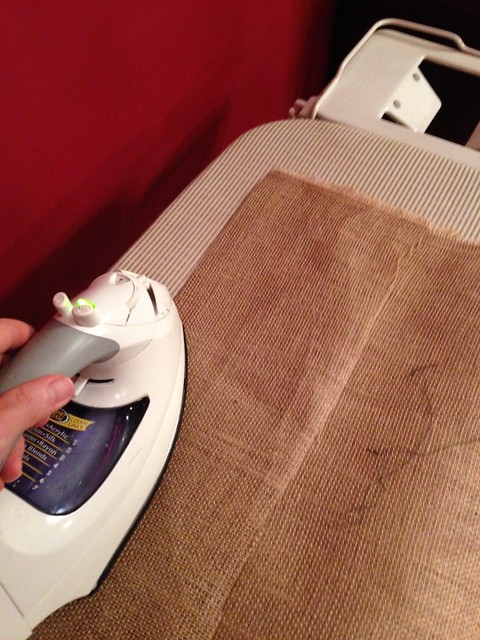
We also doubled the burlap over, effectively giving ourselves two layers of covering from a single piece if fabric.
After a quick test fit...
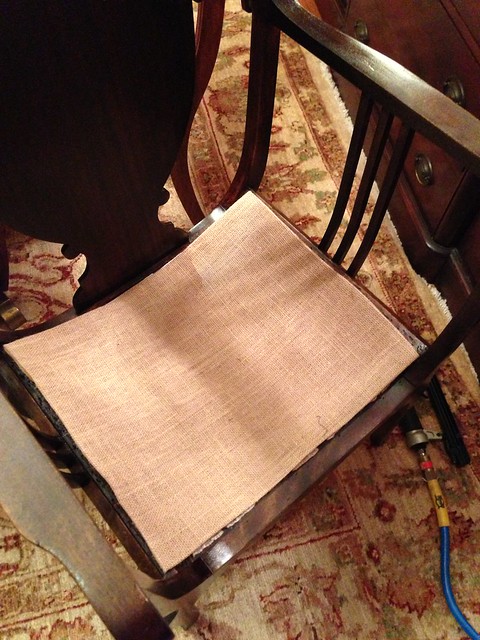
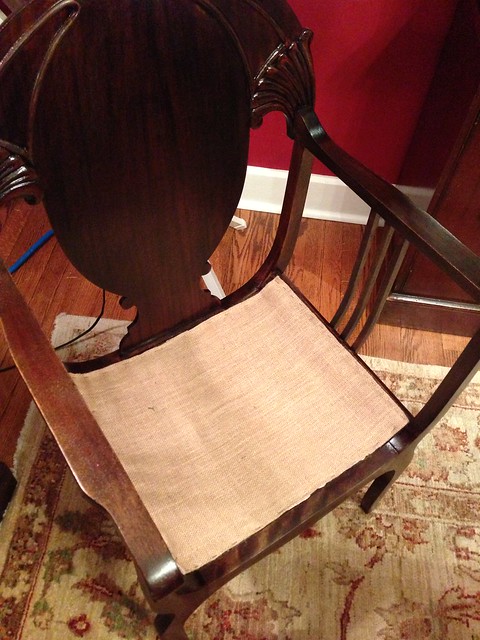
...and a few more (dozen) staples, we had ourselves a good looking chair that just needed a nice upholstered cushion. After a final "Alex's butt test," I gave our burlap and webbing base our seal of approval.
And do you know why this project is perfect for blogging? Because it involves burlap, and the Internet are IN LOVE WITH BURLAP. I know, I've seen it first hand. This is definitely something Lulu has in common with the whole home decor blogosphere.

The final step will be to have a cushion made to sit atop the burlap seat. Wendy ordered a couple yards of fabric from West Elm, and the gray textured fabric has arrived. We might tackle this final step after the holiday madness has subsided.
What do you think, do we have a good and long lasting base for our chair? Do you think it was the right move to remove the messed up staples and redo everything, or would you have left it the way it was since it would ultimately be hidden under the burlap? Have you ever had a less than desirable outcome from a step in a project, and have opted to take a step back and correct/rework the issue? It pained us to do so in the moment because of the lost time and expense of a new tool, but now that it's done "right" we'll sleep better at night.
]]>