However hectic and crazy our lives have been through this trasformation, no matter how many things change along the way, the tasks around the house we've needed to take care of haven't magically taken care of themselves. Case in point: Wendy decides to make a career altering decision to pursue a passion in real estate that hopefully results in an ultra fulfilling and enjoyable period of her life. Meanwhile, I still haven't finished the storm windows I've been "working on" for five years. I'm so lame.
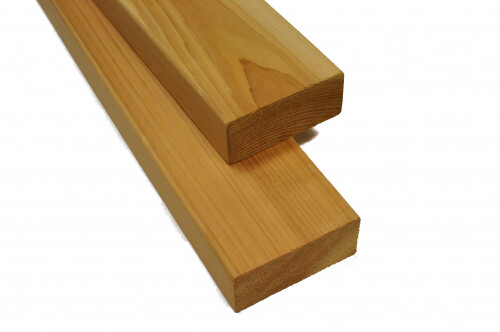
We left off in my first window build rundown with the storm frame assembled, but that's really only about 1/2 of the build process. If you'll recall, I want to be able to change out our storm's glass during the nicer months for screens. This will hopefully promote a more comfortable and bug free spring and fall, while also allowing for a more energy efficient and quiet winter and summer. Good plan? Yep, I think so too.

I decided to start the replaceable frame efforts with the true divided light glass panels. Though I'm relatively sure the screens will be an overall easier undertaking, I want to both make sure the glass panels work and put myself into a position where I have actual storm windows. You know, if I don't get around to the screen inserts all that soon. (Preposterous idea that I wouldn't be timely, I know!)
For the front windows I wanted to do something that felt a little bit more authentic with these storms. Since the front of our home retains its original character, I've opted to do a 2 over 2 storm window to mimic the antique and original sash. I'm not sure I'll do this on the back windows, but for the front, it's worth the extra work and effort.
more]]>However hectic and crazy our lives have been through this trasformation, no matter how many things change along the way, the tasks around the house we've needed to take care of haven't magically taken care of themselves. Case in point: Wendy decides to make a career altering decision to pursue a passion in real estate that hopefully results in an ultra fulfilling and enjoyable period of her life. Meanwhile, I still haven't finished the storm windows I've been "working on" for five years. I'm so lame.
We left off in my first window build rundown with the storm frame assembled, but that's really only about 1/2 of the build process. If you'll recall, I want to be able to change out our storm's glass during the nicer months for screens. This will hopefully promote a more comfortable and bug free spring and fall, while also allowing for a more energy efficient and quiet winter and summer. Good plan? Yep, I think so too.
I decided to start the replaceable frame efforts with the true divided light glass panels. Though I'm relatively sure the screens will be an overall easier undertaking, I want to both make sure the glass panels work and put myself into a position where I have actual storm windows. You know, if I don't get around to the screen inserts all that soon. (Preposterous idea that I wouldn't be timely, I know!)
For the front windows I wanted to do something that felt a little bit more authentic with these storms. Since the front of our home retains its original character, I've opted to do a 2 over 2 storm window to mimic the antique and original sash. I'm not sure I'll do this on the back windows, but for the front, it's worth the extra work and effort.

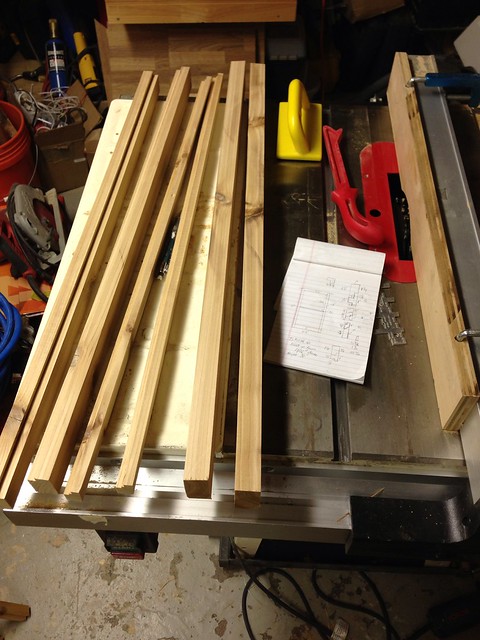
Each frame is fairly simple. My plan was to cut five sticks for each frame. Four sticks would make up the border of the while the fifth would sit as a vertical middle divider making up the 2 over 2 look.
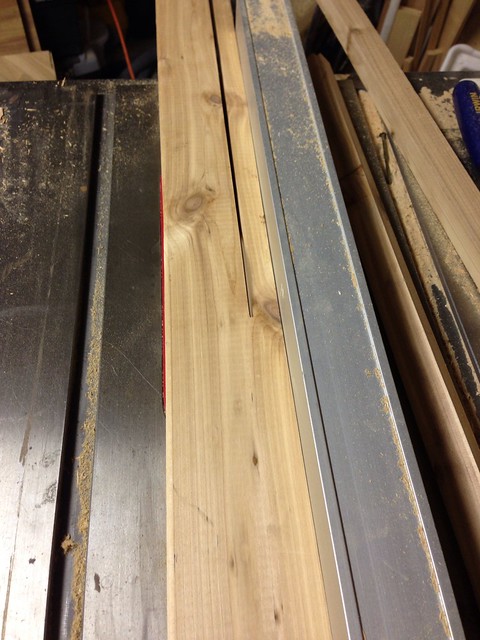
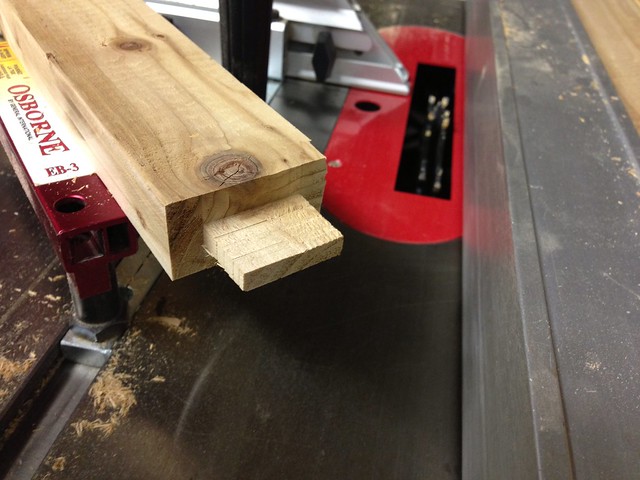
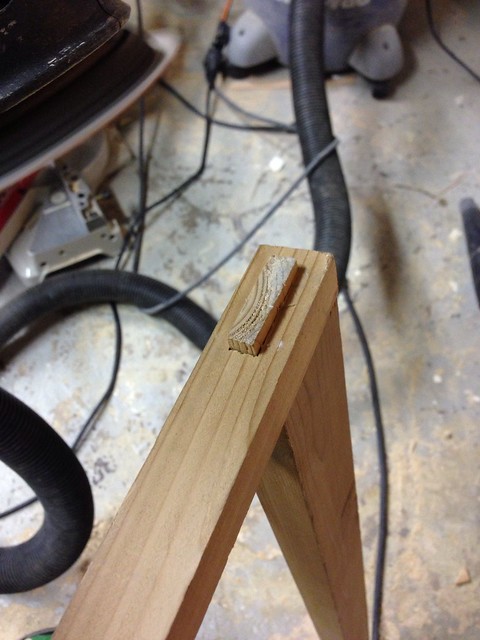
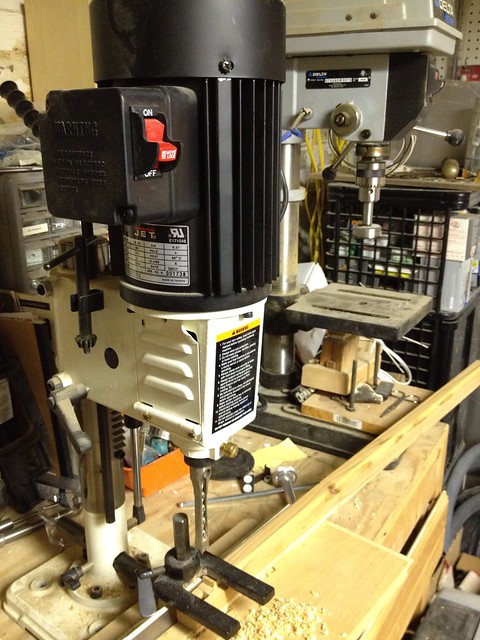
Since I had already assembled the outer frame and cut rabbets around the exterior, using the dado blade I proceeded to cut matching rabbets around the sides and top of the frame.
However the bottom of each frame needed to match the angle I cut into the bottom rail of the outer frame. Remember, I did this to hopefully keep water from sneaking back through the storm and into the window sill area.
Once the outer rabbets were cut, I cut the rabbets that will ultimately accept the glass panels and glazing once everything is assembled. I wanted to give the glass as much of a relief as possible, knowing the more glazing I could fit into the area the better off I'd be long term. But this was a balance with wanting to ensure the glass was supported by enough wood on the back side of the frame. I opted for about 5/8" deep rabbets cut with about 3/4" relief. Hopefully this will all ultimately be sufficient. I think it will, but only time will tell.
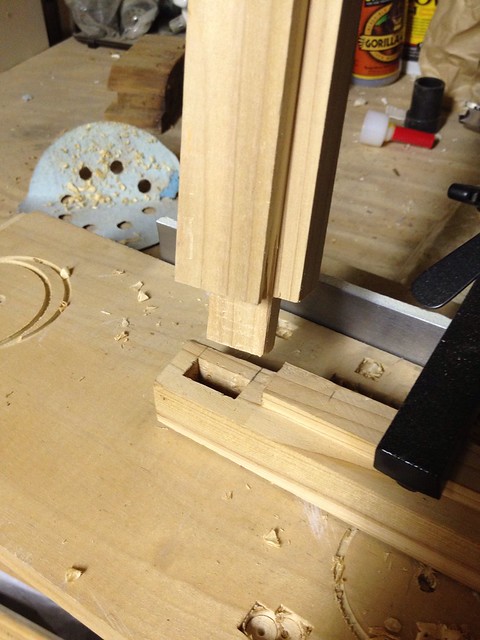
The final step was to get a perfect fit on the center mullion pieces (I guess I'll call them mullions). I took great care to make sure it all fit as expected. Measure 400 times, cut once.
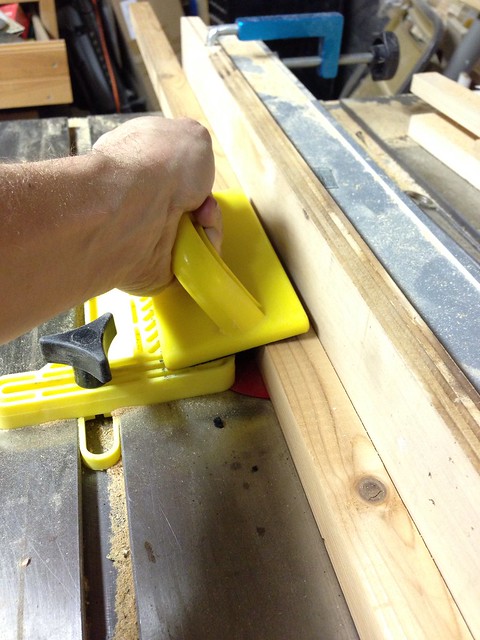
After extensive measuring, checking, trimming, etc, I finished by glueing up each frame assembly for the first window.

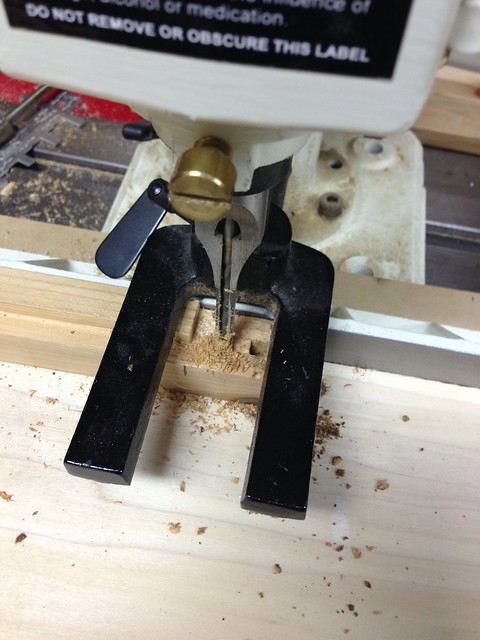
After the above photo I laid in and glued up the center piece as well. Rather than doing a mortise and tenon on these inner frames, I decided to simply glue then screw in the corners with an exterior grade screw. It felt like cheating a bit, but I think it will be better in the long run.
Once the frames were glued and dry, I was able to put a full assembly together and check my progress.
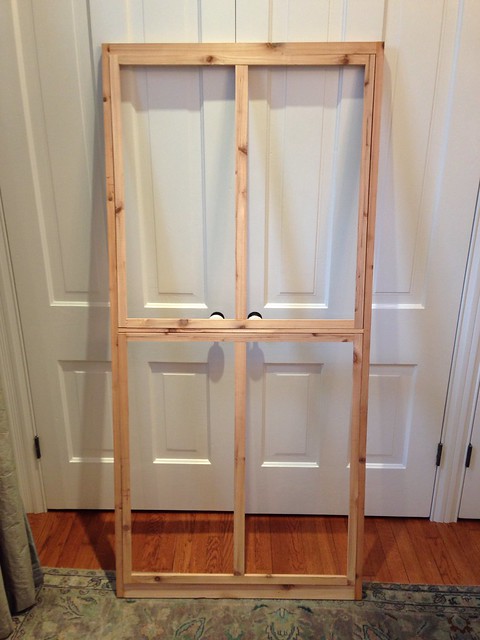
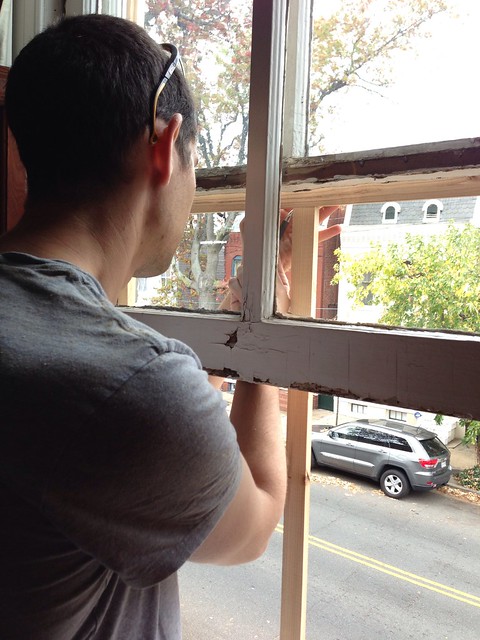
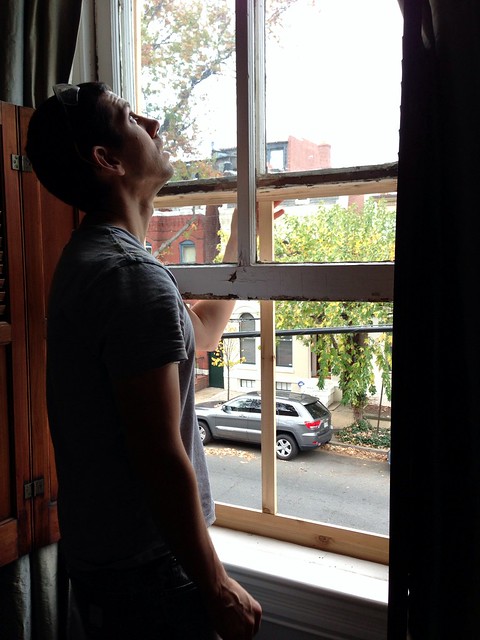
So far so good. I have what one can actually call a "window looking wood structure." The view you're seeing is the inside look. It fits the intended window's opening rather perfectly and I'm incredibly hopeful that we will have functional storm windows at some point in the future. How's that for a vague and in-exact statement on timeframe?
We still need to sand this whole thing down to make all of the joints and lines smooth and without significant flaw. We'll also need to do a few prep items prior to setting the glass, glazing, and painting, but I largely have the supplies we'll need. I have found a local supplier for the glass, so I'm going to have to drive up and check out their product. More on that in a future post.
More than anything, I'm hopeful. Primarily I'm hopeful I'll be able to finally check this long overdue project at least partially off my list. I don't know how long it will take to do all 10 of our windows, but the five originals are in my sights.
]]>