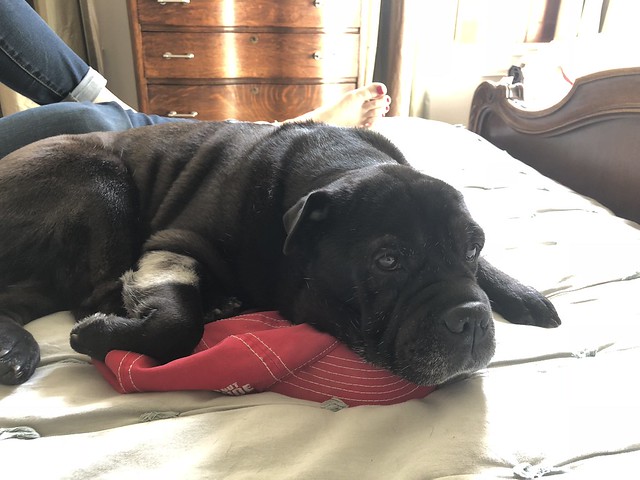
Since we're talking dog years, it is very appropriate that our blog is seven (or one in dog years), and the topic of today's blog post just happens to involve one particular dog of ours. Our favorite female canine, Lulu, has been a member of our family for just a little longer than we've been blogging. She'll be celebrating her ninth birthday in a few months, and we've had her as a member of our family for just about seven and a half years.

Lulu has an affinity for climbing trees while chasing squirrels, throwing herself against the door when packages are delivered or a friend comes knocking, and generally guarding our home.
Like a seasoned veteran of the body-guarding business, she's honed her skills over the years. She covertly lurks, often appearing to nap, but her senses are always heightened and she's perpetually ready to spring into action to save the day. Evils such as letter delivery, or another dog barking a block or more away don't have a chance when Lulu is on duty. It doesn't even matter if she's upstairs, she'll make the mad dash down our wood stairs and leap towards the door at full speed!
Unfortunately, for our wood stairs, Lulu's skill as a guard dog has taken its toll. Lulu's nails apparently act as razor sharp talons when she's on the job, and years of her relentless pursuit of ensuring a danger free home have left their mark. Some might say she's neurotic, perhaps a bit over-zealous. Those people would be correct. But we love her nonetheless.
more]]>Since we're talking dog years, it is very appropriate that our blog is seven (or one in dog years), and the topic of today's blog post just happens to involve one particular dog of ours. Our favorite female canine, Lulu, has been a member of our family for just a little longer than we've been blogging. She'll be celebrating her ninth birthday in a few months, and we've had her as a member of our family for just about seven and a half years.
Lulu has an affinity for climbing trees while chasing squirrels, throwing herself against the door when packages are delivered or a friend comes knocking, and generally guarding our home.
Like a seasoned veteran of the body-guarding business, she's honed her skills over the years. She covertly lurks, often appearing to nap, but her senses are always heightened and she's perpetually ready to spring into action to save the day. Evils such as letter delivery, or another dog barking a block or more away don't have a chance when Lulu is on duty. It doesn't even matter if she's upstairs, she'll make the mad dash down our wood stairs and leap towards the door at full speed!
Unfortunately, for our wood stairs, Lulu's skill as a guard dog has taken its toll. Lulu's nails apparently act as razor sharp talons when she's on the job, and years of her relentless pursuit of ensuring a danger free home have left their mark. Some might say she's neurotic, perhaps a bit over-zealous. Those people would be correct. But we love her nonetheless.
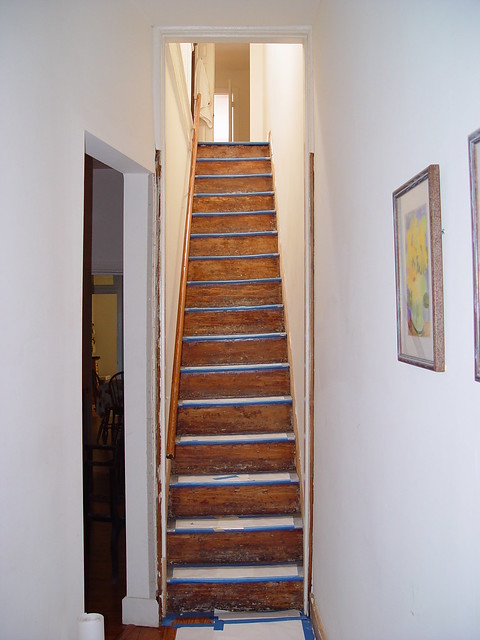
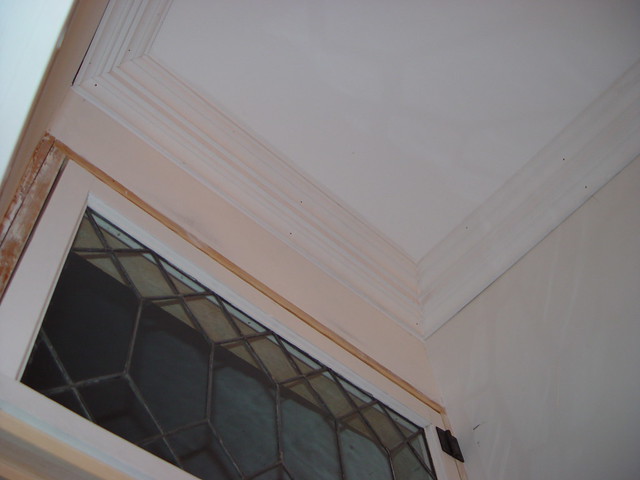
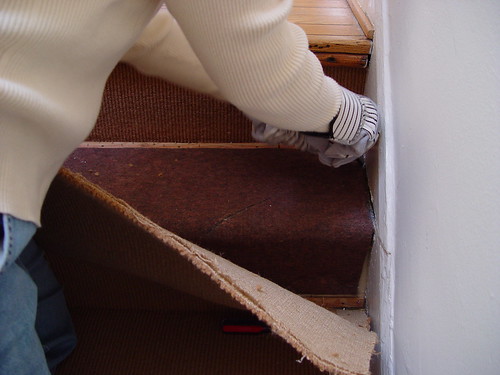
Back on January 31, 2003, just days after the stairs were refinished, before we'd even completed stripping the risers, our old home loving hearts were a flutter!
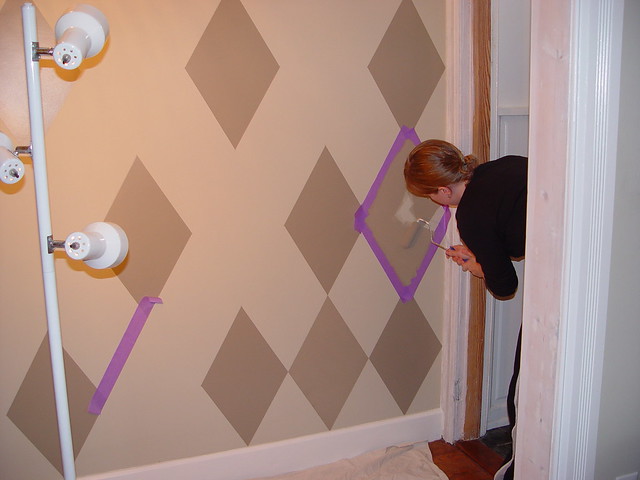
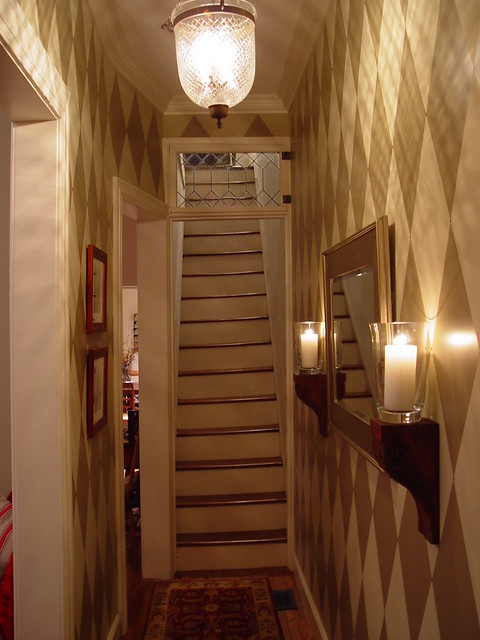
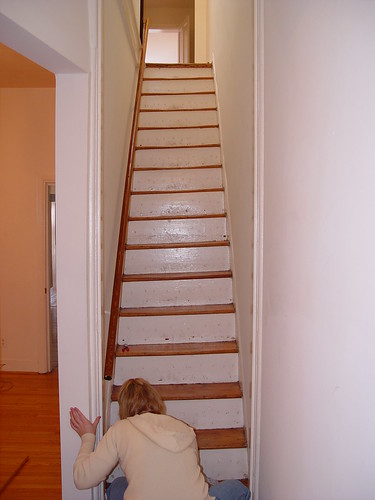
A short time later (okay, maybe a long time later, like late 2004) we proudly proclaimed our stair and wainscoting project DONE!

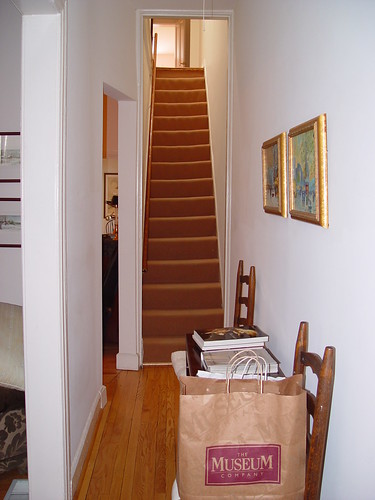
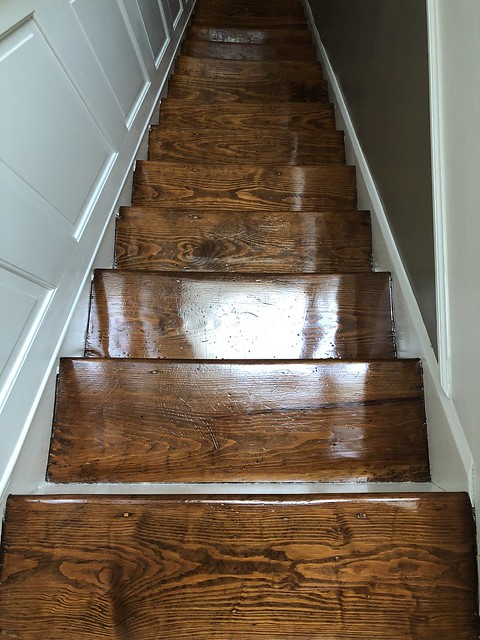
But after seven and a half years of watching our stairs slowly transform from beautiful and pristine to clawed and chipped, we decided to do something about it.
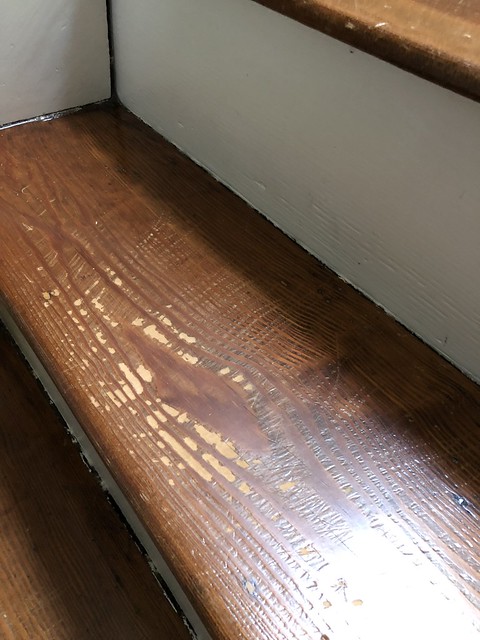
Yep, that's what an overzealous 30 pound doggo will do to soft pine stair treads.
We spoke with our favorite flooring expert (Roland from Royal Oaks Flooring) and he pointed out that the damage done wasn't as much to the wood, save for some scratches, but more to the finish. Her nails caused the poly to fracture and lift the stain finish right off of the treads, leaving exposed bare wood.
Since these stairs have been worn and sanded somewhat thin several times over the 130 years they've been in place, he advised not sanding them again, and instead staining the bare sections and top coating with poly to protect them. Then we can just call all of the scratches and issues a little bit of "character."

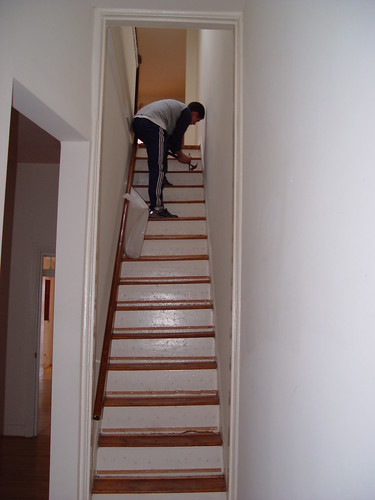
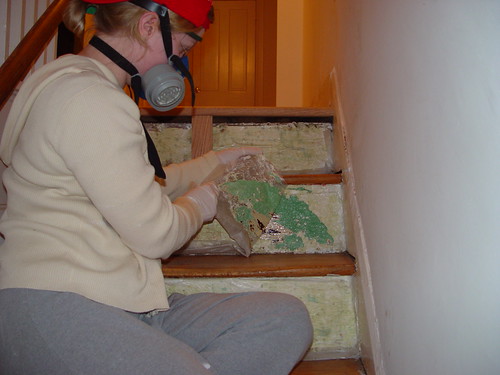
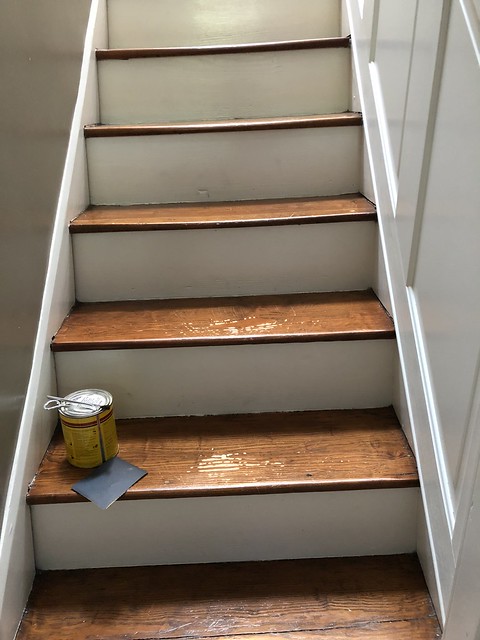
Armed with a plan, over the last week we've slowly taken care of this little issue of unsightly damage in an attempt to give Lulu a repaired launch pad for protecting our home. She anxiously observed our progress.

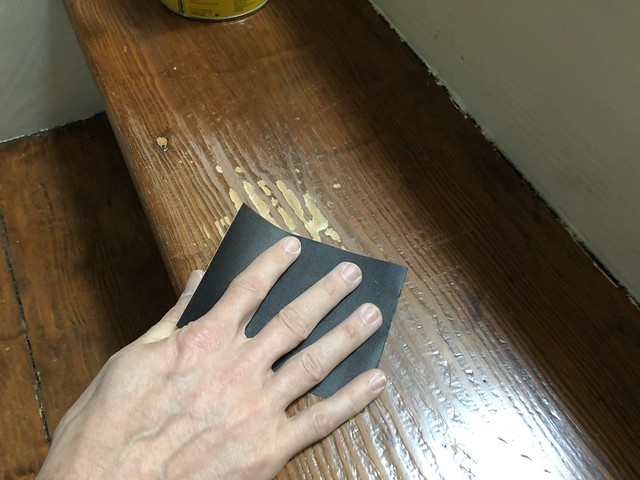
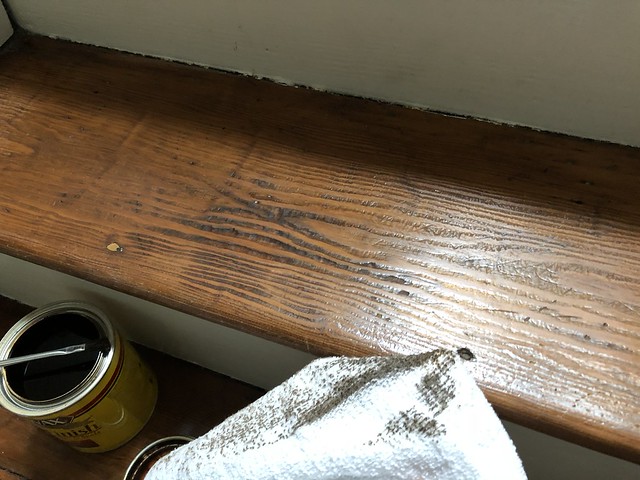
We started by lightly sanding all of the stairs to rough up the existing poly a bit. We also took the opportunity to lightly sand any of the exposed wood where the poly and stain had fractures. This was a quick hand sanding and I used some 400 grit paper, as I wasn't trying to take anything down to the grain and didn't want to leave any major scratches.
We started this process on just one of the stair treads to test the process, but ended up continuing it across the entire staircase once we knew it would work.

After sanding the poly and sufficiently roughing it up, we applied a coat of the Early American oil based stain to fill in any of the bare and scratches spots in the wood. Any totally exposed wood received direct application from a small application brush.
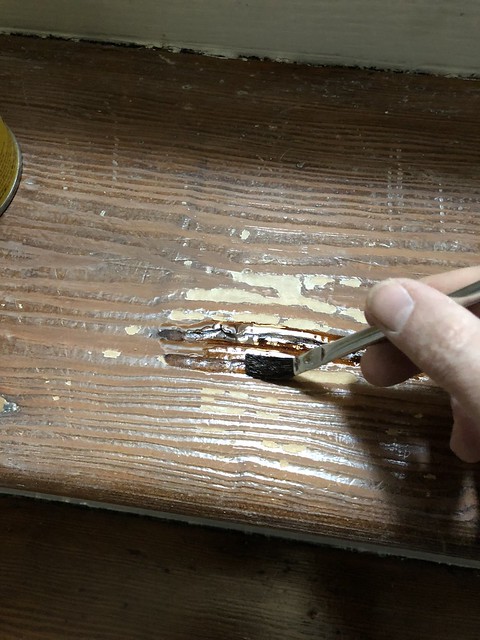
I made a mistake and went a little heavy, leaving it on a bit too long with the first step. That made the bare spots a little darker than they needed to be. After giving a shot on the first tread, I adjusted our approach and went a little lighter on the rest, which turned out better in the end.

Once the spot applications had been applied, we then spread the stain over each and every stair. This allowed us to get all of the nooks and crannies of anything missing.
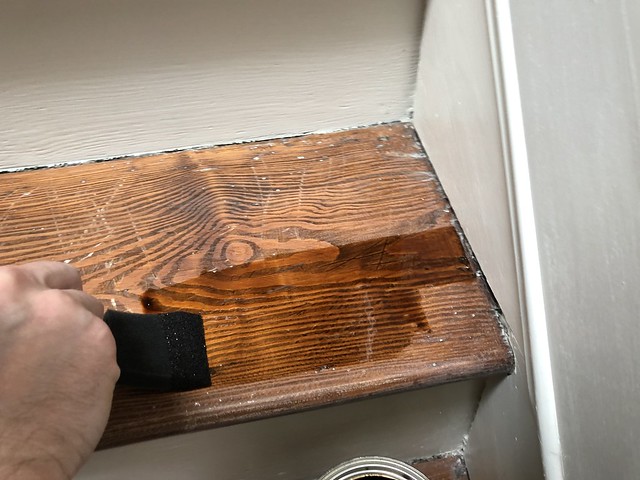
After wiping away the stain and giving it an adequate chance to dry (we left it for 24 hours while we were out of town)...
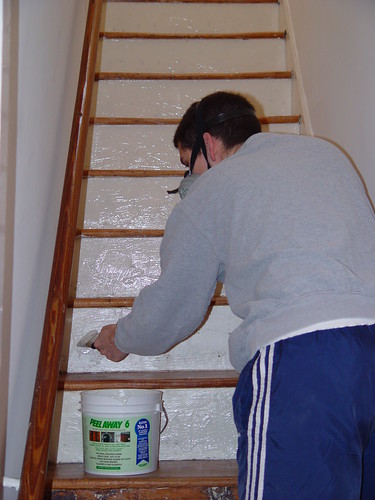
...we started the long process of applying the poly. We used the same Bona semi-gloss oil based poly the floor was originally finished with back in January 2003. Luckily we took photos back then of the stain and poly the refinishers used. Today we were able to use that photo to ensure we used the exact same product, without any concern about conflict of recipe.
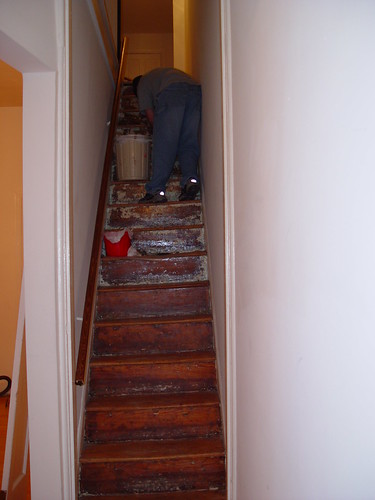
When it came to applying the poly we had to do a bit of a dance. Since we're living in the house the whole time we're doing this, we decided to poly every other stair with each coat. This would allow us to apply one coat of poly to half of the staircase each night.
We wanted to apply three coats (since it's such a high Lulu traffic area) to offer a bit more protection from fracture in the future. As a result, the whole poly adventure would take six days total.
This allowed us to precariously walk up and down the stairs for six days, skipping every other stair. Since Lulu doesn't know how to walk like this, it meant we had to carry her up and down, and barricade the stairs during the day. She didn't take too kindly to this setup (nobody puts Lulu in a corner).

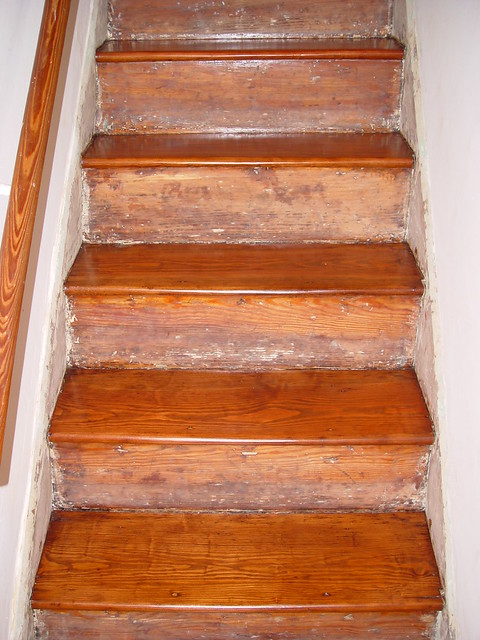
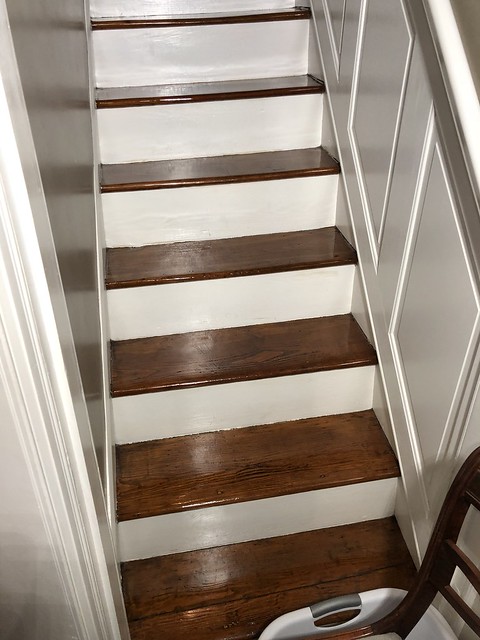
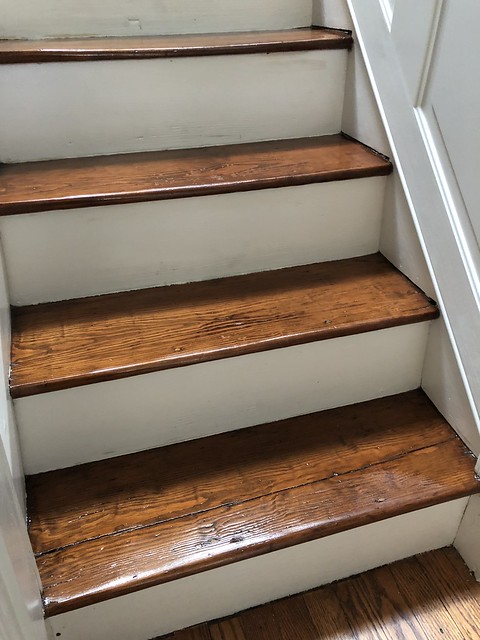
Now that all is said and done our stairs look tremendously better than they did prior to our attempt at a quick fix. They certainly look far from perfect, but in many ways, that's perfectly fine with us. Our stairs tell a story. Lulu has lived in our home and has been part of our family for nearly half of the time we've been in this home. And while we've gone to great lengths to restore and care for our home, we've also enjoyed many wonderful moments living our lives in this home, and this just adds to the history.
We will likely add a runner to the stairs in the coming years, but this is a good temporary fix in the interim. We love the look of the wood stairs, but realize it may not be the most practical as Lulu gets a little older.
Looking back on our years in this home, and on our seven years of blogging, we've shared our projects and neighborhood with you and have truly enjoyed giving you all a glimpse into what makes DIY and Alexandria so very rewarding. Don't worry, we're not wrapping things up any time soon, and we look forward to sharing our various projects with you for many years to come. Some projects take a weekend, some take years to complete, but all are done with a level of care, enthusiasm, and enjoyment that add to the story of our family.
As we continue to gain experience and confidence in our projects, we'll continue to share the journey here on our blog. We may not post as frequently as we once did, but we hope the things we share offer some insight, encouragement, guidance, or just a little bit of fun that you can enjoy. Whether you've been reading along for many years, or just stumbled on some random post, thank you and we look forward to keeping you updated!
]]>