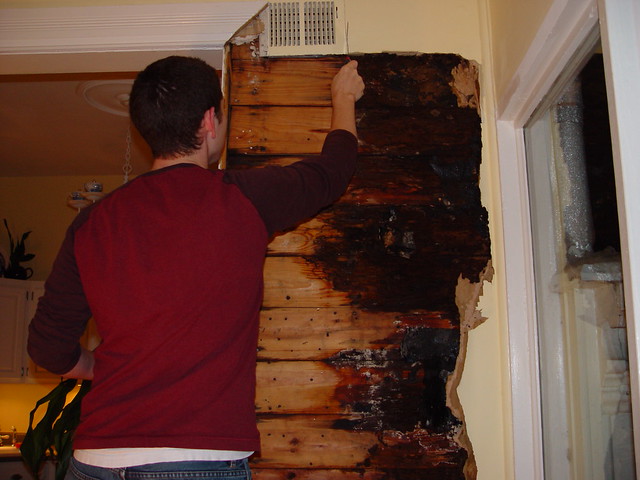
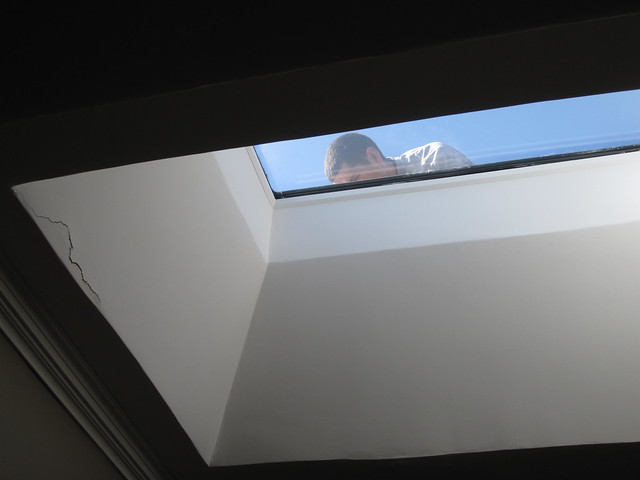
The guest bedroom bay window has been a bit of a pain in our sides since we bought the house back in 2003. Whether we're talking about the rotted windows, the uneven surfaces, or the fact the windows don't actually open, we've been dealing with issues related to this sad set of windows since day one.
Last week we had a run of several days with on again/off again rain and thunderstorms. This bane of a bay window actually offers some of the better views from our home when we're storm watching. About two minutes after posting this Instagram video of a thunderstorm that included lightening, wind, rain, and hail...
...I felt a drip of water on the top of my head. No, I wasn't outside, nor was I suddenly transported into our shower. This drop of water, quickly followed by at least four of its closest friends, hit me on the top of the head before I could really even process what it was I was experiencing.
"Odd," I thought, "it seems like water is coming into our house...oh wait, wait just a second...it IS coming into our house!!"
more]]>The guest bedroom bay window has been a bit of a pain in our sides since we bought the house back in 2003. Whether we're talking about the rotted windows, the uneven surfaces, or the fact the windows don't actually open, we've been dealing with issues related to this sad set of windows since day one.
Last week we had a run of several days with on again/off again rain and thunderstorms. This bane of a bay window actually offers some of the better views from our home when we're storm watching. About two minutes after posting this Instagram video of a thunderstorm that included lightening, wind, rain, and hail...
...I felt a drip of water on the top of my head. No, I wasn't outside, nor was I suddenly transported into our shower. This drop of water, quickly followed by at least four of its closest friends, hit me on the top of the head before I could really even process what it was I was experiencing.
"Odd," I thought, "it seems like water is coming into our house...oh wait, wait just a second...it IS coming into our house!!"
Wendy and I were both watching the torrents of rain outside, yet we quickly sprung into action to deal with the exterior water that had somehow found its way to our interior. I guess it had missed the "No Tresspassing...and this means you, H2O!!" signs I had posted.
We grabbed a bucket and a large cup and strategically set up a collection station beneath the seam above our bay window where the water had been dripping. To say we were high tech in our collection methods would be...well, generous. See for yourself.
The consistent storms of the week brought more water than relief, and our bucket brigade and collection station stayed in place until we'd be able to inspect the source of the week over the weekend, when both sunny days and more free time were expected. Until I could properly correct the issue, I removed a piece of molding and drilled a relief hole at the top of the window to hopefully allow the water to drip where we wanted it to go, rather than where it wanted to go.

Over the next couple of days I thought about the possible source of the leak. Through my consistent over analysis I was able to build a hypothesis. Due to the location of the leak, and the fact there wasn't an obvious errant trickle of water during the rains, I figured the water must be entering through a point on our roof, rather then through a backed up gutter or otherwise compromised element of our structure.
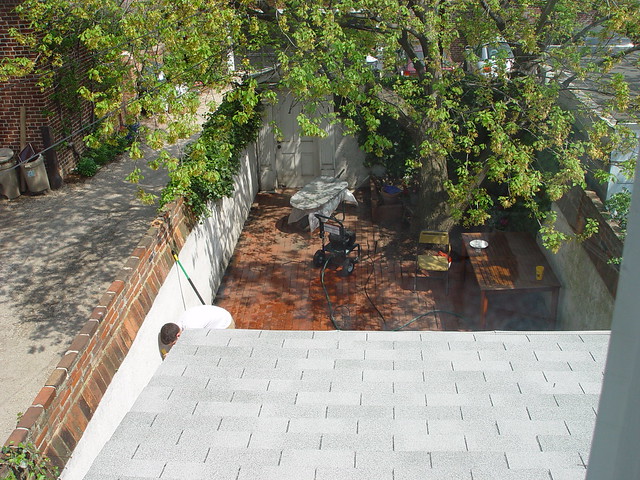
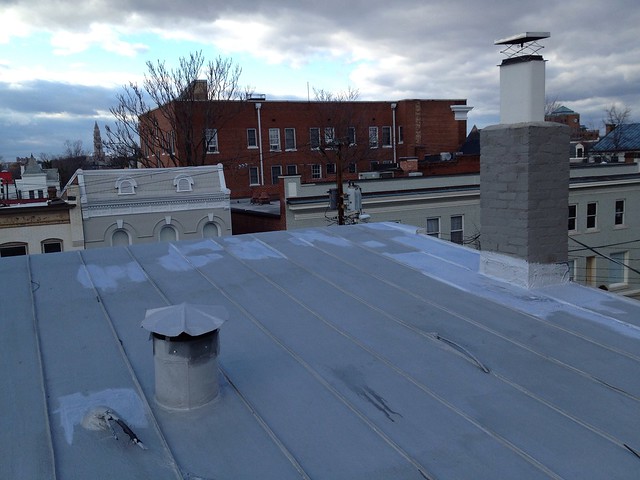
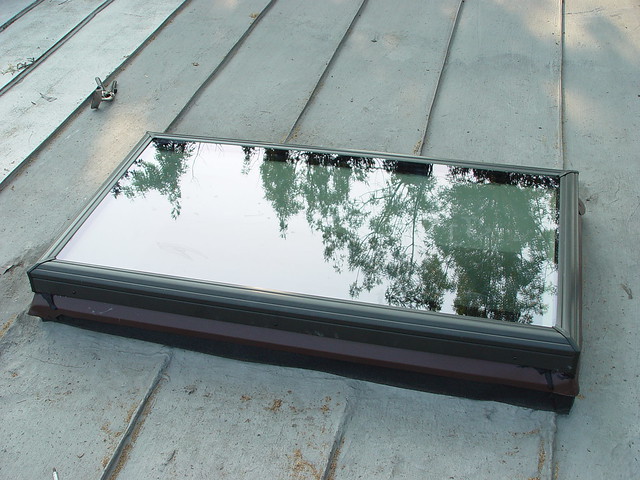
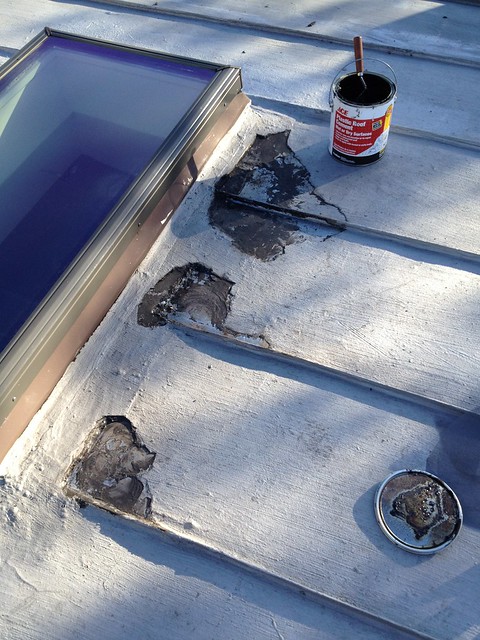
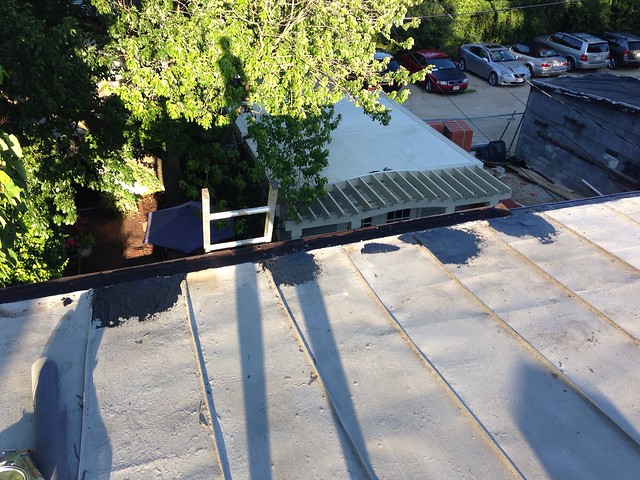
My suspicions were confirmed when I set up the ladder and climbed onto our upper roof. As soon as I found myself atop our home and overlooking the majestic scenery of Old Town Alexandria, I also saw our leak culprit.
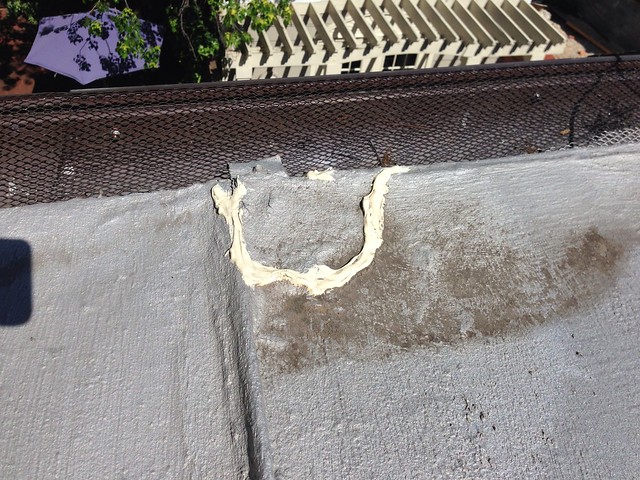
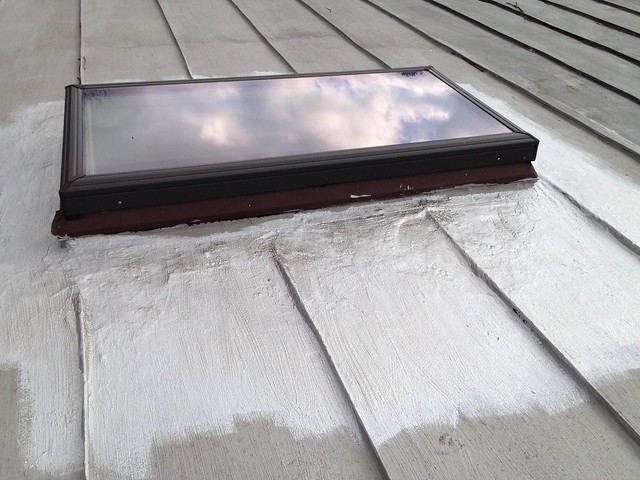
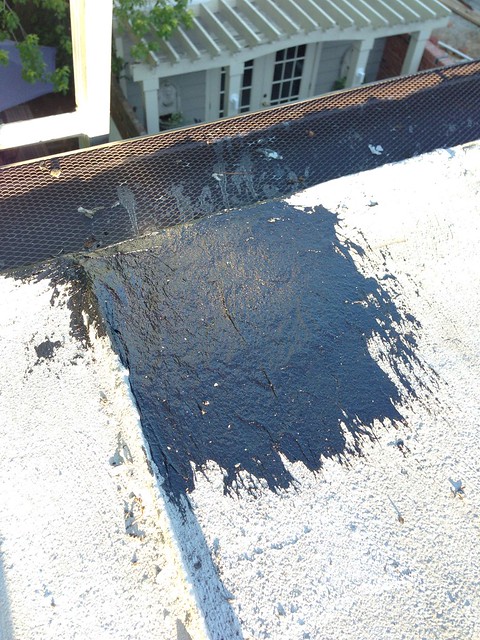
Do you see what I see? It looks like someone caulked our roof for us. I say "someone" because it definitely wasn't me. The last time I was on our roof I was painting the roof patch around our skylight, and this caulk wasn't there. I think a neighbor probably had a roofer working and they decided to take a field trip onto other neighbors' roofs. They probably thought they were doing us a favor by patching up a failed section of our roofing. The problem is that this patch job was not done properly and didn't correct the primary issue, it was only a temporary fix. As soon as the caulk failed, it began letting water into a problem area.
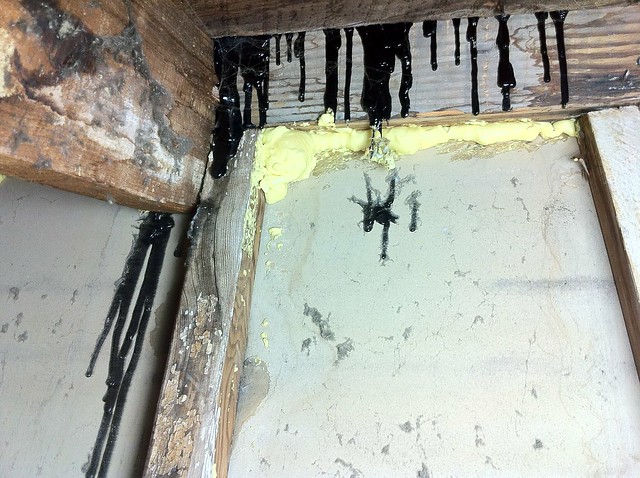
I started scraping the caulk away only to reveal the primary issue that was causing our bay window to resemble a rain shower head. It seems someone, at some point, many years ago, maybe 25 years or more, nailed a piece of tin directly through our roof.
There was actually a roofer working two houses over from us who was giving me odd looks because I kept taking photos of the work I was doing. Apparently he doesn't have a blog...
Now I can't claim to read minds, but I'm going to go out on a limb and say that the mind of the person who did this had something on his mind other than doing a good job. Most likely, he was probably thinking more about shiny things and how 2 + 2 might equal 9 but he's just not sure. In other words, m-o-r-o-n!
Who nails through a metal roof? Seriously? Seriously?
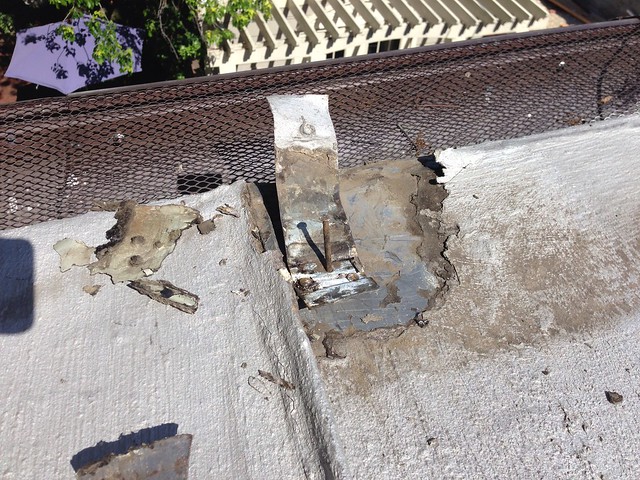
A poorly applied tar patch, placed over paint and without any fabric to hold it all together ultimately doomed this portion of our roof to leak always and forever...until we came along to fix it.
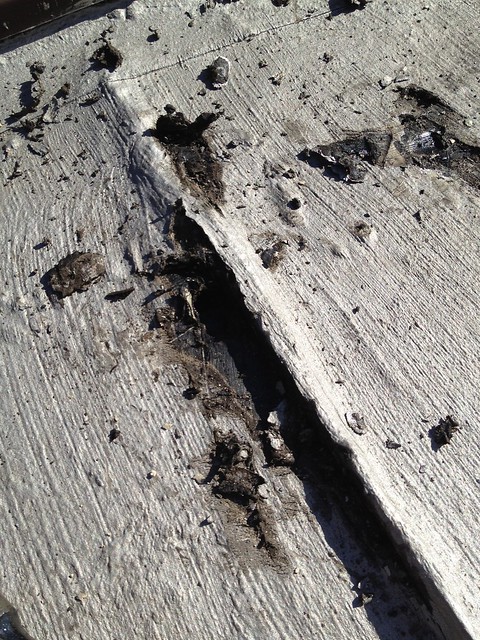
After scraping away the thick tar and paint I stared at the piece of metal and it taunted and provoked me as it stared back at me from our roof. Disgusted with this little piece of metal's mere existence, I removed it and the three rusted nail friends it was hanging out with. They were uninvited guests in our home, and I was the night club bouncer telling them they'd had enough and it was time to move on. However, their expulsion revealed the true number that had been done on our roof in the way of additional holes. These holes, which were probably made at the same time as the tin strip was applied, were simply allowing water that evaded the caulk barrier to pour right into our home each and every time it rained. Oh, the horror!!!

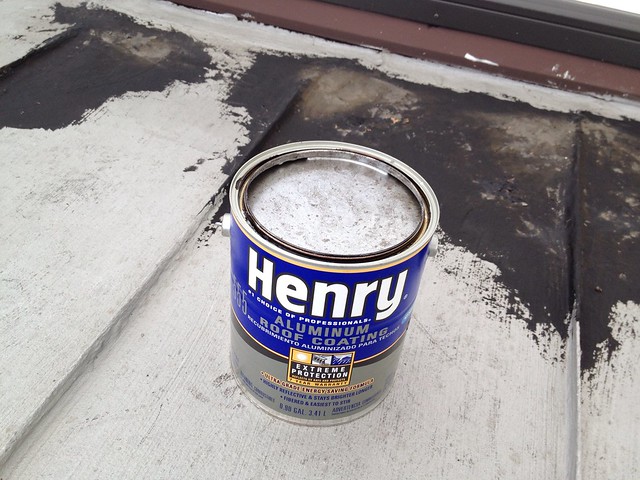
But have no fear. Now that I knew the root cause of our leak, fixing it was pretty straight forward. First, I shot the holes nice and full of a 100% silicone outdoor caulk. The point is to back fill the holes, not to seal them with caulk. This makes a final barrier and keeps moisture or other items from attacking our patch from the underside of the roof through the holes.
The cure for the caulk required a tad bit of downtime. Rather than getting down from the reflective roof on this glorious 95 degree day, I opted to enjoy the spectacular views of Alexandria our roof has to offer.
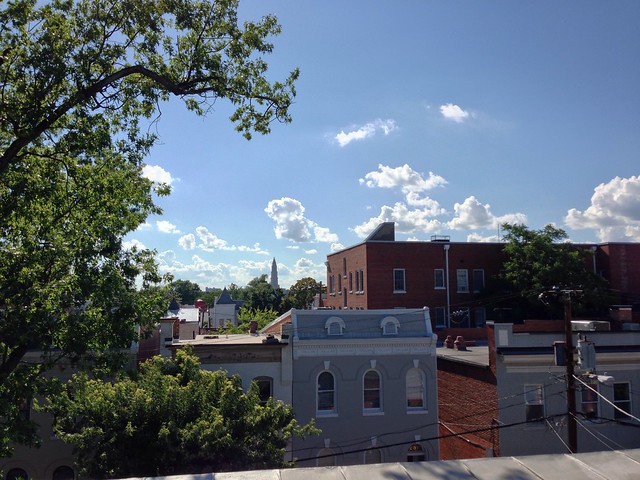
I also daydreamed about the possibility of building a roof deck. Sure, it would require cooperation from neighbors, a city variance, tons of structural work, and an upheaval of our life I can't begin to fathom, but it would be absolutely awesome, and totally worth it, I'm sure!
Okay, back to reality.
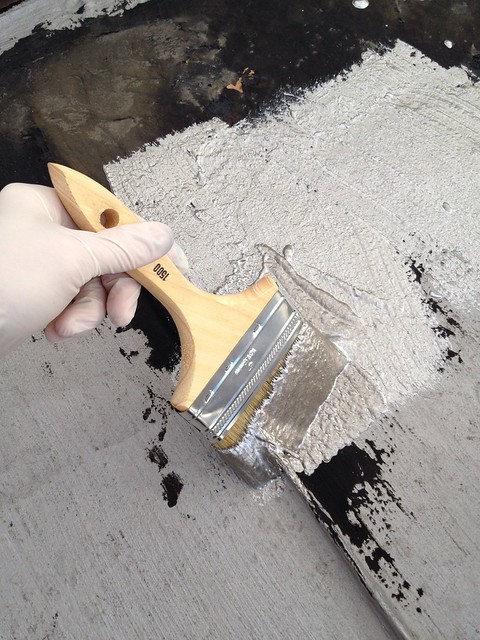
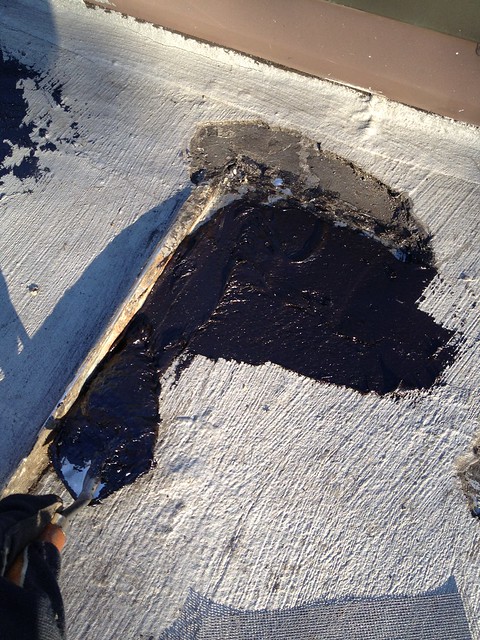
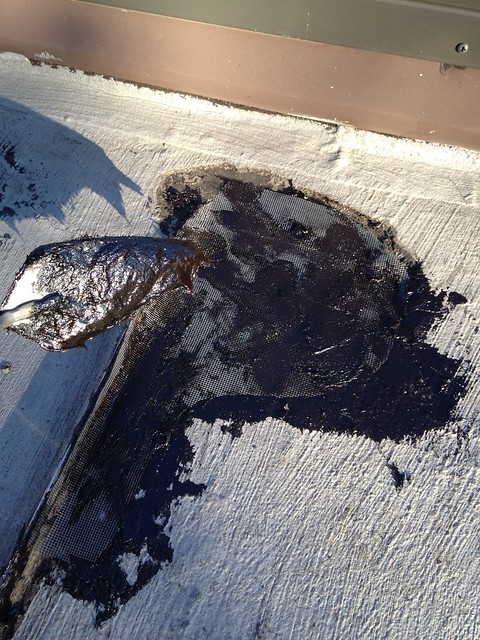
Once allowing adequate cure time, I thoroughly cleaned the area of the roof that will receive the patch, chipping away any loose paint, tar, or debris. The goal is to give myself a good and clean surface to work with, otherwise we'll end up on the exact same situation in a few months. Once clean, I cut myself a piece of fiberglass patch that will sit over the sensitive area.
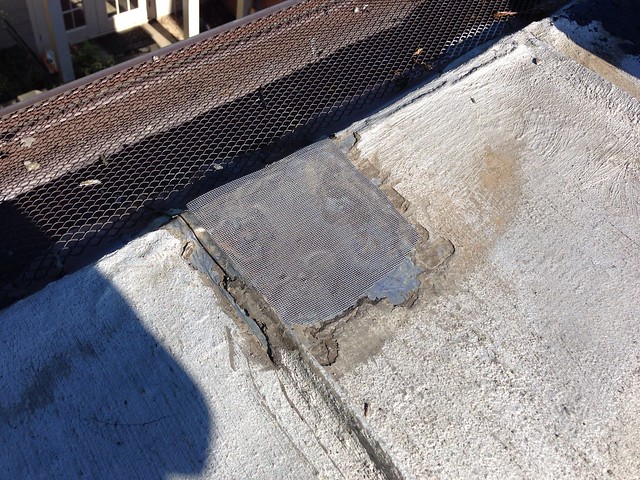
The fiberglass will give my patch the structure it needs to avoid cracking or failure when the roof expands and contracts in the varying temperatures of the seasons. I then applied an elastic tar-like roof coating over the newly exposed metal roofing, thus embedding the fiberglass patch into the material.
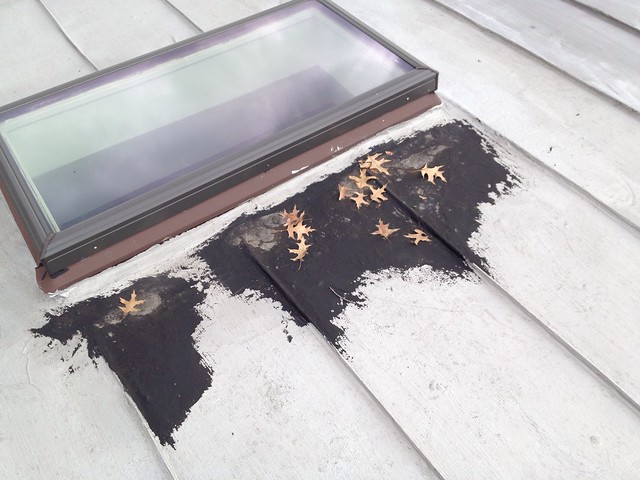
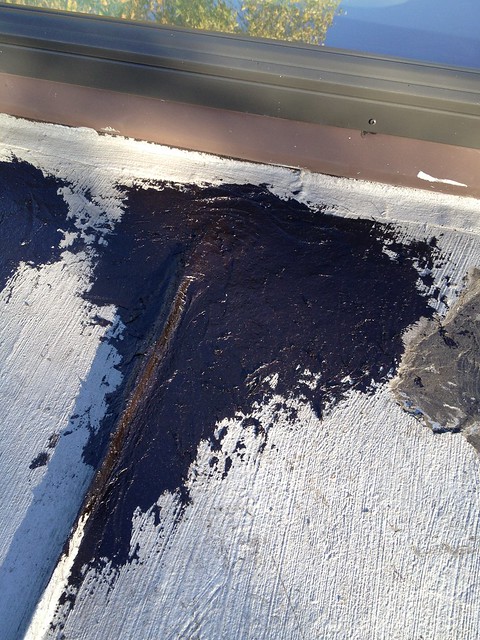
A final coat of roofing cement makes a water tight seal that will keep rain from finding its way under the patch and into our house. If this roofing cement's noxious smell is any indication of its quality and longevity, it should last for a good long time.
This photo is actually of another patch. I just realized I didn't take a final photo of the first area I was working on, but you get the idea.
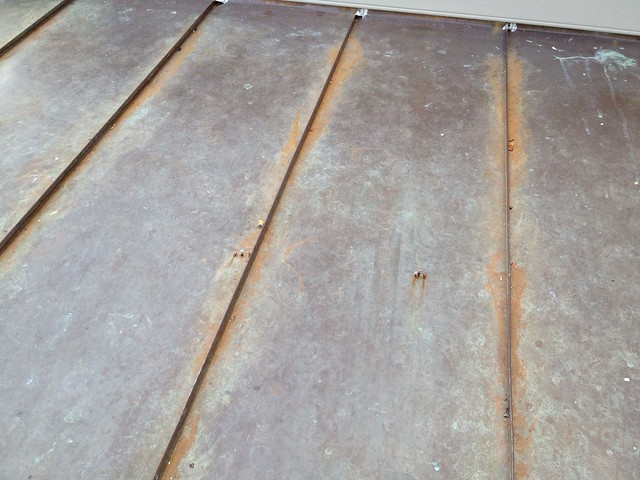
There are a lot of products on the market that can work in this scenario, but it's important to understand what will and won't work for your roofing surface. Our standing seam zinc roof is somewhat unique and requires specific surface prep or compounds to ensure adhesion. The ideal solution is actually a soldered on patch, but the location of these holes makes affixing a patch extremely difficult. So I opted for this flexible tar-like patch since I could apply it directly to the roof's surface.
The approach I'm using, along with normal maintenance and painting with a reflective coating (after full cure and when I paint the whole roof) will keep this part of our house dry for the life of the roof.
While I was on the roof and correcting the main issue, I also looked at several other suspect areas I knew would ultimately end up with the same fate as our initial problem area. I went ahead and did the same removal, cleaning, and repair on these sections as well. It's my hope that an ounce of prevention is worth a pound of cure, and we won't end up with water streaming down the inside of our walls anytime soon based on my corrections.
I'll need to let these patches cure for a little while before applying the next coat of roof paint, but our entire roof needs a coat of paint, so I'll probably be talking about that in the next month or so. I'll need to make sure I get to it before fall arrives. There's nothing worse than seeing your hard work covered by a layer of colorful fallen leaves before the paint can actually dry.
Are you dealing with any leak issues in your home? Have you ever had a good Samaritan "fix" a problem with your house, only to realize that they aided in making the problem worse? I'd love to hear your experiences.
]]>