Back in 2003 when we bought our fixer upper in Old Town red was my favorite color. It was the color I selected for my bridesmaids’ dresses when we married in October 2002, comprised about a third of the clothes in my closet, and naturally, I wanted to feature it as a main color in our new home’s decorating scheme.
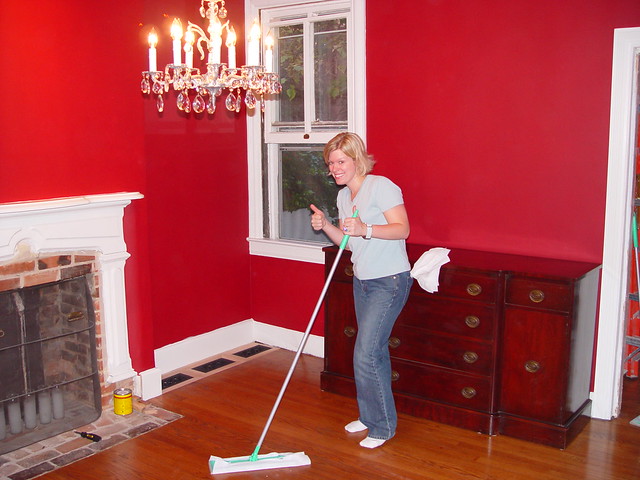
Back in the early 2000s bold red dining rooms were all the rage and we thought it would look great in our Victorian home. To fulfill our dream when we renovated our dining room in 2004, after some deliberation, we landed on Behr's Red Red Wine as the hue of choice. We excitedly dove into the project, having no inclination of what lie ahead. One coat of headache-inducing bright pink tinted primer later, we were committed. We had no clue how hard would it be to paint a saturated red on our newly plastered walls.
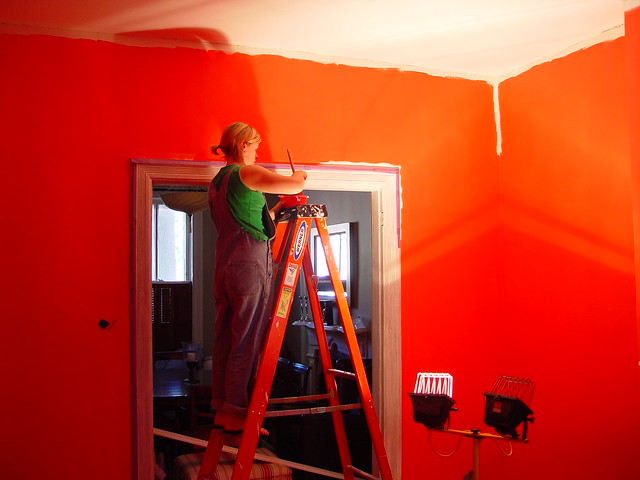
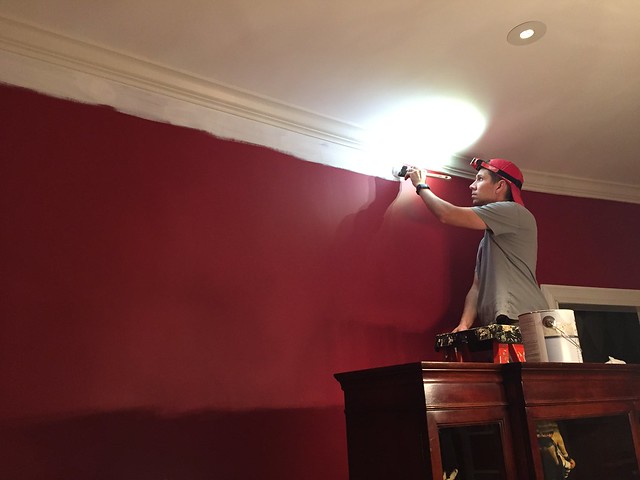
Oh boy, were we DIY noobs. An excruciating one coat of primer and four coats of red paint later, we finally reached the desired color and our dark and dramatic dining room look was achieved.
more]]>
Back in 2003 when we bought our fixer upper in Old Town red was my favorite color. It was the color I selected for my bridesmaids’ dresses when we married in October 2002, comprised about a third of the clothes in my closet, and naturally, I wanted to feature it as a main color in our new home’s decorating scheme.
Back in the early 2000s bold red dining rooms were all the rage and we thought it would look great in our Victorian home. To fulfill our dream when we renovated our dining room in 2004, after some deliberation, we landed on Behr's Red Red Wine as the hue of choice. We excitedly dove into the project, having no inclination of what lie ahead. One coat of headache-inducing bright pink tinted primer later, we were committed. We had no clue how hard would it be to paint a saturated red on our newly plastered walls.
Oh boy, were we DIY noobs. An excruciating one coat of primer and four coats of red paint later, we finally reached the desired color and our dark and dramatic dining room look was achieved.
We loved the end result, but there was no denying the amount of effort to achieve this look was way more than we had bargained for. Red takes so many coats to get full coverage, and back in 2004 we weren't using higher quality paint, which only meant more coats.
As a result, I swore to Alex that:
- I loved the color
- It was well worth the effort
- We would only use high quality paint from that point forward
- And we would never repaint the room
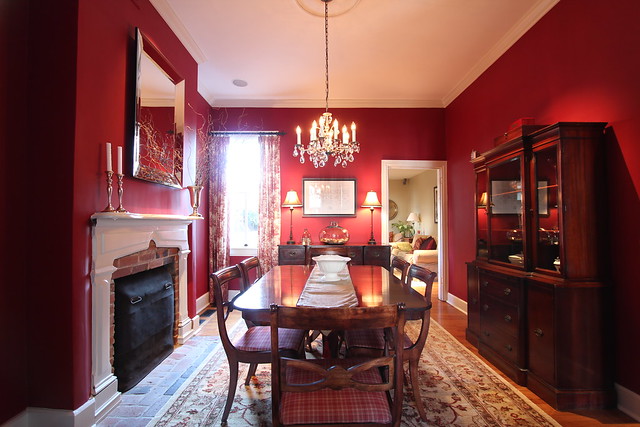
This Red Red Wine dining room was certainly dramatic, and our guests frequently commented on the color. It was even on the cover of Old House Journal several years ago when they did a story on our house, talk about surreal.

Fast forward roughly eleven years from when first painted the room and I had kept all of my promises. But the problem is that I was quickly falling out of love with our red dining room.
While the color looked great for the holidays and made for a cozy and moody backdrop for dinner parties, it also felt dark and oppressive during the day and especially during the spring/summer months.

The paint itself also wasn't holding up well and had developed a chalky finish in places. For example, in trying to dust the walls or wipe off smudges, any area we tried to clean would then have a smeared, white residue. In short, not only was I ready to move past my red obsession, it was time to freshen up the space.
For the last two years I've been laying the groundwork, mentally trying to prepare my spouse for the inevitable project, knowing that I'd be met with resistance. I've hinted, hung color swatches, made passing remarks, discussed it while we ate dinner in the room, and generally commented on it for years. I even ordered a new chandelier this summer for the room, which fortunately was on backorder, as it allowed me more time to get him comfortable with the change.
And so, in my true "jump around" approach to DIY renovation, I decided I simply couldn't live another day with the red walls. Forget that Alex is elbow deep in our window restoration project, we were frantically preparing our master bathroom for a magazine photo shoot, had family coming into town for a visit, and were a mere two weeks from our annual Halloween party. This project was happening...NOW.
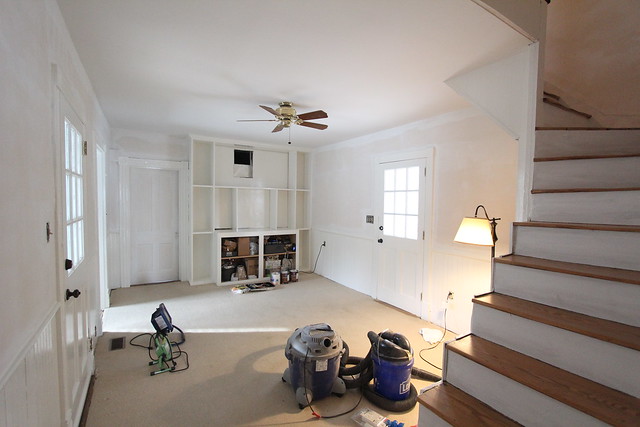
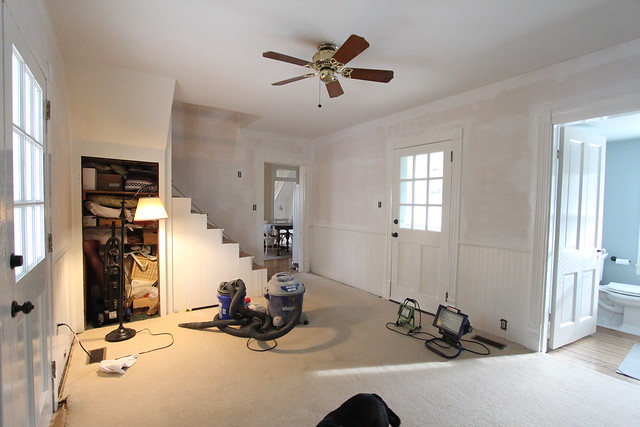
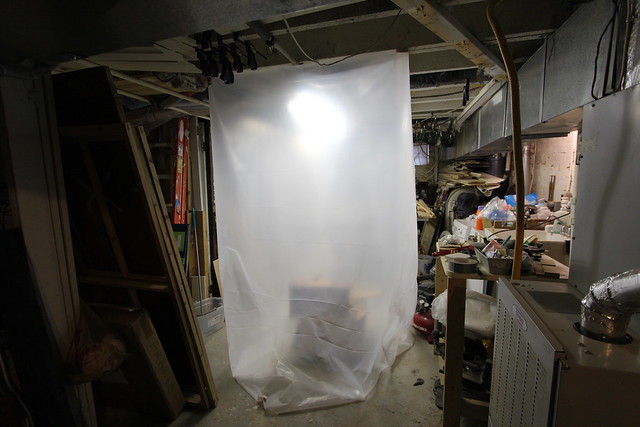
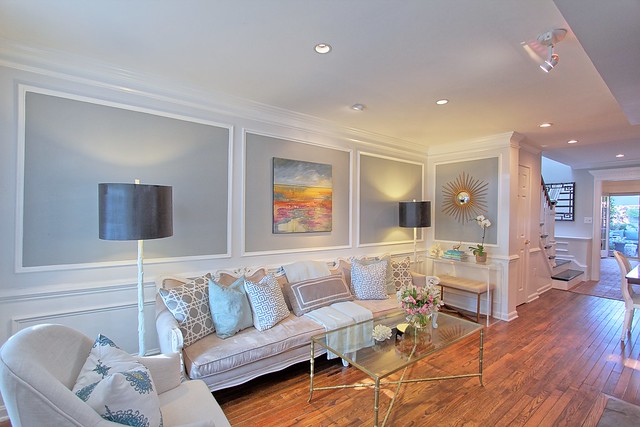
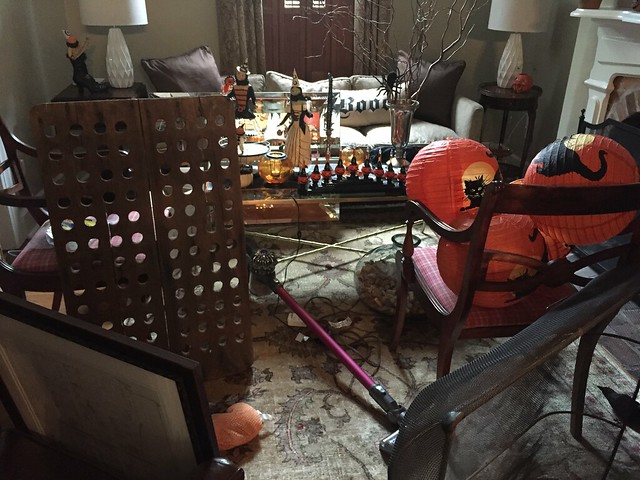
I fully admit the timing was terrible. For all of the reasons I mentioned above as well as the fact that we had just put out all of our Halloween decorations, thus substantially increasing the amount of stuff that we needed to move out of the dining room and subsequently cram into our adjacent living room while the painting was underway. I'm a total neat freak, so living in this type of chaos makes me crazy.
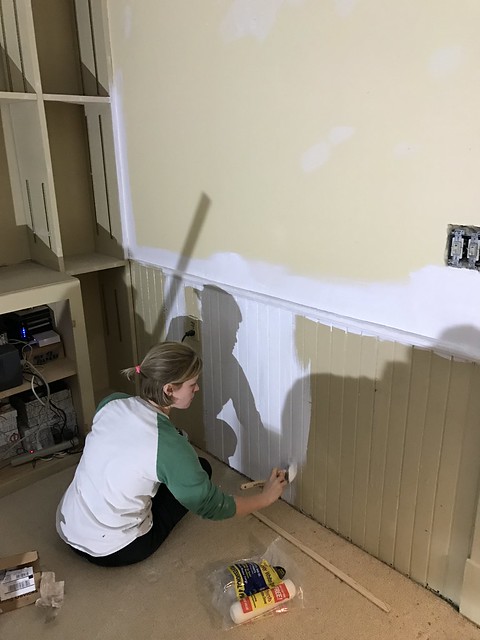
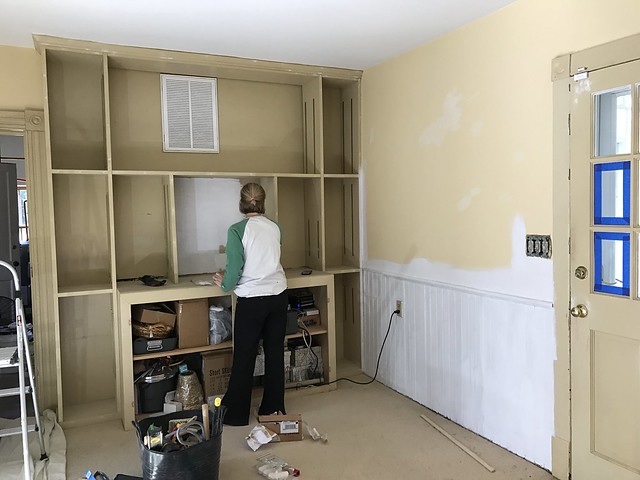
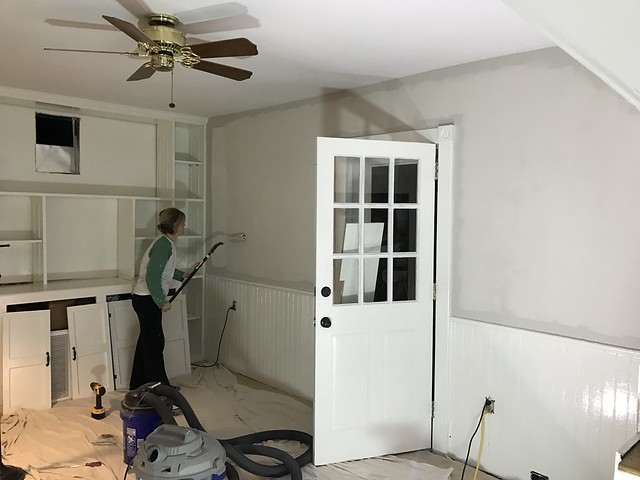
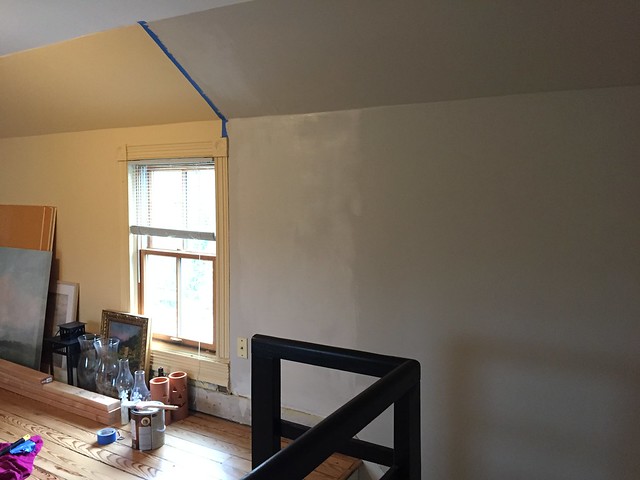
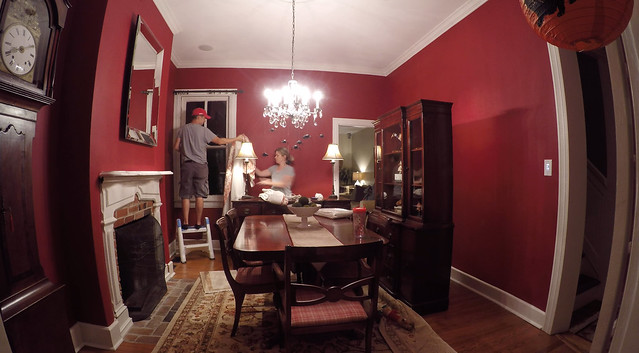
After we cleared out the smaller items and artwork from the room, we applied a first coat to the walls using Benjamin Moore's Fresh Start interior primer. Alex tackled the cutting in, while I managed the rolling.
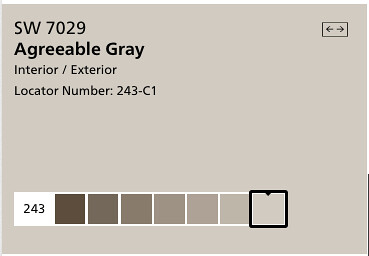
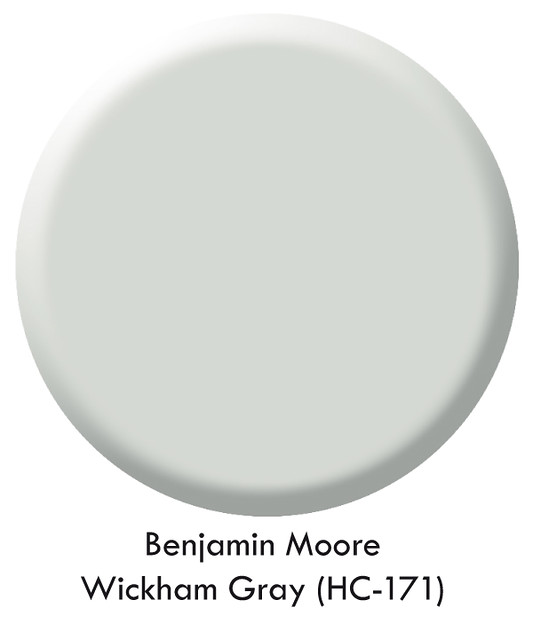
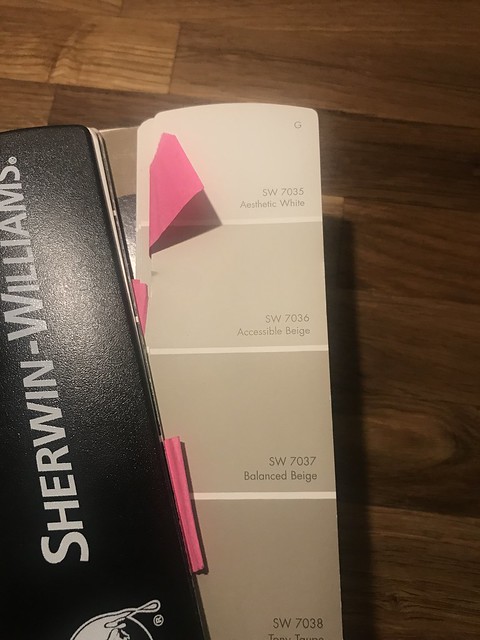
I also worked to choose a new color. My inclination is to go more gray (I've been on a SW Agreeable Gray kick lately), but in doing so knew that wouldn't work well with the beige tones of our living room sofa, rugs, and artwork. So I ended up choosing the more beige cousin of Agreeable Gray in SW's Accessible Beige. It's safe, a little boring actually, but it would work with the adjacent rooms, lighten up the space, and give us the fresh look I'm after.
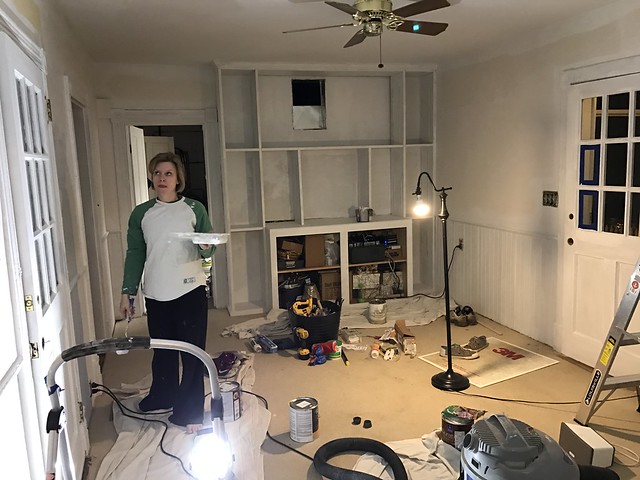
After working long days, we were tackling the priming and painting each night without any natural light. On night two we put on the first coat of Accessible Beige, and we both hated it. It had more of a butterscotch look in that it appeared very yellow. Alex was very vocal about his dislike of the color, and internally I was freaking out. Why couldn't I leave well enough alone? Why didn't I buy test paint? Why didn't I go more gray? Why did I insist on starting this project now? What was I thinking??
We called it a night after the first coat was up and the next day I drove to our local Arhaus to pick up our new light fixture, the Hemisphere Geode chandelier in antiqued brass, which had finally come in. The box it was packaged in was enormous, and just barely fit in the back of our SUV which you can see in the photo below.

I excitedly unpacked the chandelier and placed it on the table, then we continued our painting efforts.

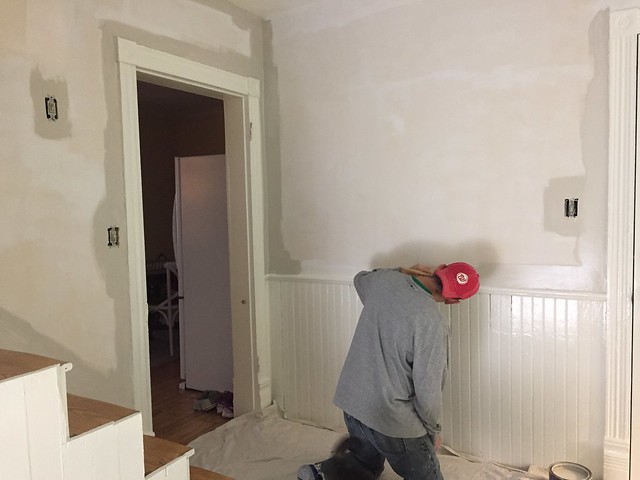
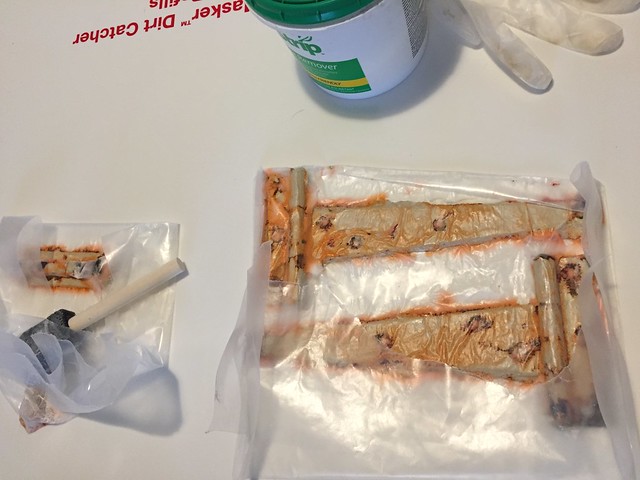
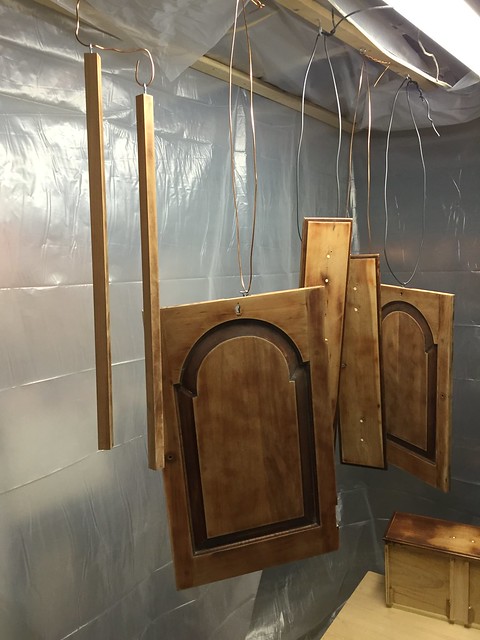
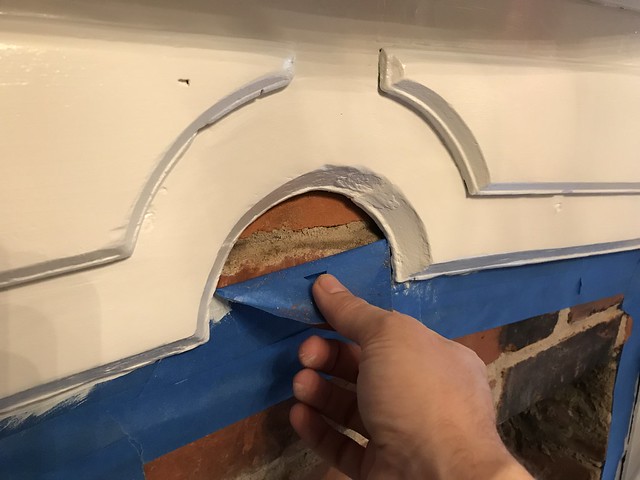
After we started painting the walls, unfortunately it became readily apparent that the trim paint had seen better days. Now 13 years in, it was scuffed and dingy, and we knew we needed to get a fresh coat on all the molding and fireplace mantel. Alex tackled this step, which added an additional day to the project, but it was well worth it.
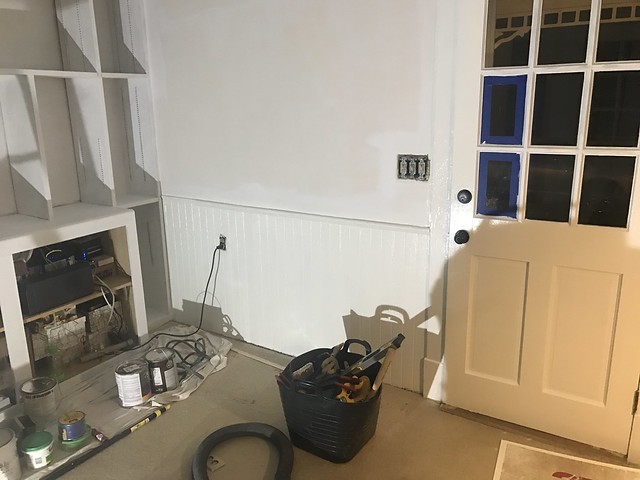
While we both initially disliked the color after one coat, we kept going. We wanted to completely finish the molding and cutting in of the color before we rolled the final coat of paint. But once that second coat went onto the wall, it was almost immediately looking better.

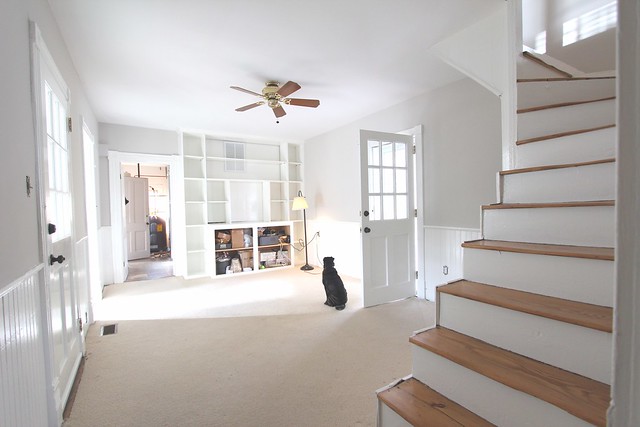
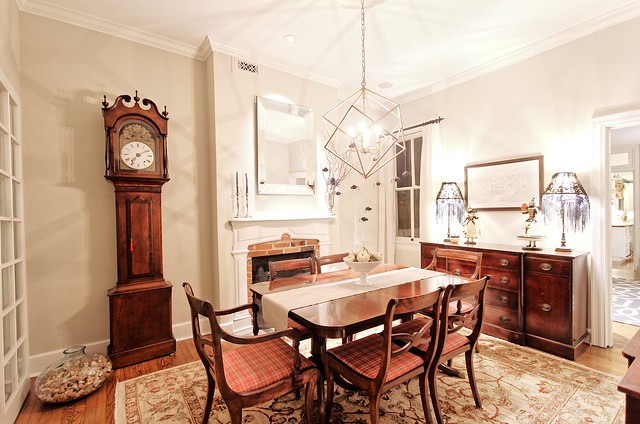
Full coverage of paint, no more streaks of visible primer, and with a fresh coat of trim paint on all baseboards, window and door casing, and crown, the whole room suddenly started looking more like I had envisioned.
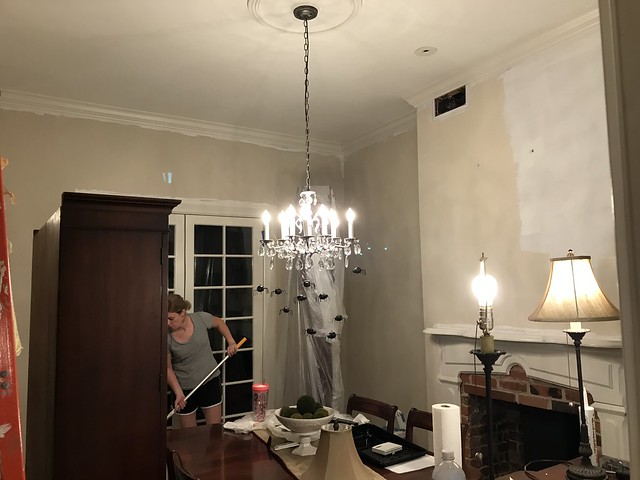
We both breathed a sigh of relief when it all started to take shape, then I turned my sights to installing the new chandelier.
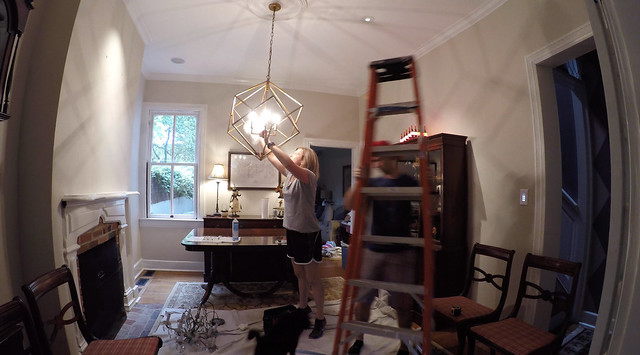
This new chandelier is a significant departure from what we typically have in our home, but I'm very excited about it. I love the geometric aspects to it and think the larger but transparent space it occupies actually makes the room look larger around it. The end result of our few days of effort painting, a new chandelier, and some inexpensive new curtains is exactly what I had hoped for when I nudged my cooperative spouse to start this project.
Sure, he may be in the middle of a window restoration, and stripping a closet door, but the smile on my face is hopefully enough to convince him that it was well worth the unexpected (but completely expected) effort.
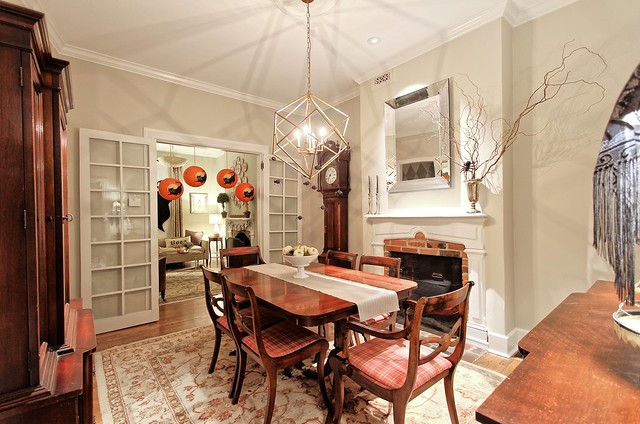
We still want to replace the rug, re-cover the chairs, find a less massive buffet, and Alex is pulling for a new dining table, but this room now feels less imposing and dark, and also appears so much larger with this lighter color. I hate to say it, but I'm actually looking forward to putting away the Halloween decorations so we can see what the room looks like without holiday decor draped on every surface.
]]>