Though our desk was a success from an aesthetics standpoint, it wouldn’t be a true “Alex” project without doing some sort of high tech integration. Truth be told, part of the reason I actually wanted to build my desk from scratch was due to my desire to go on my typical techno-overload. In other words, I wanted to build a desk that was constructed with tried and true woodworking techniques but only felt like it would be worth it if I were also packing it full of technology bells and whistles. Weird enough for you? Well, it's sort of the story of our whole house.
We're covering a lot of stuff in this post, so it is a little bit all over the place. If you have any specific questions about anything that you want me to elaborate on, let me know in the comments and I can provide more info on it there or as a separate post. Also, I know we covered much of this information in our original desk construction post from back in November, but some of it is worth repeater for new readers.
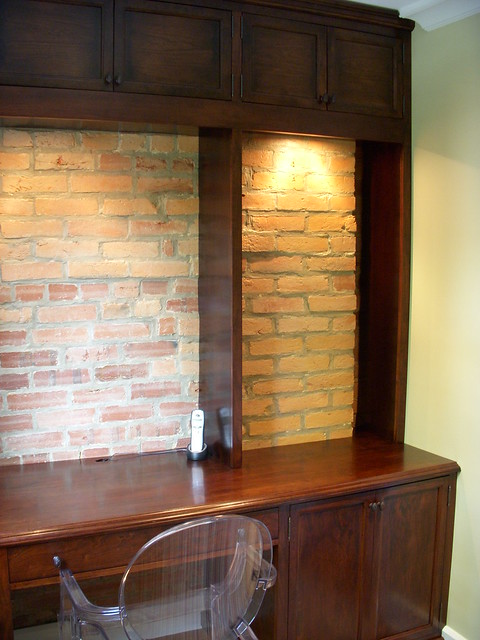
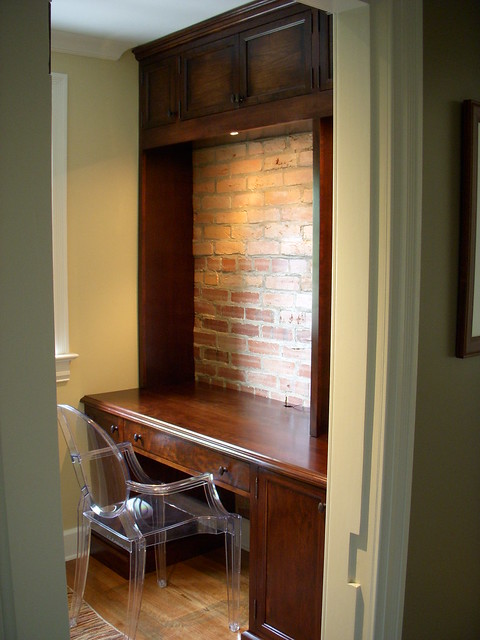
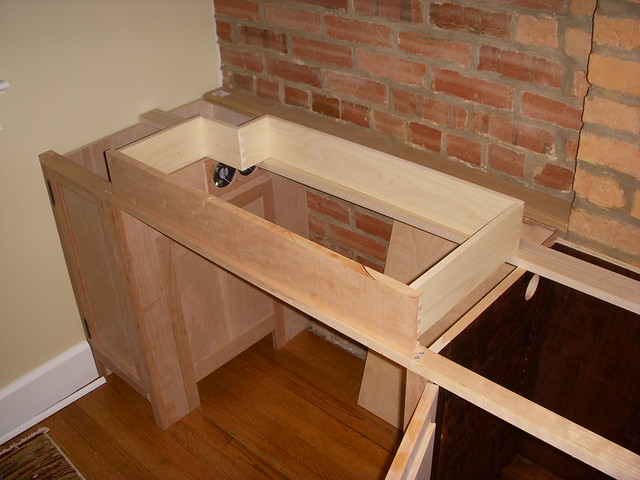
Even though the majority of the bells and whistles wouldn’t actually be used until the desk was pretty much completed, our planning and implementation for these aspects of the project started very early on. We kicked it all off by creating an access panel in the side of the left cabinet next to where the computer would ultimately live.
more]]>
Though our desk was a success from an aesthetics standpoint, it wouldn’t be a true “Alex” project without doing some sort of high tech integration. Truth be told, part of the reason I actually wanted to build my desk from scratch was due to my desire to go on my typical techno-overload. In other words, I wanted to build a desk that was constructed with tried and true woodworking techniques but only felt like it would be worth it if I were also packing it full of technology bells and whistles. Weird enough for you? Well, it's sort of the story of our whole house.
We're covering a lot of stuff in this post, so it is a little bit all over the place. If you have any specific questions about anything that you want me to elaborate on, let me know in the comments and I can provide more info on it there or as a separate post. Also, I know we covered much of this information in our original desk construction post from back in November, but some of it is worth repeater for new readers.
Even though the majority of the bells and whistles wouldn’t actually be used until the desk was pretty much completed, our planning and implementation for these aspects of the project started very early on. We kicked it all off by creating an access panel in the side of the left cabinet next to where the computer would ultimately live.

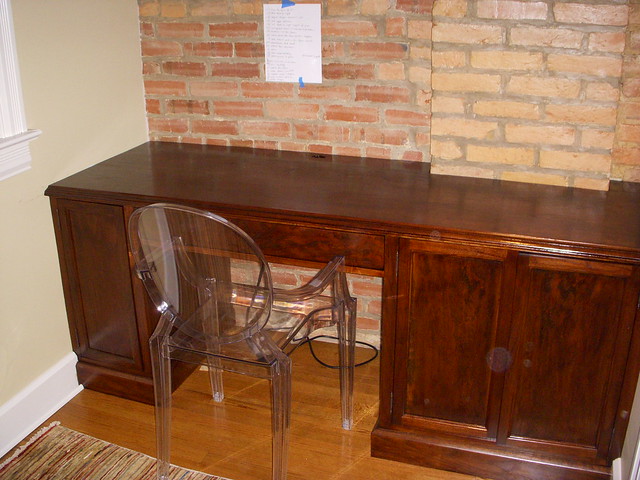
This desk access panel was a critical component to our overall concept of an "antique looking but functional for modern standards" desk. One of my major pet peeves of computers that are placed inside desks is that you have to completely remove the computer from the desk to do any work on it or to connect a new peripheral. This process involves disconnecting everything, pulling the computer out, probably scratching the shelf it sits on, and constantly having to shove extra lengths of wire behind the computer to allow for the necessary movement. What a hassle!
Rather than deal with all of the garbage associated with pulling the computer out, I thought “what if I build in a removable panel so I can take it off whenever I want to work on the computer?” With that innocent and simple concept, the “Pimp my Custom Desk” experience was fully underway.
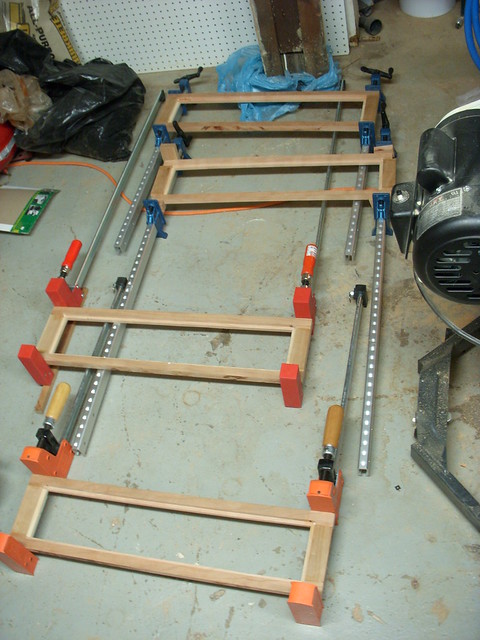
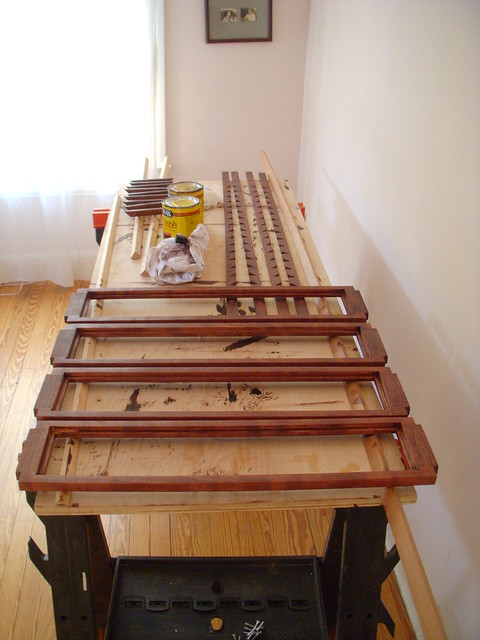
After sketching the removable panel into our original desk concept I built it as sort of an open door without hinges.
To disguise the fact that it could be taken off, I attached the baseboard directly to the panel. Once it was all stained, you can barely tell there is a panel there.
With the removable panel completed, I would have a great way to access the side and rear of my PC in a straight forward and easy manner. This would allow me to do any necessary work on the computer without the need to drag everything out, so problem number one was solved.

But what about heat from the computer, where would that go?
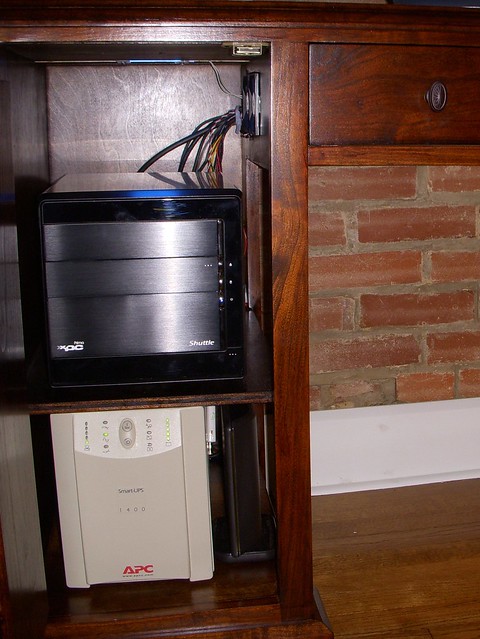
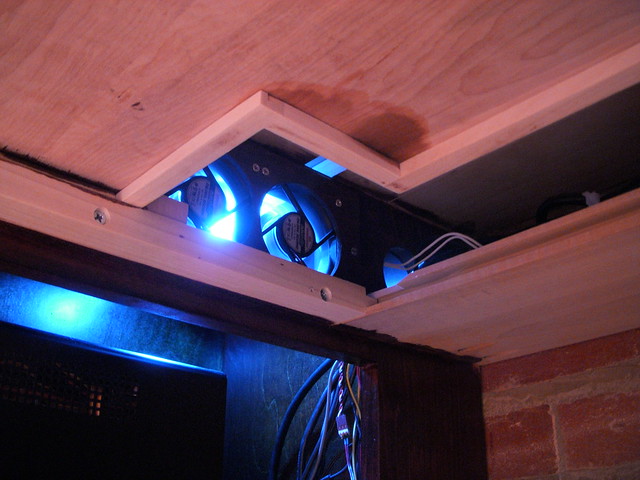
As you may know, computers create a tremendous amount of heat, and in a cabinet that heat needs somewhere to dissipate, otherwise it will end up shortening the life of the computer, or worse, killing it altogether. For this I decided that I needed to wire up a couple of computer fans right into the desk. Yes, you read that right, I wanted to include computer fans right into the design of the desk.
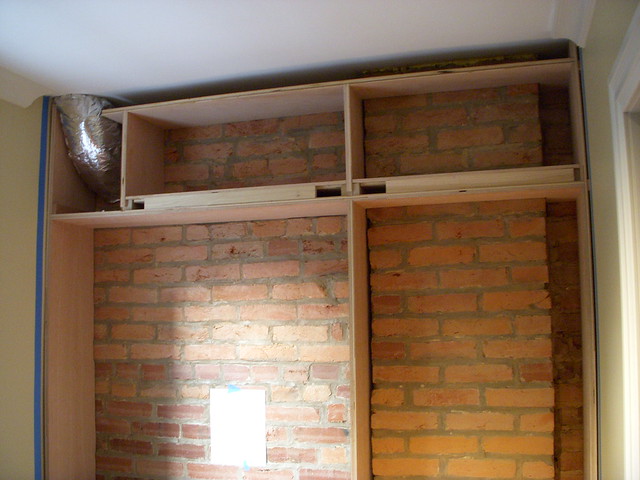
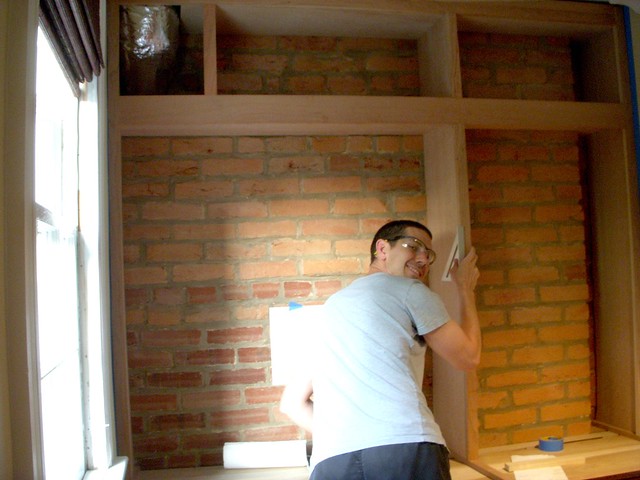
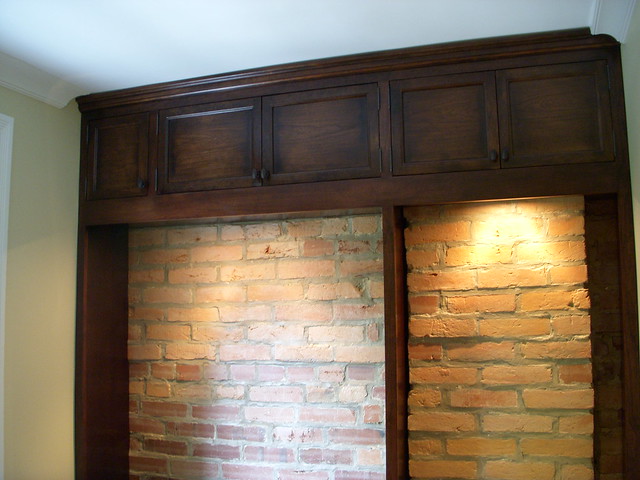
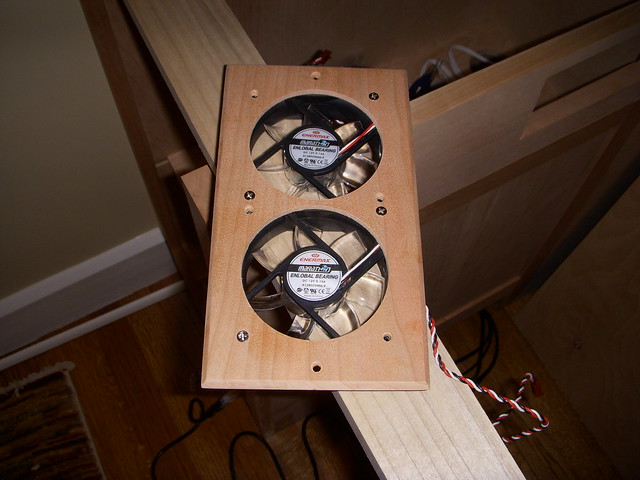
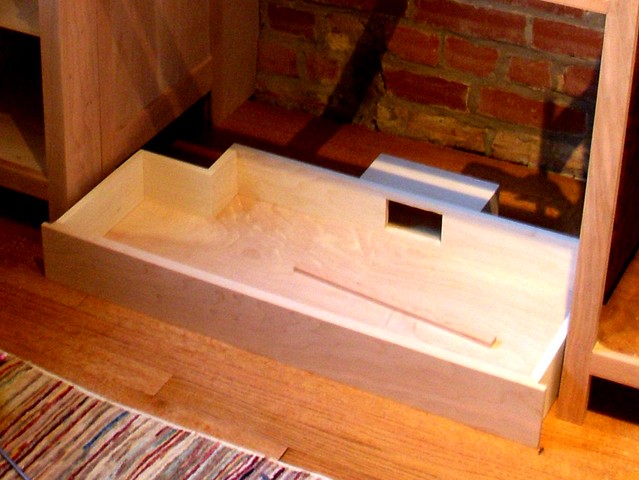
I figured that heat rises, so I cut a hole near the top and rear of the left cabinet above where the computer would eventually live (that's the large square cutout above the access panel in the earlier photo). The hole was large enough for two 90mm computer fans to be mounted side by side, but far enough back so you wouldn’t actually see it unless you were looking for it.
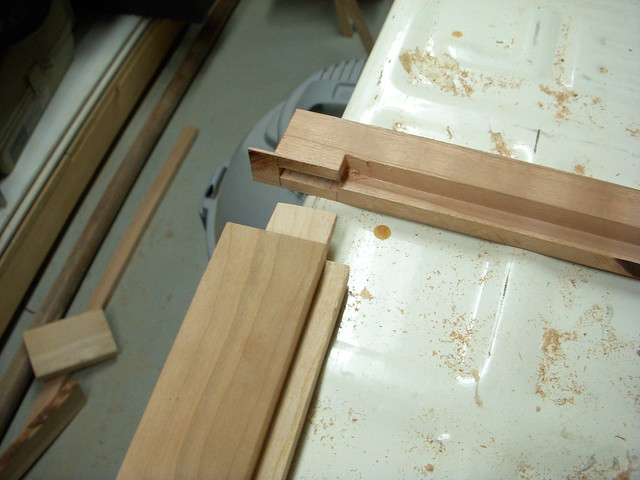
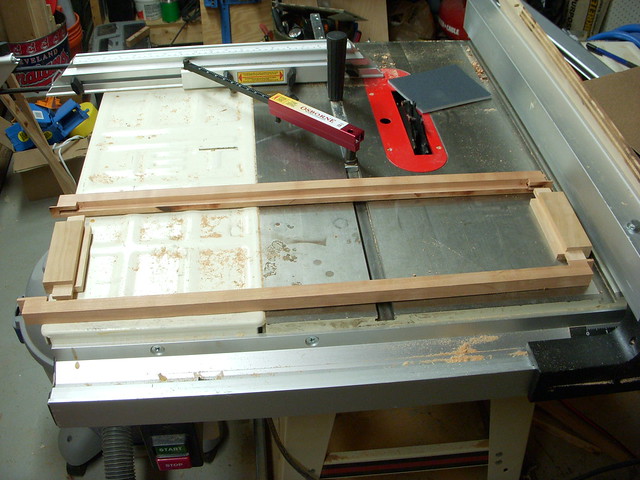
After making a paper template with all of the various holes necessary, I cut a custom fan grill out of a bit of the cherry so I could mount the fans to the grill before installing them in the desk, and then install the fan grill in place. Though I'm sure it doesnt look it, It was a huge effort to make a detail item like this, but well worth it in making the completely hidden fans look very neat and tidy.

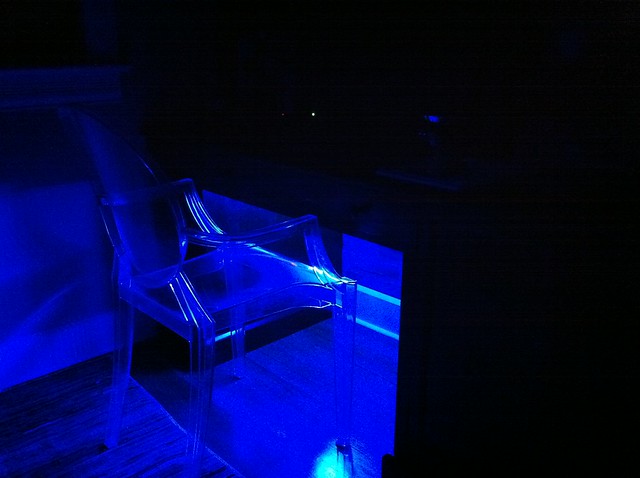
Since I was going to be powering the fans using an AC to DC 12v converter, a world of possibilities opened when it came to additional accessories I could use to make the desk as cool (not temperature in this case) as possible. I decided that no good computer project can be completed without the use of some nerdy mood lighting. Besides, if I removed the panel from the desk, I would need light to be able to work on the computer, right? So I wired up two blue cold cathode tubes to light the interior compartment of the computer cabinet.
One evening, after weeks of waiting, I wired everything up and tested out the fans and lights. IT WAS AWESOME!
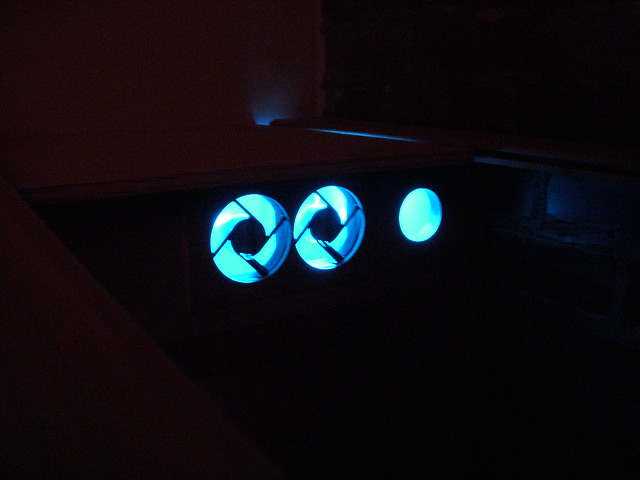
No joke, the desk looked like it was something out of Tron (one of my favorite childhood movies). Here it is with the normal lights on.

One item of note: Though cool looking, blue lights are not very practical to light your work area, and I still need to use a small flashlight. It's plenty of light, you just can't differentiate colors of wires or really tell what you're doing. But hey, you look cool fumbling around.
The final item I wired up in this removable panel compartment was a pressure sensitive switch that turns the blue light on only when the side panel of the desk is removed, but shuts them off when the panel is replaced. Makes sense, right? Why would I need the lights on when the desk’s side panel is closed?
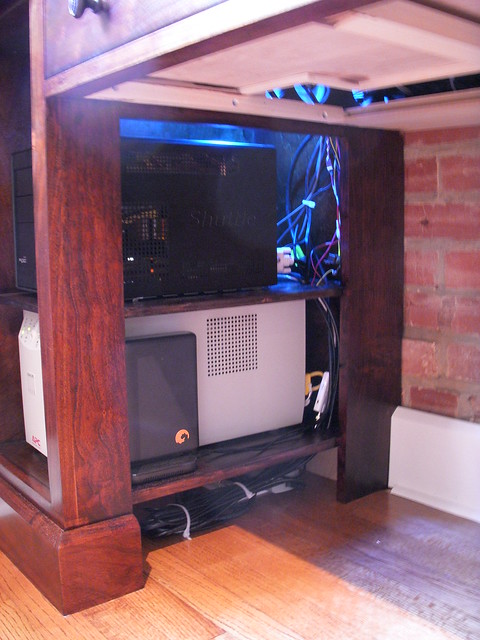
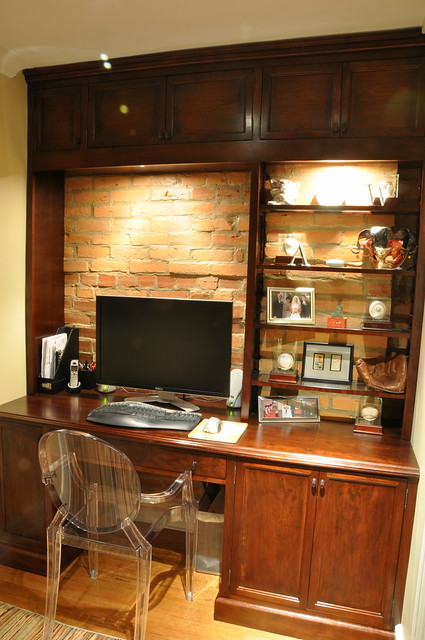
During desk construction we also placed the necessary network cabling next to the outlet that sits in the compartment beneath the bottom shelf and drilled several large holes in the shelves to allow wires to pass from compartment to compartment. Ultimately everything works its way down to an area beneath the bottom shelf that is only accessible when the panel is off of the side of the desk. This area is where the network and power for the PC come from and also where the external hard drive lives. It’s a wonderfully convenient place for it and keeps the rest of the cabinet from being completely cluttered.

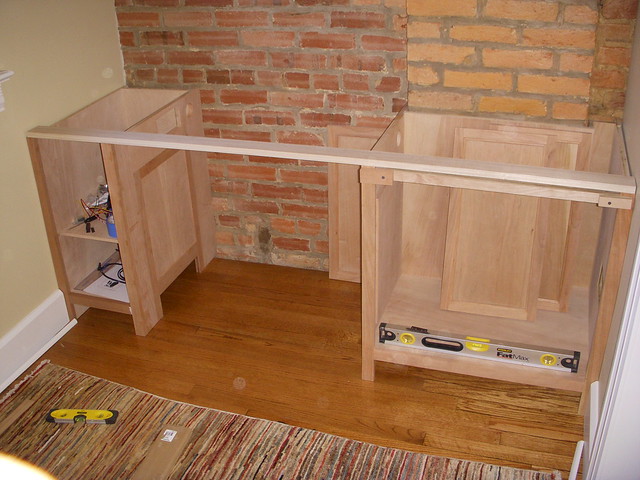
In addition to the holes in each shelf in the left cabinet, I knew we would have quite a few wires running through various parts of the desk. Whether we’re talking about the wires to the speakers, monitors, a USB hub, keyboard and mouse receivers, or anything else that the computer had to direct connect to, those wires needed to somehow get from their destination back to the computer in the desk. To accommodate this I cut several hidden holes in the various desk cabinets.
These holes allow the wires to run from location to location, only appearing where absolutely necessary. If there’s one thing I hate it’s exposed wires running all over the place when they could be concealed. This hatred for wires especially goes for the lower portions of desks where the wires are often draping down haphazardly into your foot area. You can see it in the upper right of the computer compartment.
To solve this wire issue I opted to install a ledge support that would act as a wire raceway. The support would run between the left cabinet and right cabinet and would allow any wires to run from the PC, through the holes, and across the shelf without hanging down in the back of the desk. You can see it at the top of this photo. Oh, and the weird stain on the bottom of the drawer, that's actually where some stain seeped through from inside the desk. Oh well.
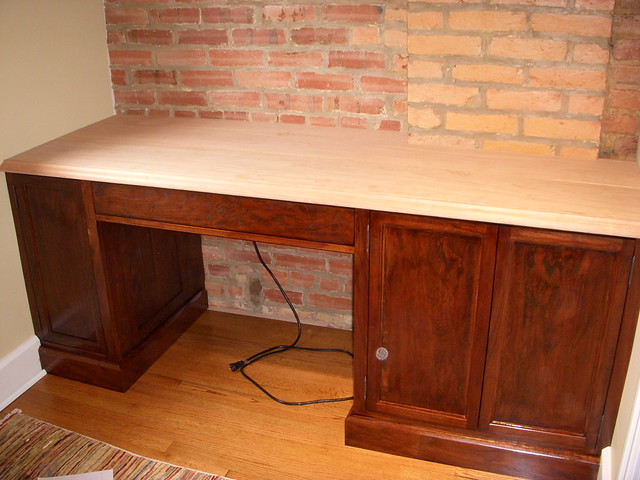
With all of the wires run, fans connected, and computer equipment installed, the desk still looked as neat and tidy as it did before we put anything in place. Mission accomplished.
But wait, I still have three more desk features I want to mention.
The first are my wireless headphones. When I’m up super late and working on the blog and watching episodes of The Office or Walking Dead, I don’t want to have my computer speakers turned up because Wendy is usually sleeping in our bedroom. Instead I use a pair of Seinheiser wireless headphones with charging base. I wanted to have easy access to them without having them sit out on the desk, but they also needed to connect to the computer. My solution? I wired up the base to the computer and then put a few screws under the desk to mount the base to. Now the headphones are neatly tucked under the desk and charged for when I need them. All I need to do it grab them and put them on and I’m listening wirelessly to whatever is on my computer.

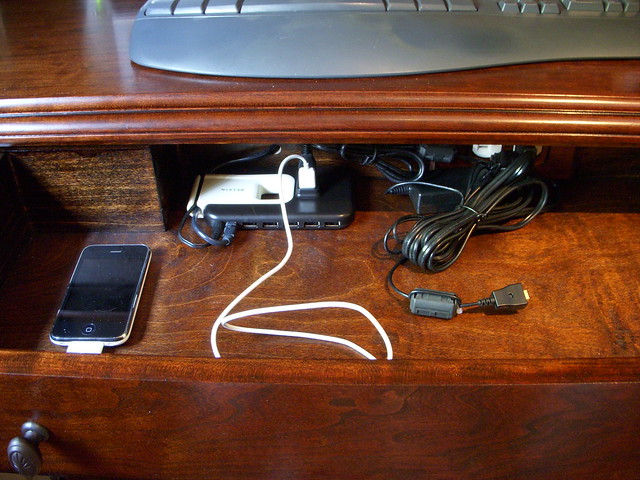
The second hidden gem is what I did inside of the main desk drawer. We knew we wanted to be able to charge devices (like phones or cameras) but didn’t want chargers all over the place. We also have a need for various USB devices that are easily accessible, like card readers or anything else. Again, rather than have this stuff all sitting on the top of the desk or in a hard to reach area, I decided on something a little bit cool.
I figured I could build a plug into the back of the desk drawer. I built a small wooden box that could house a gang box, cut a small hole in the rear of the drawer, and attached the box to the rear of the drawer.
I then installed a duplex outlet in the hole and connected the end of a short extension cord to it. We were able to run that cord to an outlet in another part of the desk and, BAM, we have a desk drawer with power. We ran a USB wire from this part of the desk over to the computer and we were in business. Now we can charge our cell phones, camera battery, hook up devices for connection to the computer so I can program them, and even house my card reader so I can connect to VPN without needed to have the stuff sitting on the desk.
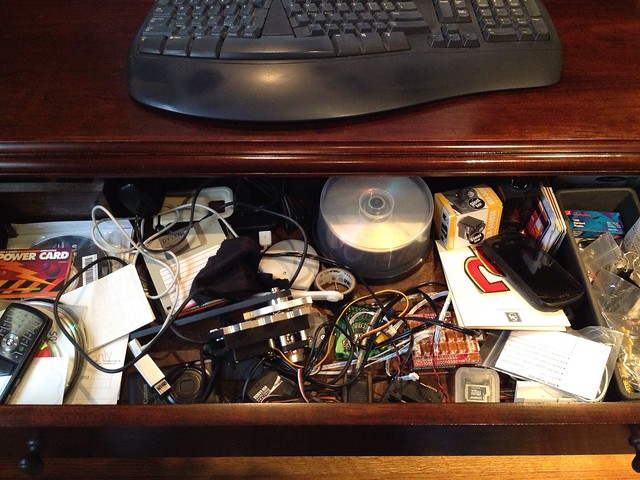
Unfortunately, this drawer has gotten a little messy over time. Here’s more recent shot of the drawer to show how what it holds today. Let's go ahead and add this to the list of things that needs to get organized up on our "clean every cabinet and drawer" resolution for 2012.
And finally, a more recent addition to the desk comes in the form of more lighting. When I built the desk, LED lighting was rather new and still somewhat expensive. Recently, after one of the desk fans started to buzz and needed to be replaced, I started browsing around a PC mod accessory site and found some inexpensive LED lighting tape. I decided to buy some and give it a shot. Here's a shot of the tape and how it is installed (with bad lighting and poor photography skills highlighted).
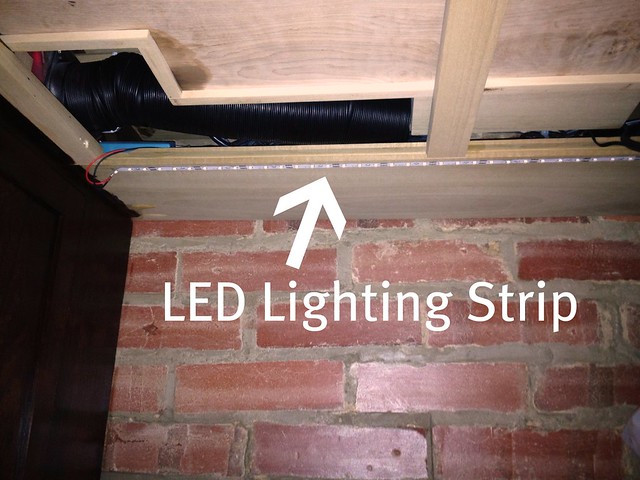
The LED tape is flexible, super easy to work with, and is applied using some double sided tape. I was able to hook it up to the existing wiring for the other lighting and had additional blue desk under-glow in just a couple of minutes.

Really, who doesn’t need blue mood lighting under-glow in their custom antique inspired cherry desk? If you ask me, I’d say “Nobody!”
There you have it, the “Pimp My Ride” of DIY desks executed to the fullest. By the way, Wendy wants me to point out that our "desk underglow" is only permitted when I'm doing work on the computer or I'm nerding out in my office alone. Underglow is not the approved lighting of choice for day-to-day operations or when guests are present. <sigh> I just wish she understood how cool this is.
What do you think? Is the end result of my efforts thoroughly overkill and sufficiently cool? Did I miss anything obvious that I absolutely should have included? I’ve already thought about doing integrated water cooling for the computer so I don’t need to hear fans. Any other ideas are welcomed.
If you liked this entry, be sure to check out our whole collection of desk building posts that recaps the adventure from concept to functional office furniture.
]]>