Yes, it's true, this ongoing, on again, off again project has been in its final stages for some time. With our post about the finished custom cabinets we essentially checked the last big box on our punch list before we could really consider this room done.
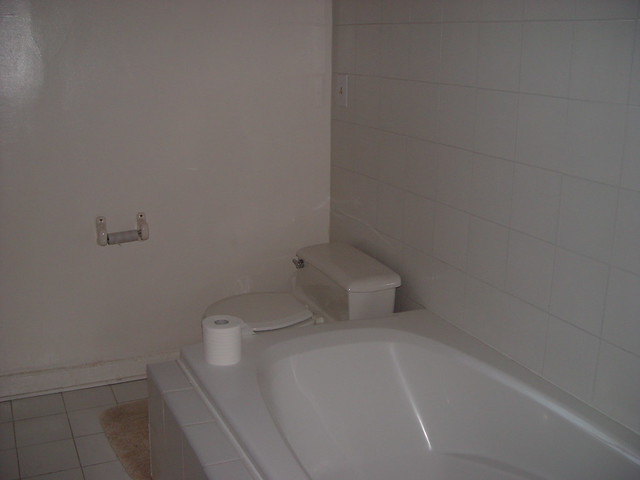
We've wanted to share the overall end result of this room so many times, but we never allowed ourselves to call it complete and write this blog post until we actually achieved the milestone. Considering our bathroom looked like this when the project started...
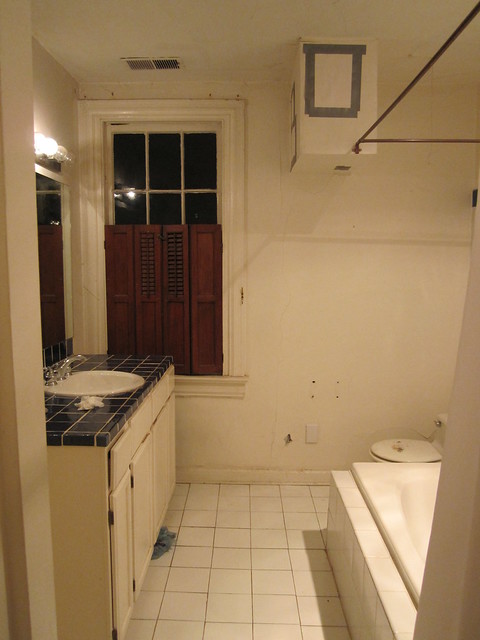
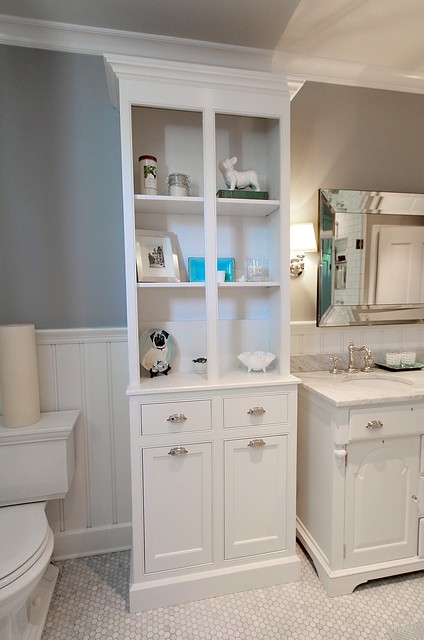
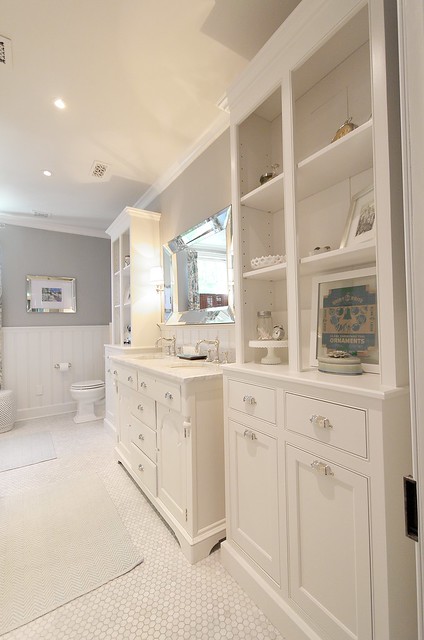
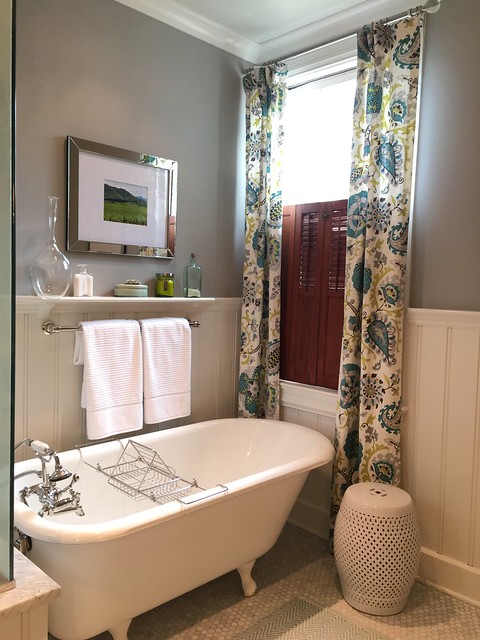
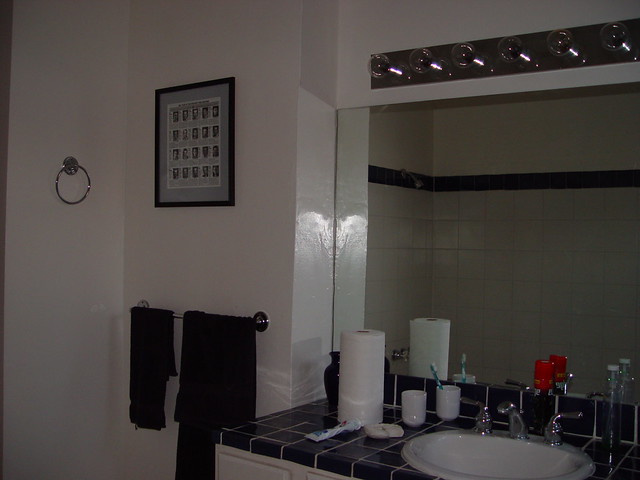
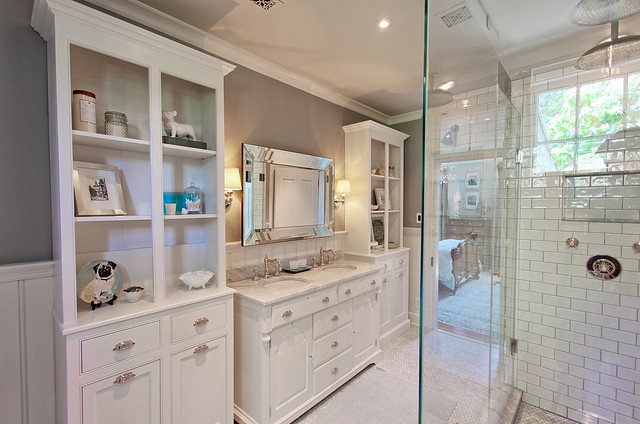
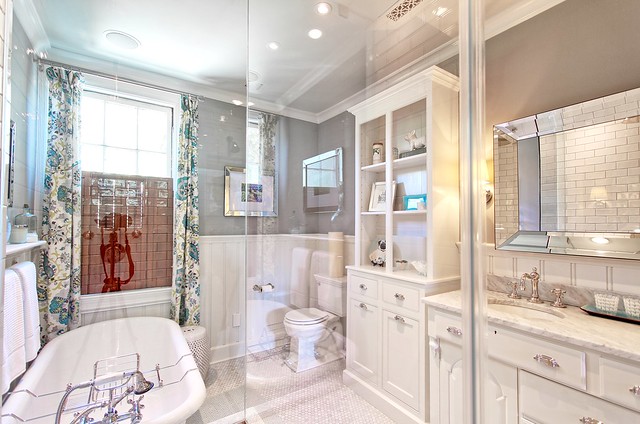
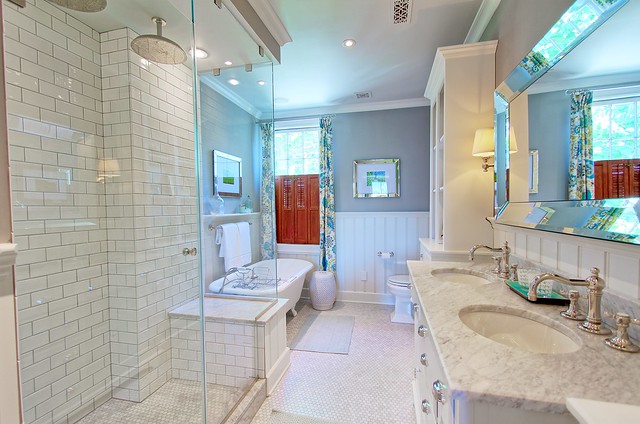
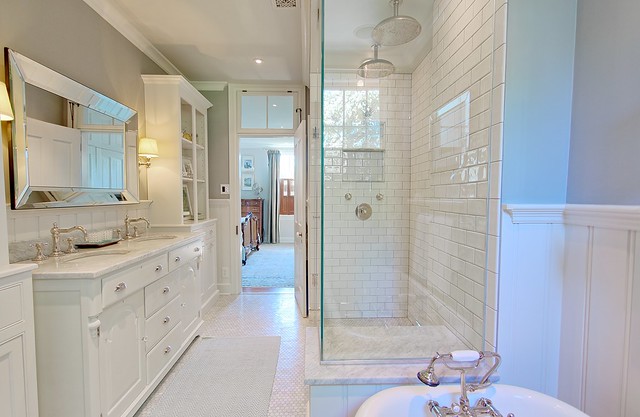
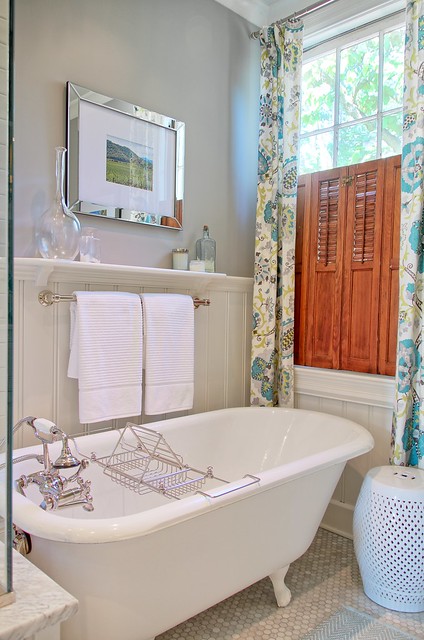
...I'm sure you can understand our excitement at the fact it looks like this today.
more]]>
Yes, it's true, this ongoing, on again, off again project has been in its final stages for some time. With our post about the finished custom cabinets we essentially checked the last big box on our punch list before we could really consider this room done.
We've wanted to share the overall end result of this room so many times, but we never allowed ourselves to call it complete and write this blog post until we actually achieved the milestone. Considering our bathroom looked like this when the project started...
...I'm sure you can understand our excitement at the fact it looks like this today.

Can you believe that's the same space? I can't describe to you just how happy this before and after makes us.
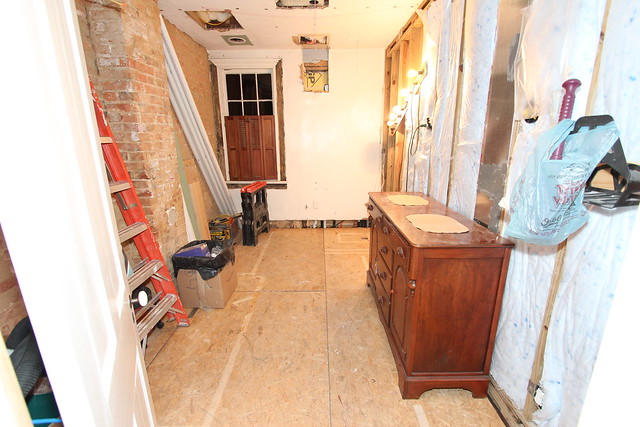
The photos we took during our home inspection are some of the only photos we have of the bathroom in its original form.
The angles are bad, lighting is terrible, but it can give you a sense of what we had to work with.
It was a "fine" master bathroom for a while, but we always knew what we wanted it to be. But before we could get there, we had a long road ahead of us.

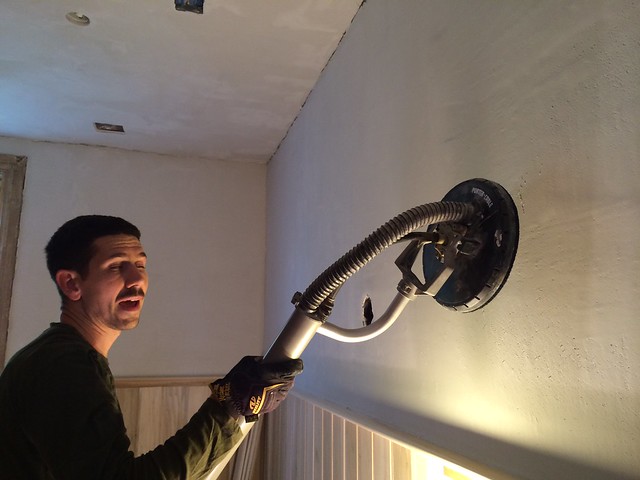
As we share more photos of our journey, let's take a little trip down memory lane to revisit where we were and how far we've come. Maybe I can even sing you a little tune, as I apparently like to do while working on joint compound and plaster.
When we purchased our home in 2003 the bathroom left something to be desired. It was an odd room that combined a pass through closet with an oversized jacuzzi tub shower...that had no shower curtain. We ultimately put up a makeshift curtain on a copper pipe for a little while.
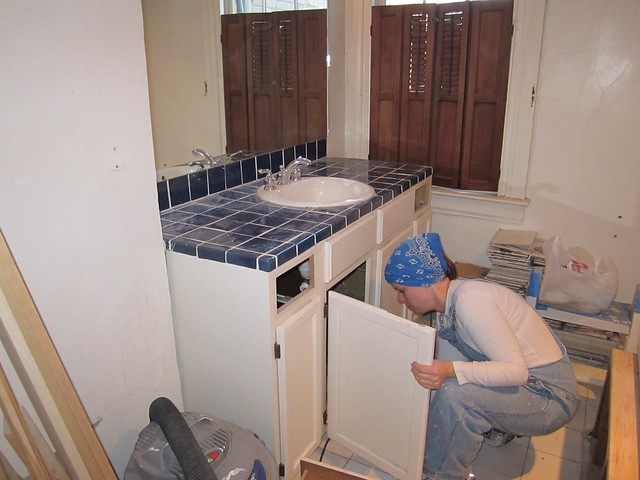
The homemade plywood vanity with blue tile top was a breeding ground for bacteria and mildew where water would collect in crevices. There were two small and poorly functioning drawers with open cabinets below where everything would end up piled on the bottom of the opening.
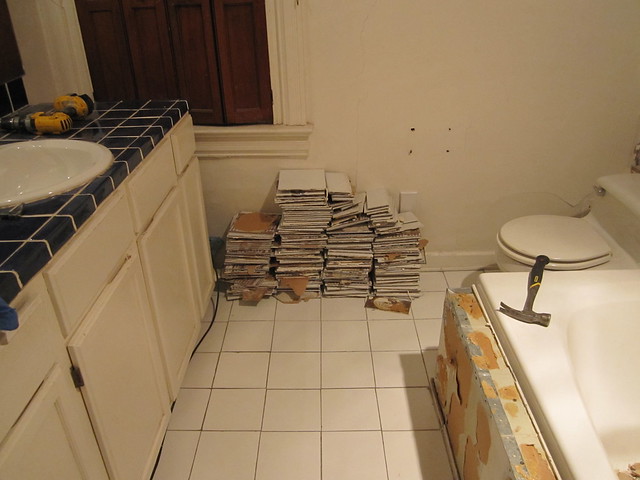
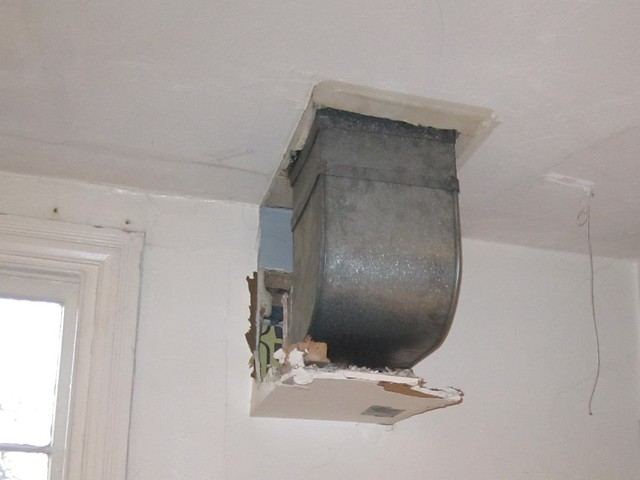
There were more issues than just the vanity. The walls and ceiling were cracked and crumbling in places, the room was always too hot in the summer and too cold in the winter, and the floor tile was so old and scratched it could never really get clean. There was even a weird ceiling drywall box concealing attic duct work above the toilet that always left us a little perplexed.
Needless to say, when it came time to tear this bathroom apart Wendy and I had no hesitation whatsoever, and she looked forward to its timely demise with tremendous enthusiasm.
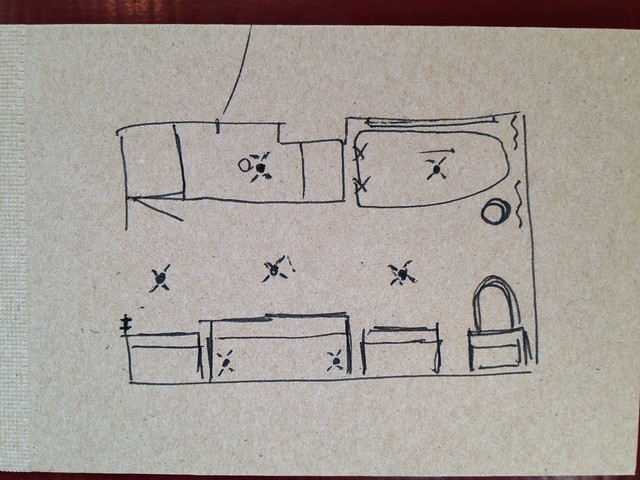
Throughout the on again off again efforts in this room, we never stopped daydreaming of the bathroom we would ultimately build. We had a few simple goals in this room, all hopefully achievable. Like so many of our projects, our ultimate goal started life on a napkin sketch while out for drinks and dinner one night.
This bathroom was easily the biggest undertaking of our DIY lives, and we had a lot of wants we hoped we'd be able to fulfill. Looking back on those early days, it was daunting. But in our lives, *super* slow and steady ultimately wins the race. The key was sticking with it while trying to accomplish each of our project wants, along with all of the project needs.
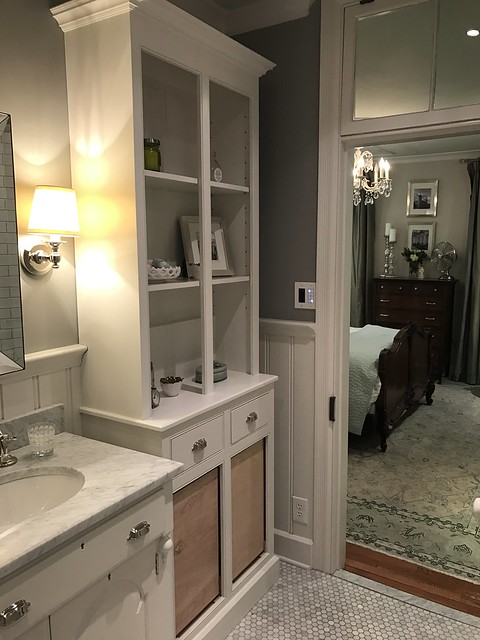
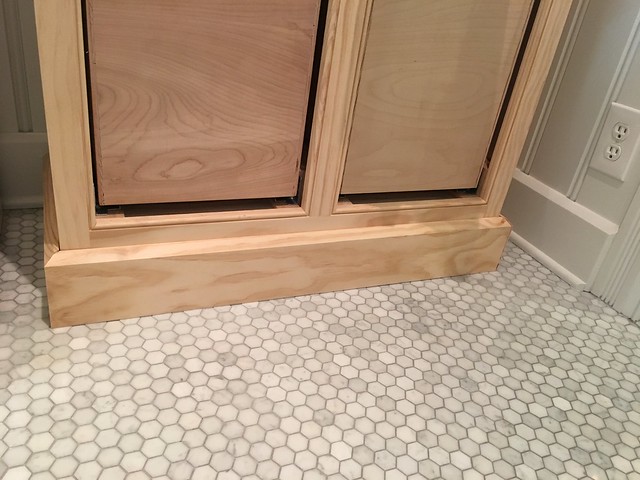
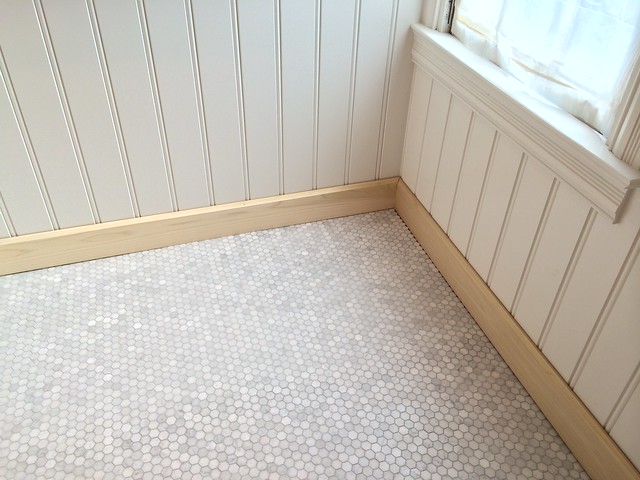
We wanted to make it look beautiful, bright, and appropriate to the age of our home. This meant using marble hex on the floor and white subway tile on the wall of the shower, and white Victorian beadboard around the room.
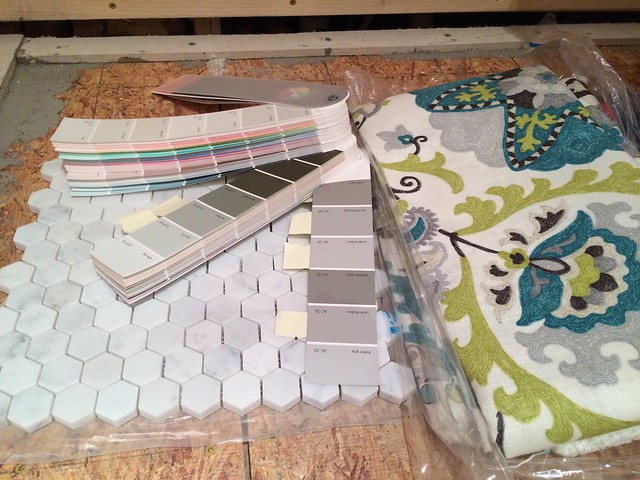
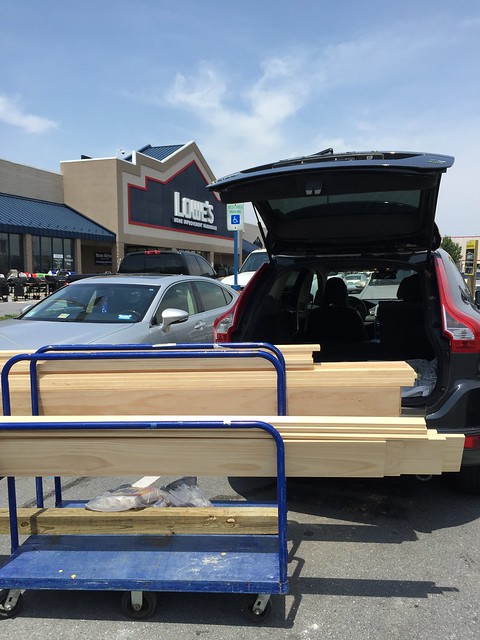
Our sourcing process was extensive and we probably spent as much time looking for the right fixtures, materials, and approaches as we actually spent working on the project. We found our floor tiles from Amazon, our beadboard from our favorite mill in California, Mad River Woodworks, and subway tile from Renaissance Tile & Bath in Old Town. The list of places we ultimately ordered from is probably longer than my overly wordy blog posts!
We wanted to use the antique cast iron claw foot tub we'd found on eBay (for $150!!!) and picked up from another house in Alexandria in about 2004.
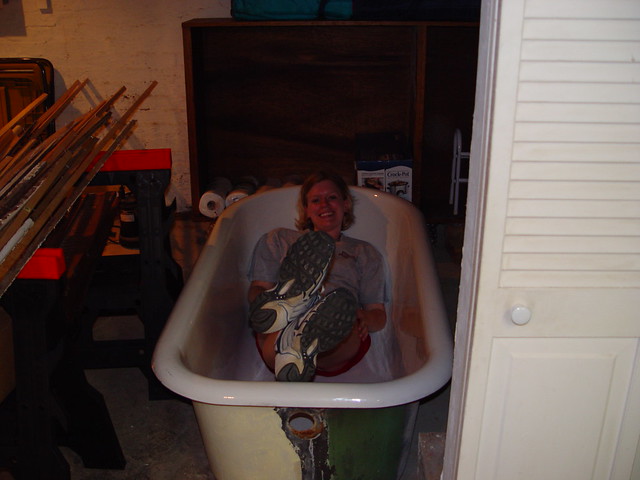
It sat in our basement for over 10 years, then we hired movers to lift all of its cast iron weightiness upstairs and into our bathroom. After a serious cleaning with some miracle stuff we had ourselves a beautiful antique clawfoot tub absolutely perfect for the room. Today it looks right at home like it's been there all its life.
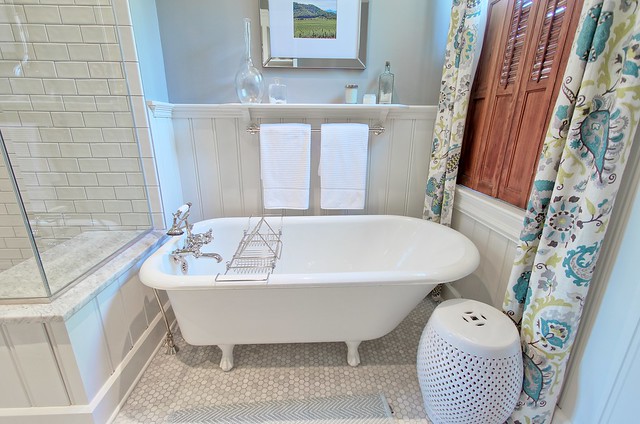
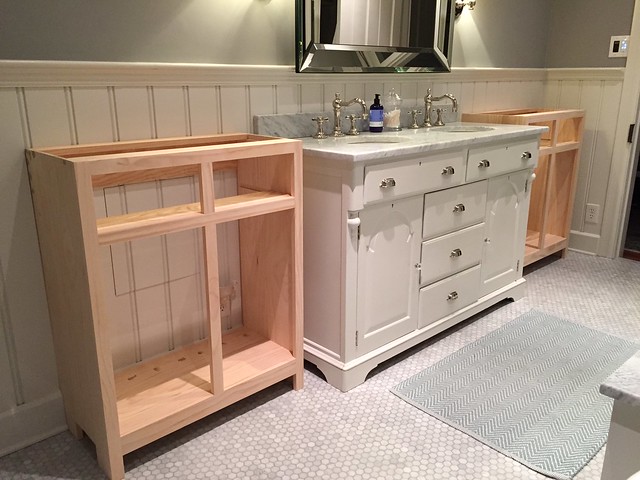
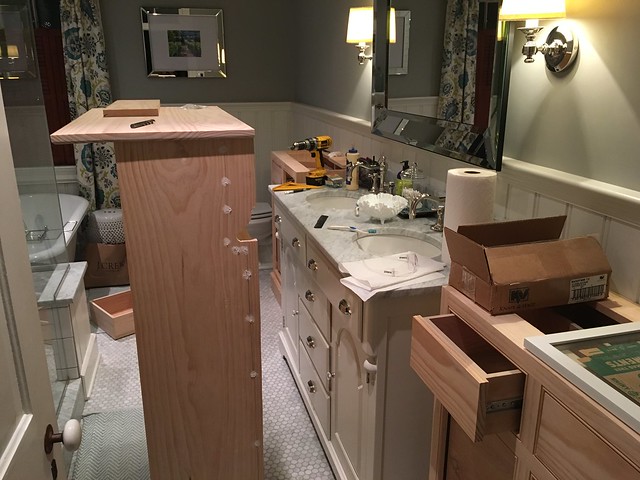
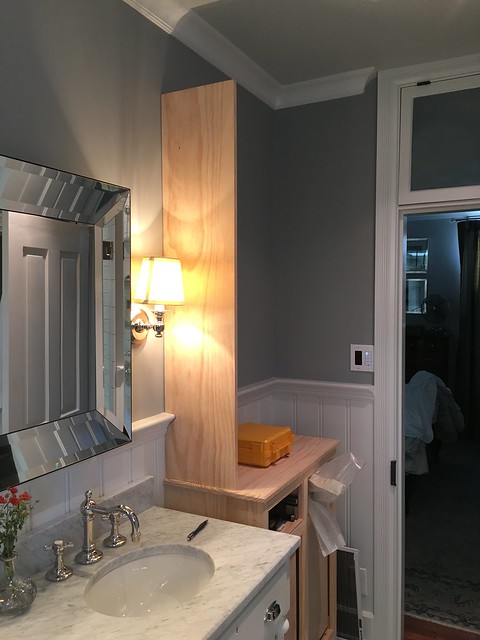
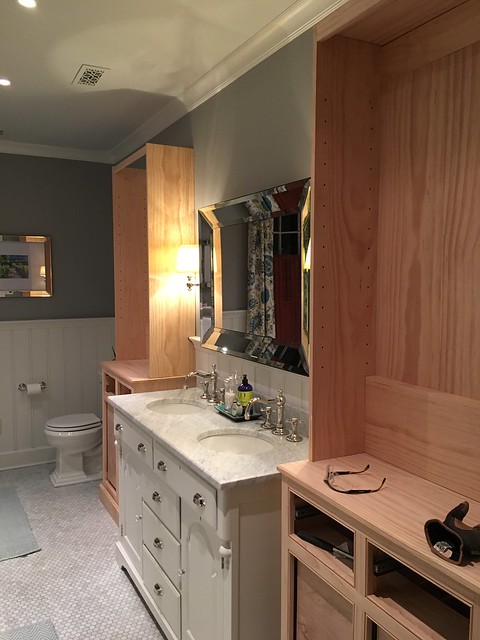
We wanted to turn a vintage piece of furniture into our marble-topped double vanity. We ultimately found the perfect piece in an antique store in Alexandria's Del Ray neighborhood.
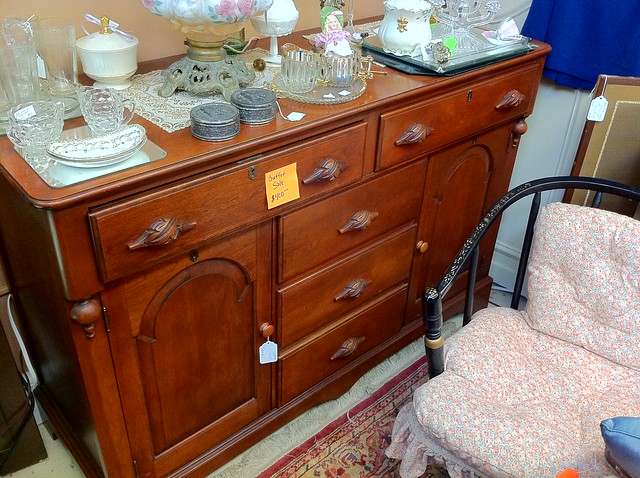
Then we slowly transformed it (and by that I mean we essentially rebuilt the internal structure to support a marble top) into what we had hoped it would be.

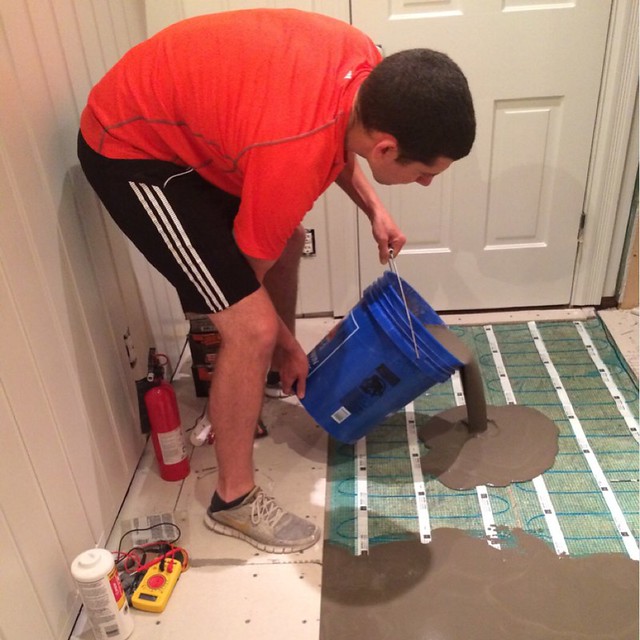
We wanted to solve the heating and cooling issues with radiant floor heat for the winter, and have better ducting for the summer.
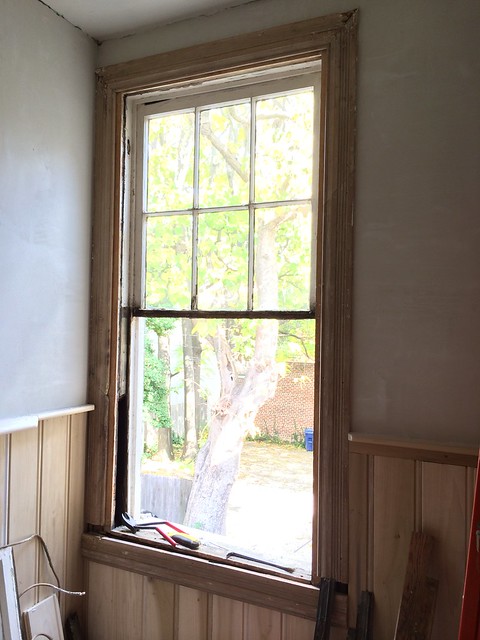
We wanted to restore the original 1880's window, fixing the broken sash cords and making the upper sash functional again. We even found historically accurate red dot Samson sash cord to do the job!
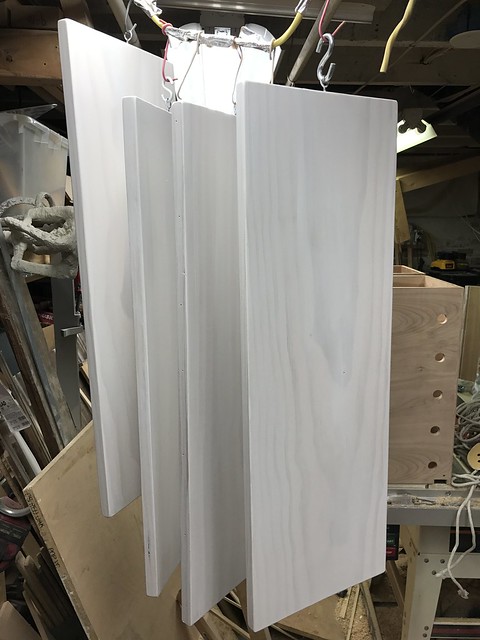
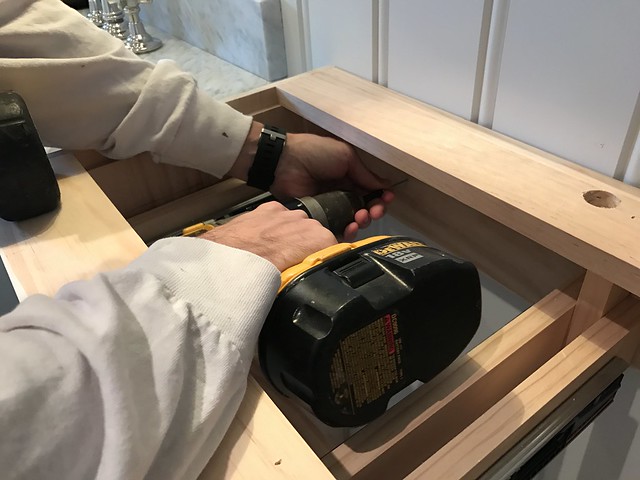
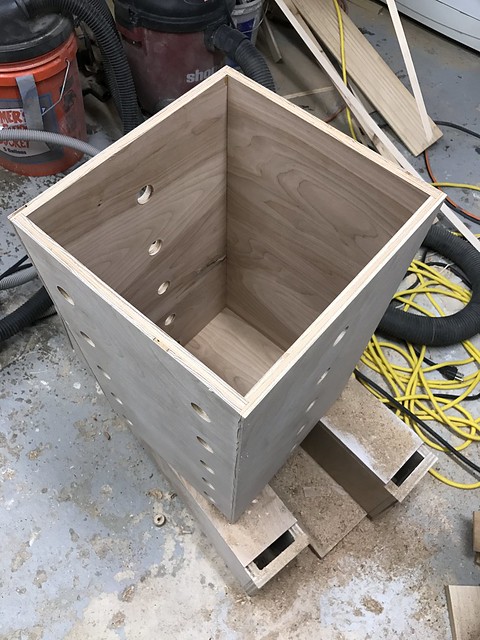
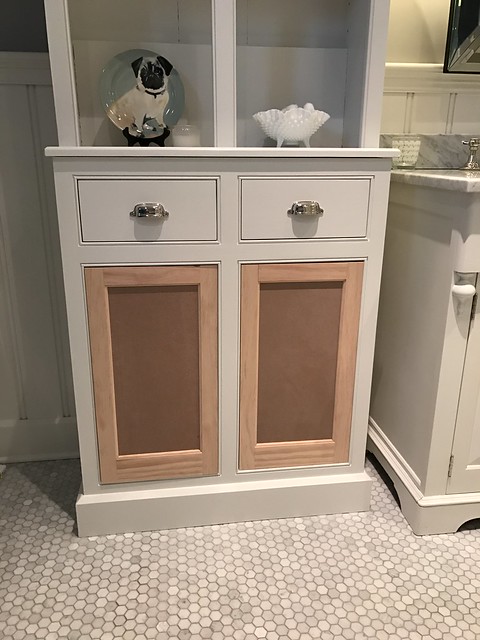
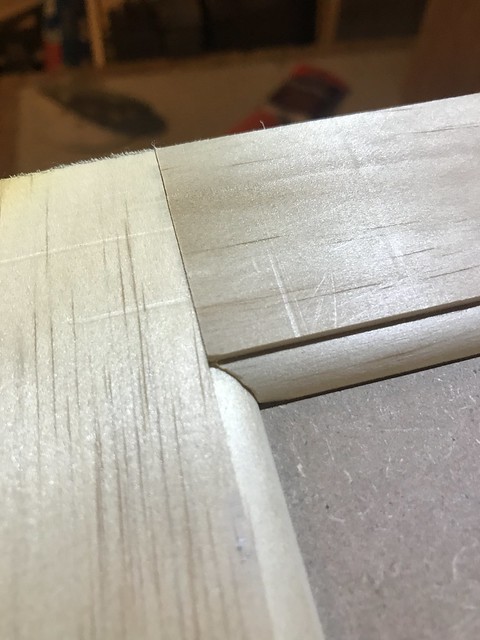
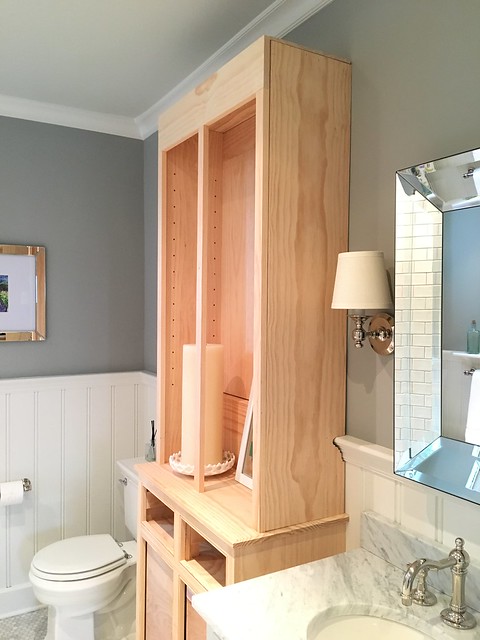
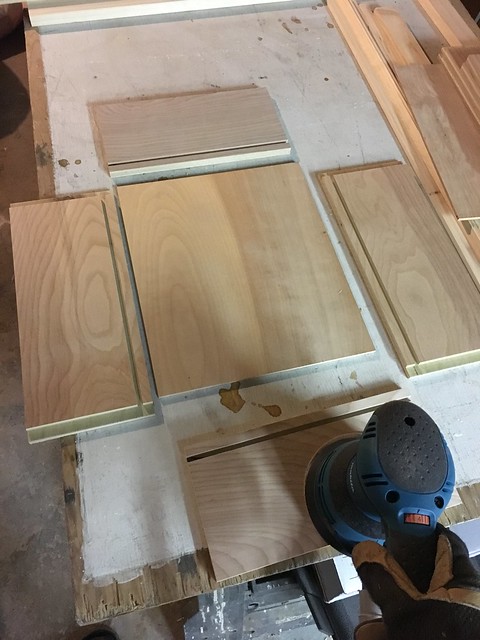
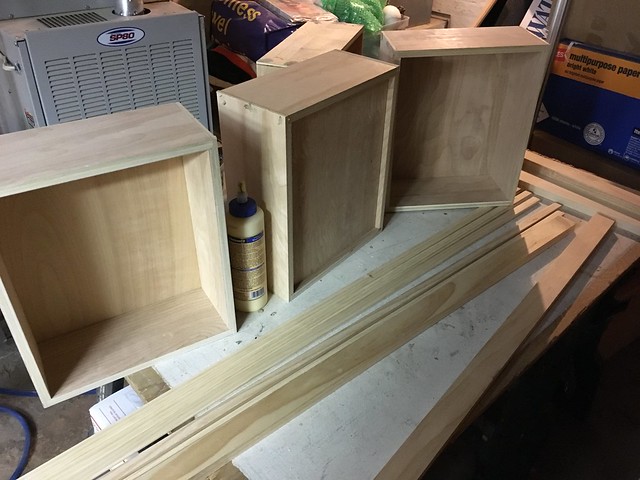
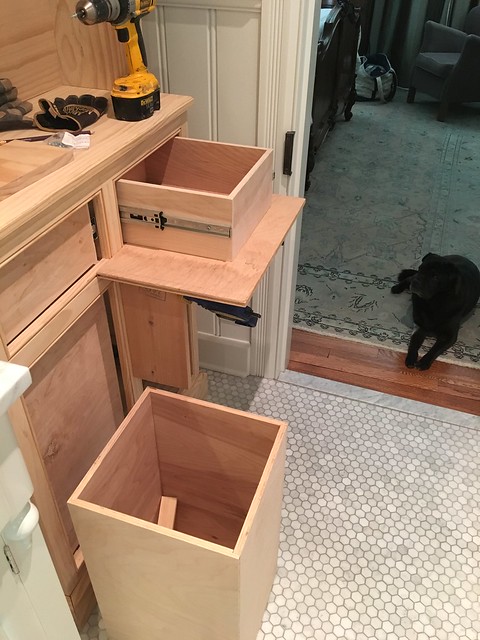
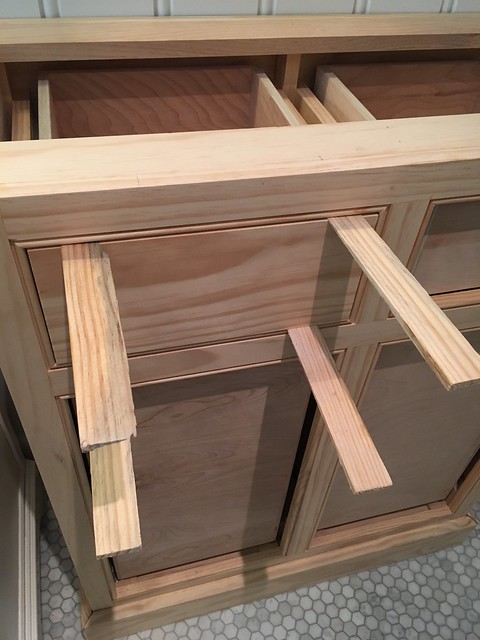
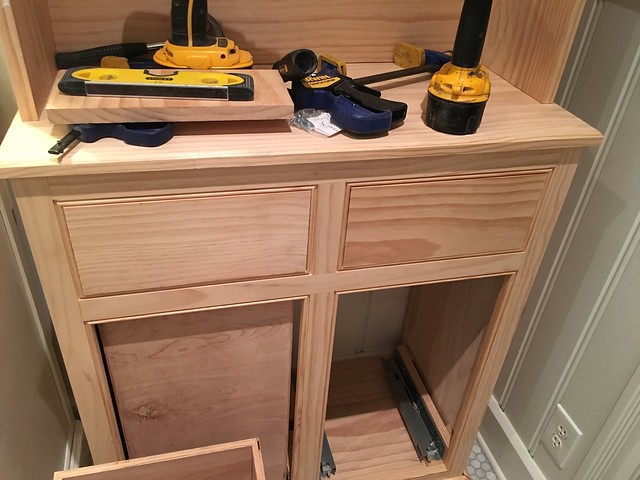
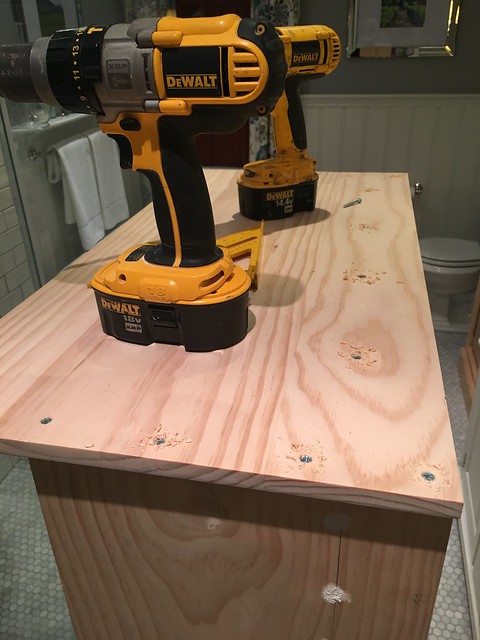
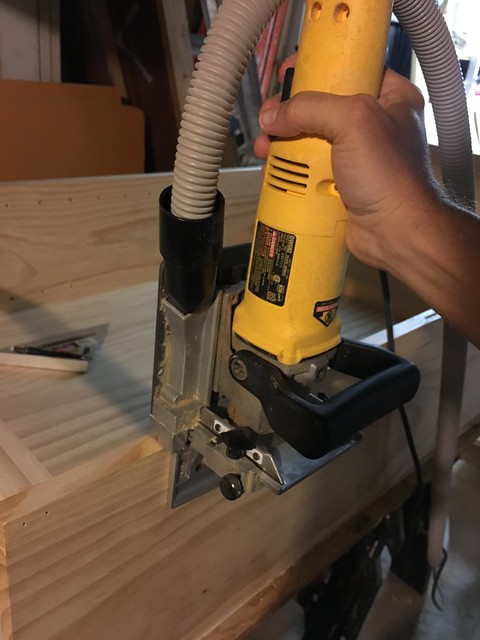
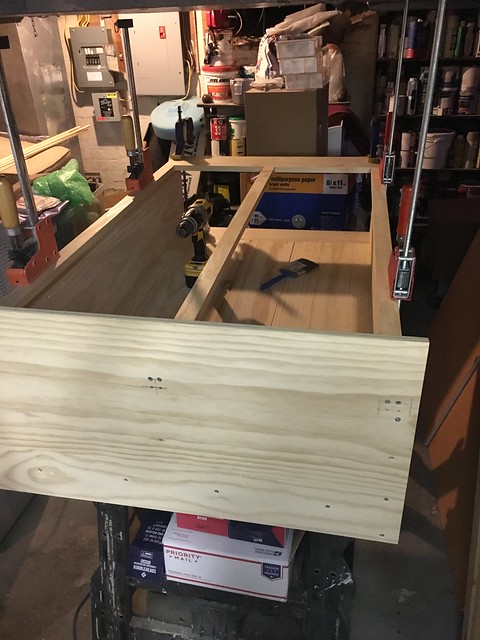
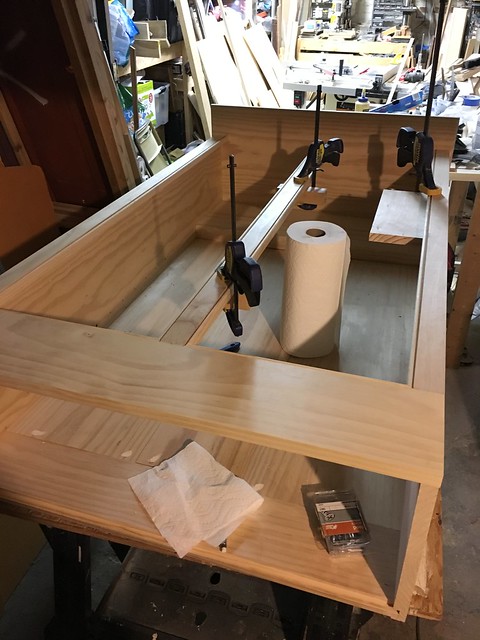
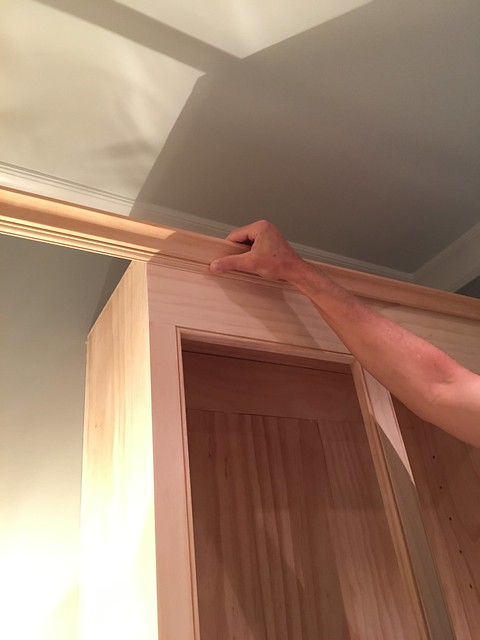
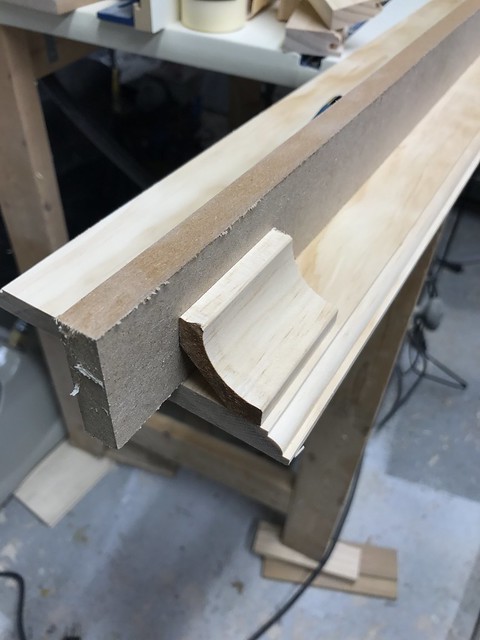
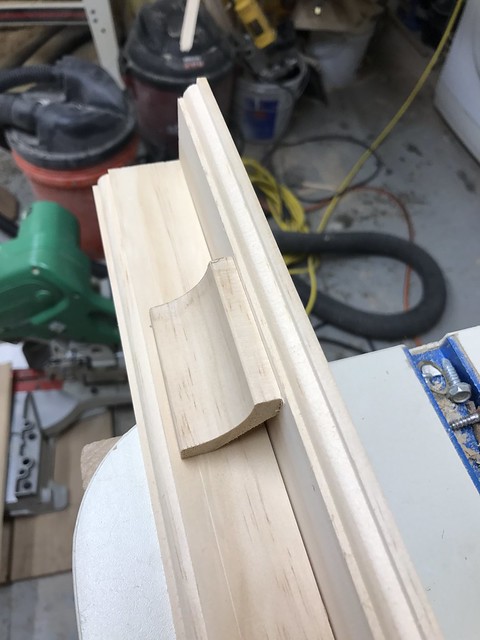
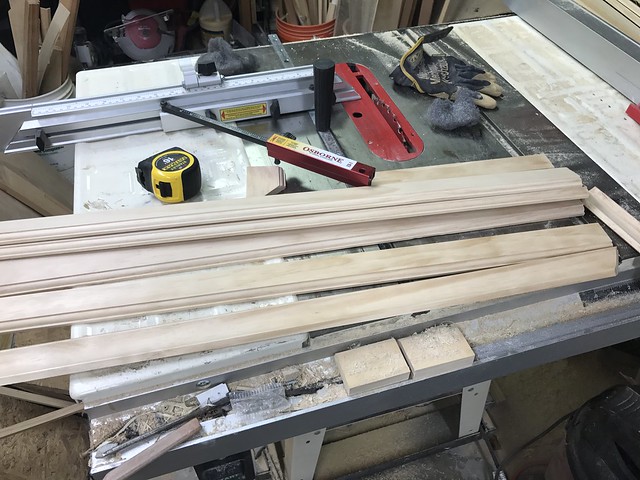
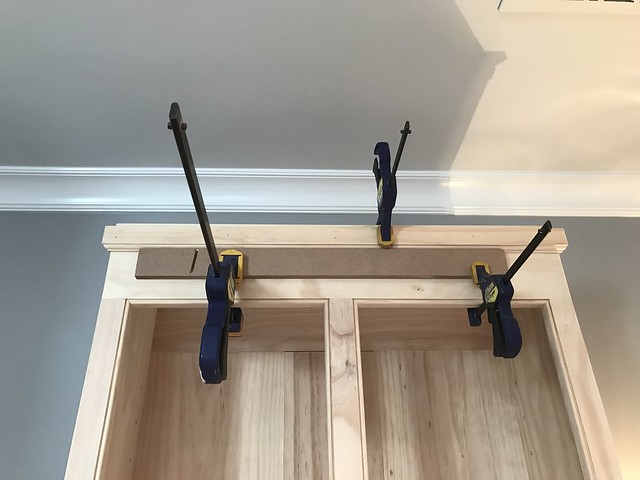
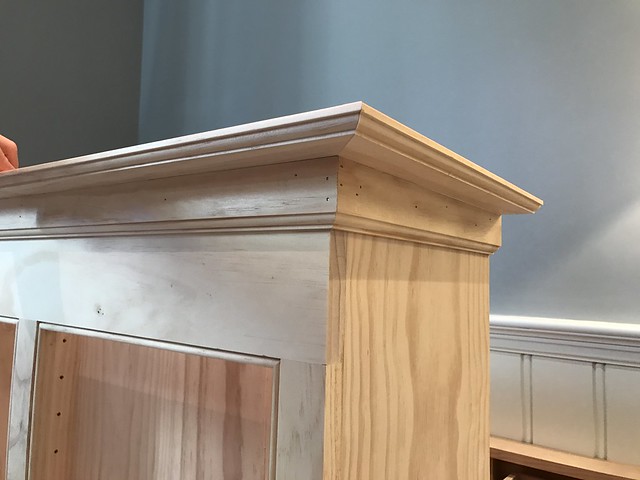
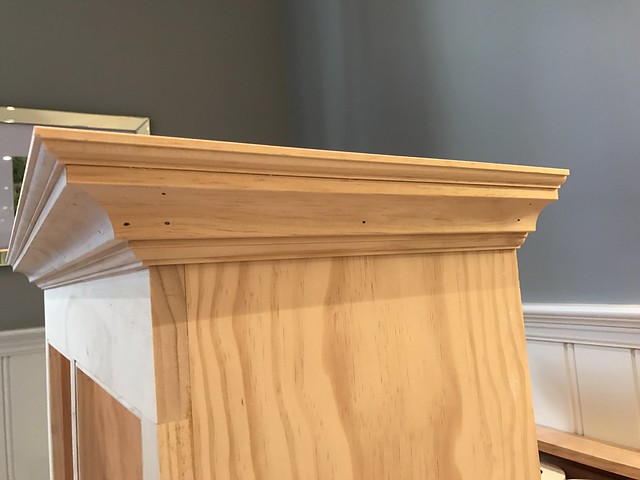
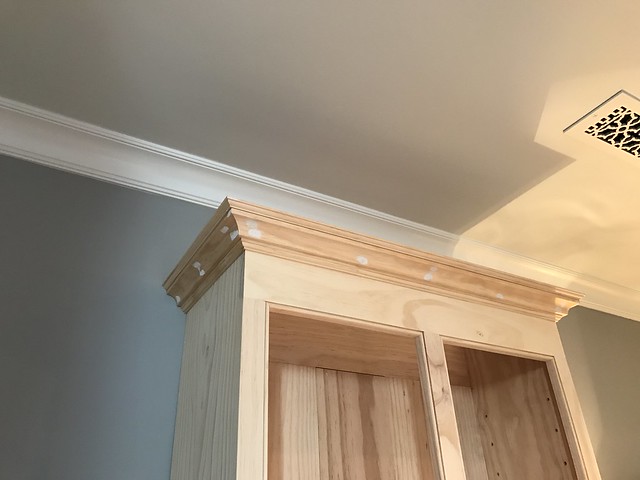
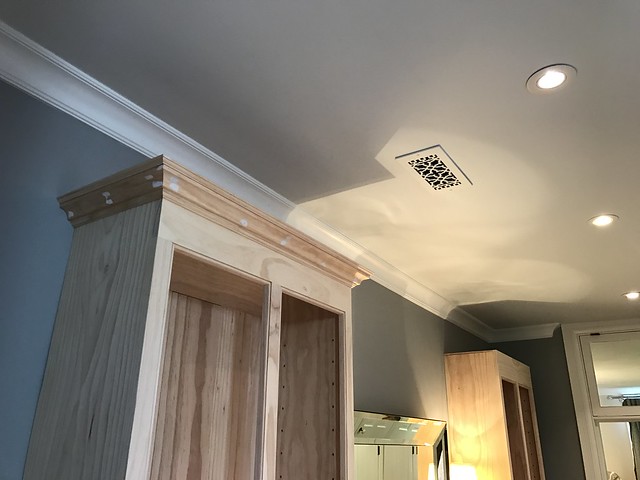
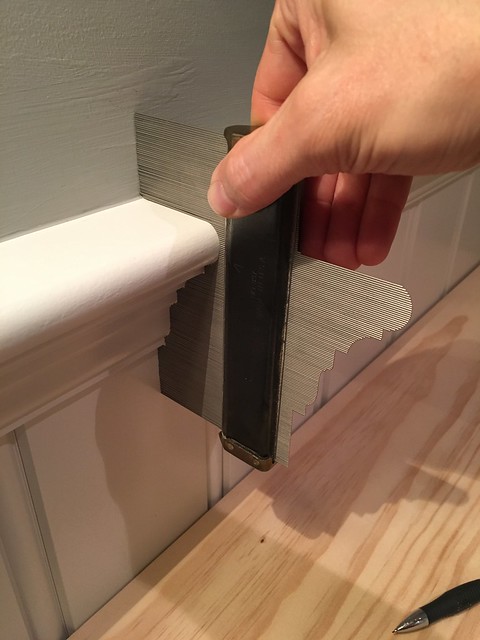
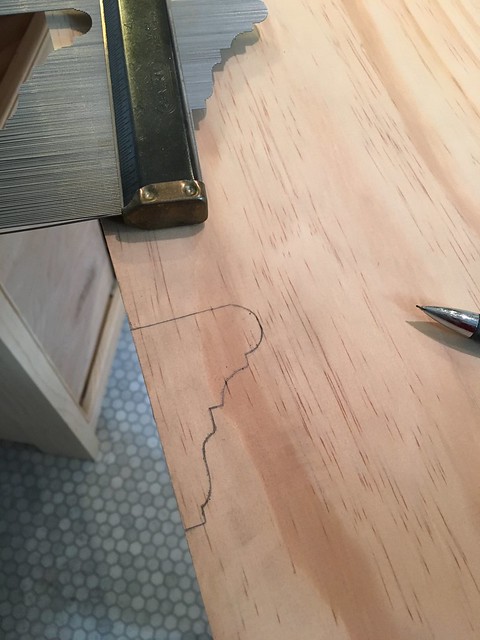
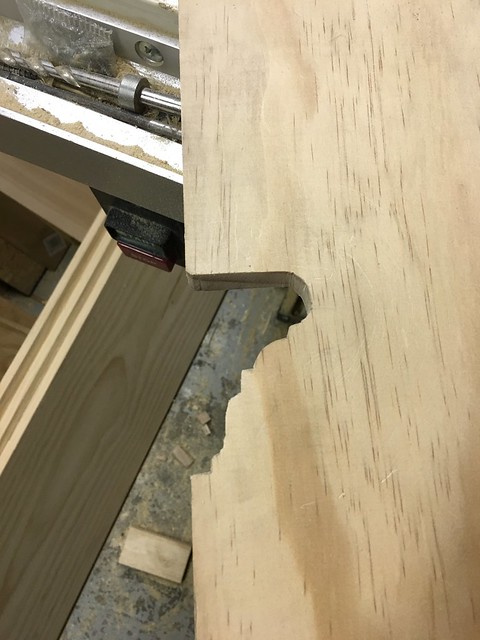
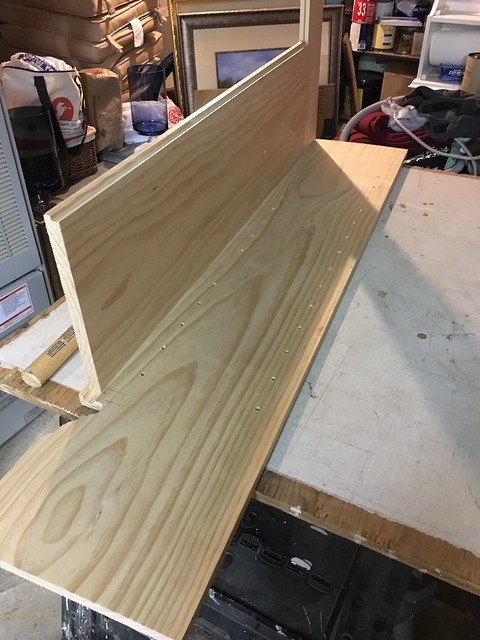
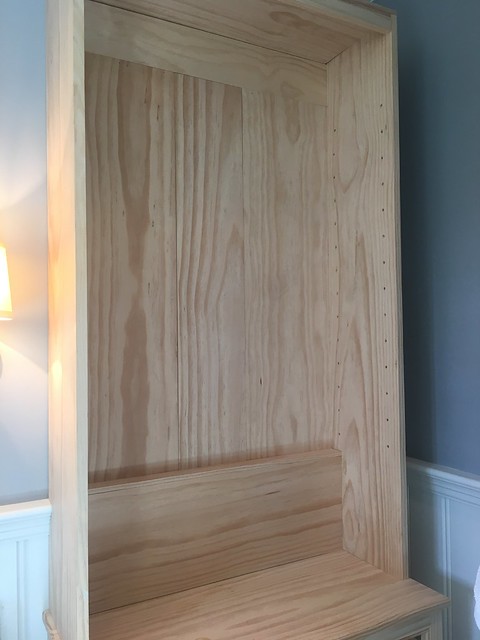
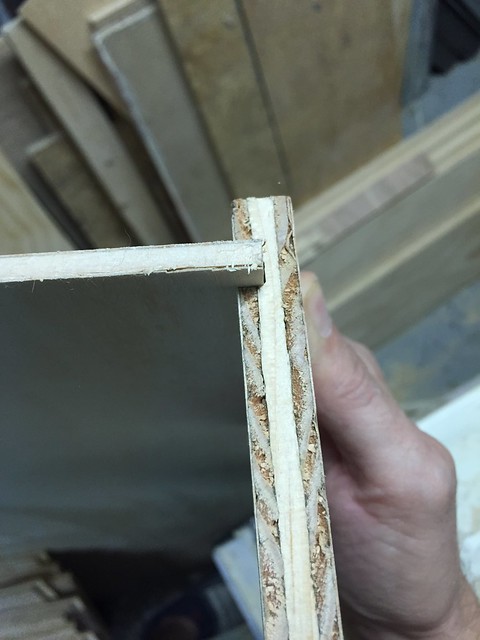
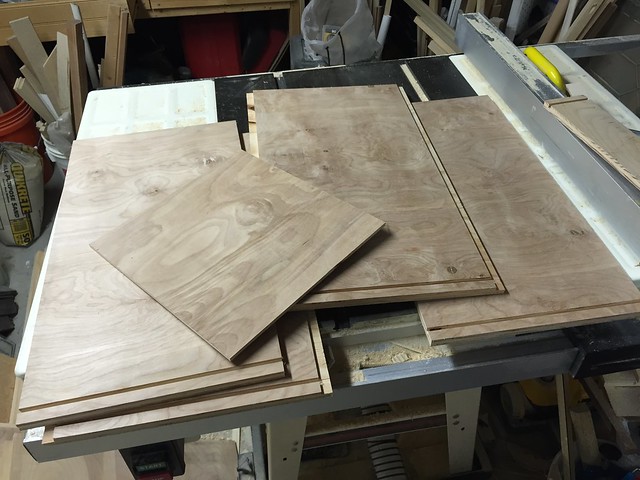
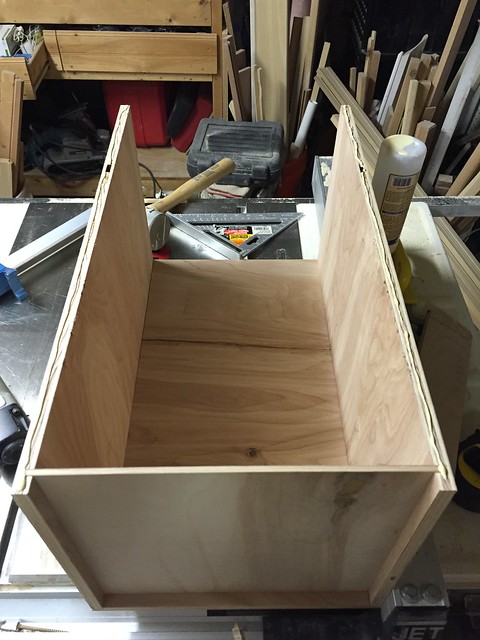
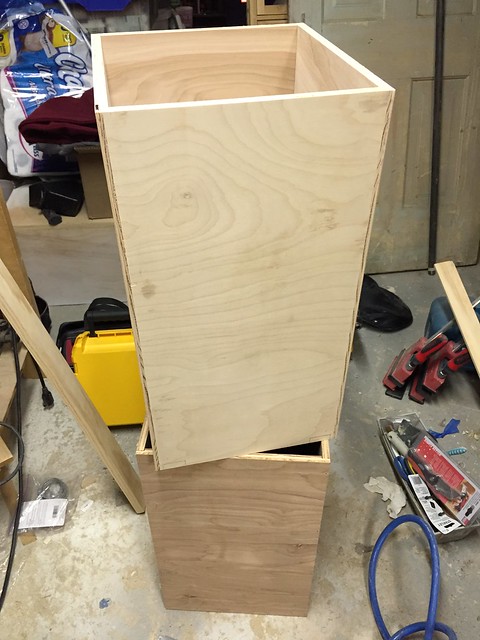
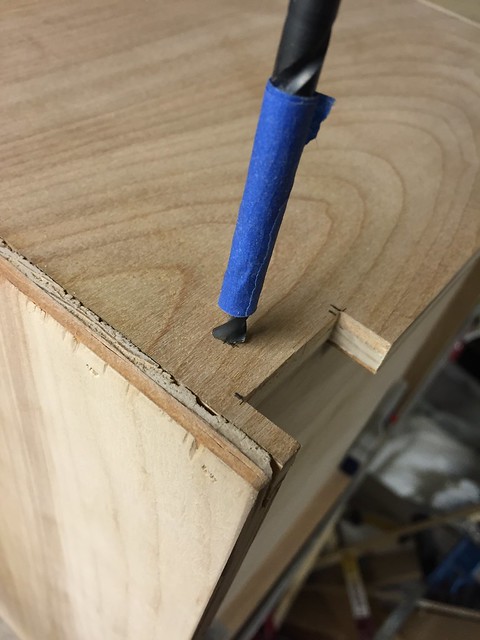
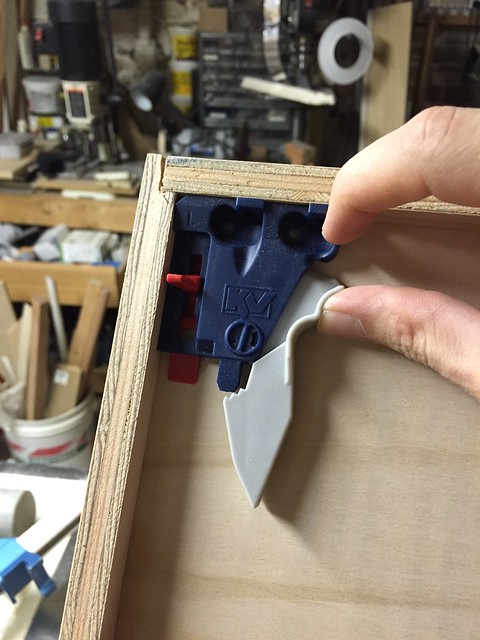
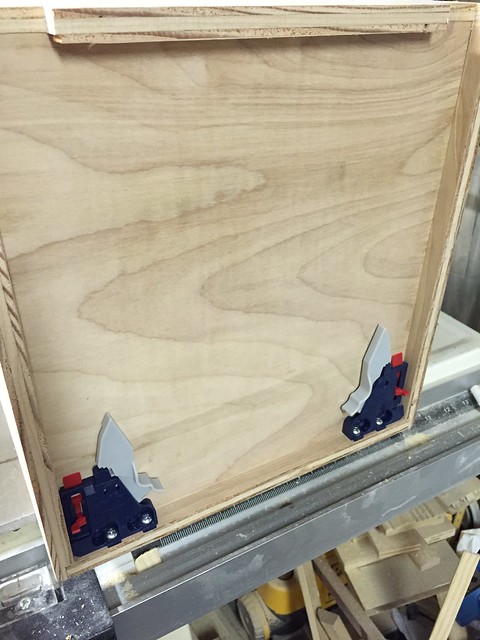
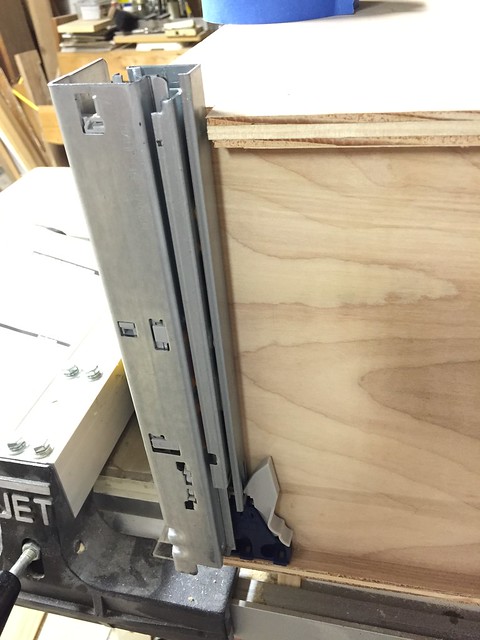
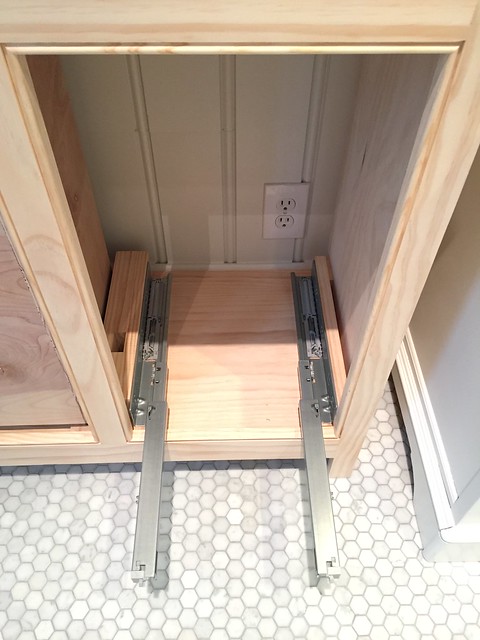
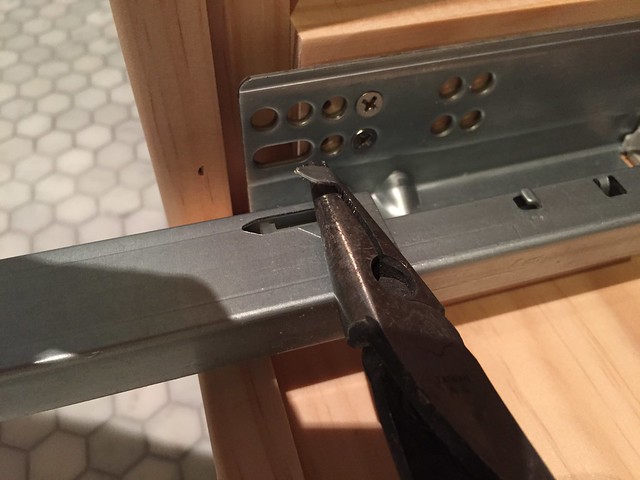
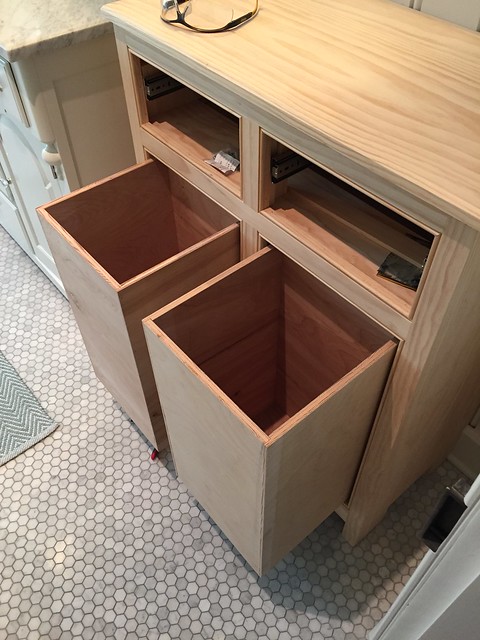
We wanted to build custom cabinets completely from scratch to flank the vintage buffet turned vanity. This part of the project took so much longer than expected, but we're completely thrilled with the outcome!
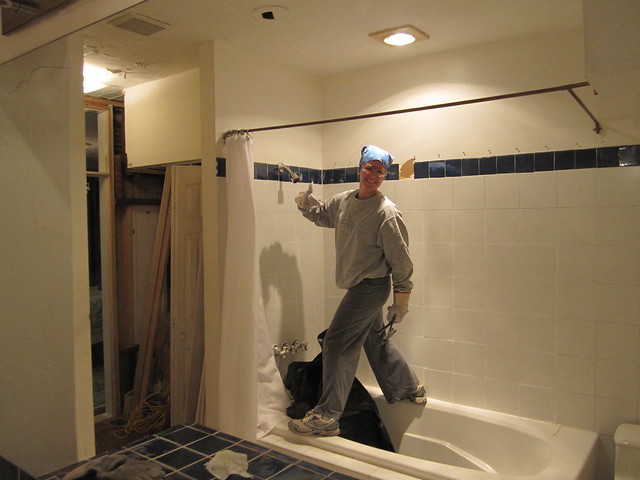
The list of our wants in this project goes on and on and on, which speaks to the overall scale and number of steps in this project. As we carved out little slivers of time in our evenings and weekends we slowly saw our bathroom taking shape. We even had a little help from our friends.

From start to finish this project was massive, time consuming, challenging, fulfilling, tedious, enjoyable, and one that I'm so glad we took on. It tested our patience and let us build our skills and confidence in taking on larger projects in the future.

Every day when I wake up to take a shower, I look forward to the experience. The large and very luxurious frameless glass shower has a panoramic view of the bathroom (so we can look at everything that took us so very long to build), and a great view out of the window into the canopy of the tree off the side of our house.
We're both so very proud of the many small details we know most people will never really notice, but they combine to make a wonderful room.
One of our favorite features of the room ended up being one you can't even see. The radiant floor heat is so wonderful on those cool mornings that would otherwise be painfully frigid on your feet. In the middle of winter I've even found myself standing in the bathroom to warm up a little. Temperature-wise it's the most comfortable room in the house.
We feel that all of our efforts were very well worth the outcome. While Wendy certainly would have liked it to have been in a much shorter timeline, those years of a non-functional bathroom have begun to slowly fade away.
I look forward to using the confidence, skills, and knowledge we've acquired while working on this room and applying it on other projects in the future.
And to those of you that have been patiently reading along since the early days of our blog six years ago, thank you for sticking with us while we slowly and methodically worked on this project. It's crazy to think about how long this has taken us start to finish, and it's even crazier to think about everything else we've worked on and finished in that time. I'm sure there are some people that thought we'd never be able to say "we're done" with our bathroom project. Honestly, I think one of those people is actually Wendy. But if there's one thing about us that's good to know, it may take us a while but we'll eventually get the job done. If you'd like to run through all of our posts about the Master Bathroom project, we've tagged them all and have them available on the Master Bathroom page.
What's the longest you've ever worked on a single project start to finish? And how would your spouse feel if you exceeded your original estimate on completion by about 1000%? After this I'm starting to think that chronic DIYers might want to add a new section to their wedding vows, "In sickness and in health, regardless of timeline, 'til death do us part."
.
]]>