This is a good feeling...no, a great feeling, and I'm so happy to tell you about this wonderful, though decidedly not very sexy, project. Wait a second, who said insulation is not sexy? Definitely not this guy, that's who.
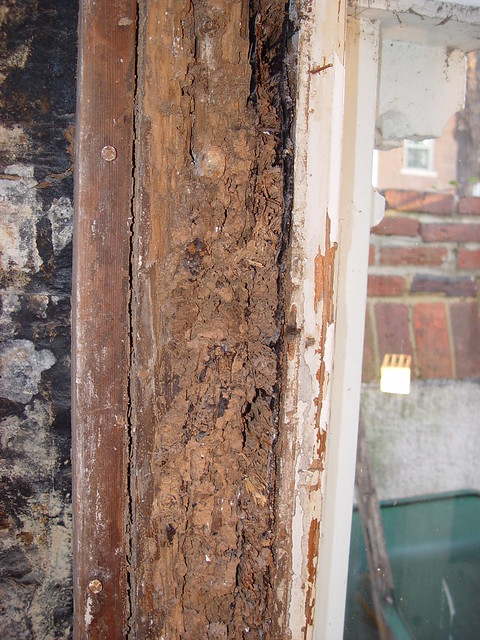
When anyone buys an old home with the hopes of renovating it, it's nearly a given that the insulation in the home probably isn't really up to par. Not surprisingly, that's exactly the case with our home.
The walls of our home are largely plaster on brick, so there's really no chance for insulation without pulling down the plaster, furring out the wall, and spray foaming the junk out of it, but our attic is a different story. Since day one we've known the attic of our home had some seriously lacking insulation. At some point someone blew in a bunch of loose fill cellulose, but it was really old stuff and has gotten very compressed over the years. Whatever the R value may have been at install, I guarantee you it's probably somewhere in the .5-1 range today, and that's not going to cut it on 100+ degree summer days and frigid winter nights.

This summer has been a scorcher, and it seems a bit worse than most summers, which has resulted in our air conditioner running almost non stop. And though it's been incredibly warm, I've been spending many crazy days in our oven of an attic, both sealing up the leaky duct work, and laying new fiberglass insulation in the attic.
This insulation venture actually started about five years ago during our office renovation. I was able to access the attic space at the rear of the house and noticed the seriously lacking insulation. Rather than just chalk it up to living in a leaky old house, I installed several rolls of unfaced fiberglass insulation throughout the back half of the house. The end result was a more comfortable, and seemingly more quite space, but we were far from done. A while later I laid insulation above our front bedroom. This is the master, so any additional insulation in this room can only make us more comfortable.
more]]>
This is a good feeling...no, a great feeling, and I'm so happy to tell you about this wonderful, though decidedly not very sexy, project. Wait a second, who said insulation is not sexy? Definitely not this guy, that's who.
When anyone buys an old home with the hopes of renovating it, it's nearly a given that the insulation in the home probably isn't really up to par. Not surprisingly, that's exactly the case with our home.
The walls of our home are largely plaster on brick, so there's really no chance for insulation without pulling down the plaster, furring out the wall, and spray foaming the junk out of it, but our attic is a different story. Since day one we've known the attic of our home had some seriously lacking insulation. At some point someone blew in a bunch of loose fill cellulose, but it was really old stuff and has gotten very compressed over the years. Whatever the R value may have been at install, I guarantee you it's probably somewhere in the .5-1 range today, and that's not going to cut it on 100+ degree summer days and frigid winter nights.
This summer has been a scorcher, and it seems a bit worse than most summers, which has resulted in our air conditioner running almost non stop. And though it's been incredibly warm, I've been spending many crazy days in our oven of an attic, both sealing up the leaky duct work, and laying new fiberglass insulation in the attic.
This insulation venture actually started about five years ago during our office renovation. I was able to access the attic space at the rear of the house and noticed the seriously lacking insulation. Rather than just chalk it up to living in a leaky old house, I installed several rolls of unfaced fiberglass insulation throughout the back half of the house. The end result was a more comfortable, and seemingly more quite space, but we were far from done. A while later I laid insulation above our front bedroom. This is the master, so any additional insulation in this room can only make us more comfortable.
Again, using unfaced insulation, I laid new insulation over the old. This was a dilemma for me. I hated the idea of putting down the new without removing the old, but the old stuff is everywhere, a mess, full of fiberglass that I don't want to disturb and get everywhere, and nearly unreachable in most instances. I know Steve over at OurOldRowhouse.com hired someone to come in and vacuum it all out, but I just didn't think of that before starting this project some time ago. Perhaps I should have, but that slight oversight is on me. So instead, I cut more batts of fiberglass and filled the odd sized joist spaces, then cut some subfloor to lay in the attic, which has given us a very nice storage area.
With our master bedroom ceiling insulated, that left only the middle of the house without insulation, and there it sat...until this summer.
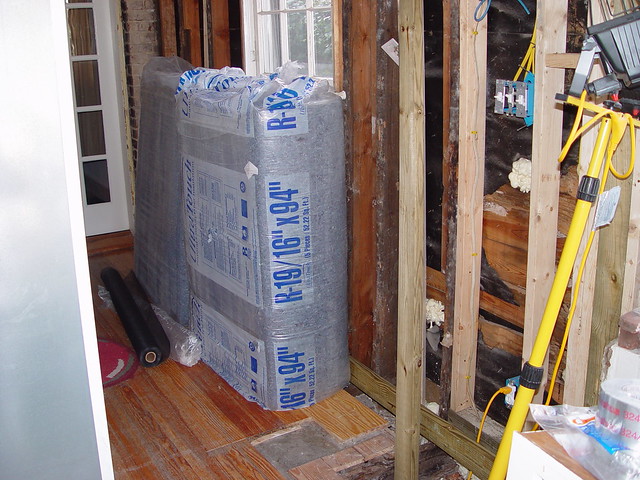
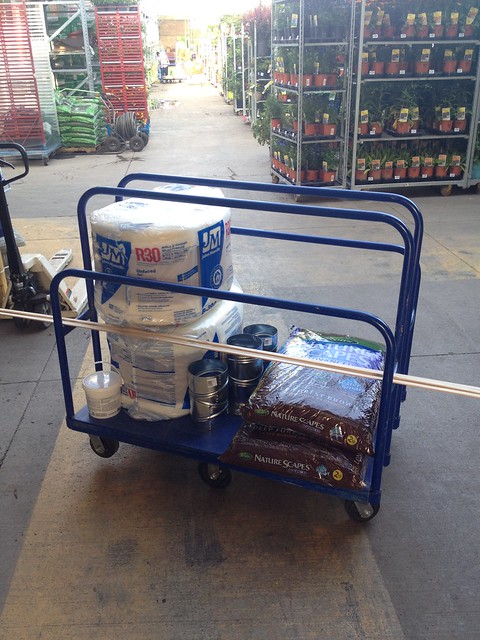
Back when the weather was just getting warm I set out on my mission to finish the insulation in the attic by buying several rolls of R30 unfaced insulation.
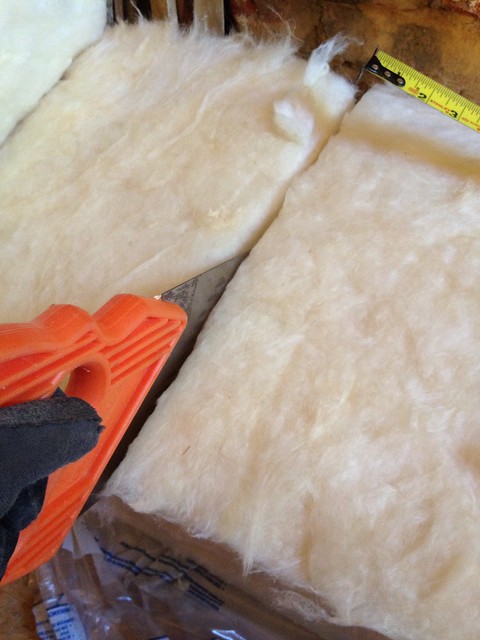
If you notice, I keep purchasing and installing the unfaced variety of insulation, which has no vapor barrier attached to it. It's important that this insulation doesn't have any sort of vapor barrier to anything to trap moisture. Since I'm installing this over other insulation, it has to breathe, otherwise it can promote mold growth by trapping moisture. Unfaced is the easiest here, but if only kraft paper faced insulation was available, I could have installed it with the paper facing up and the cut lots of slits in the paper with the utility knife to let it breathe.
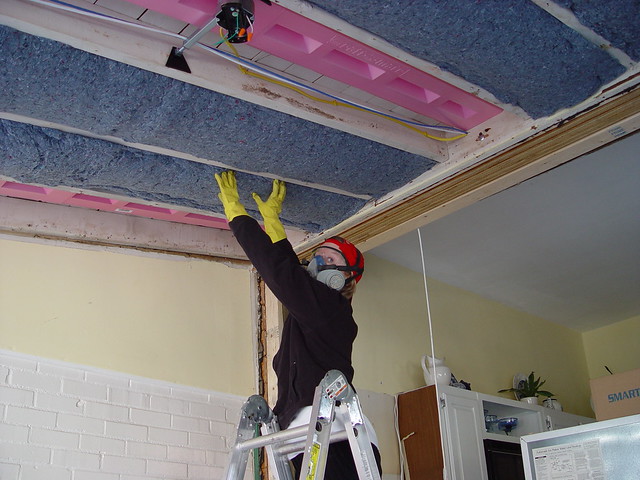
Since the attic joists are a very inconsistent width, and nowhere close to 16", 18", or 24" on center, I wasn't able to just roll out the pieces. Instead I had to cut them all to roughly 24", then lay each piece perpendicular to the ceiling joists, slowly filling in the space. It made for a much slower going project, but was a necessary approach to ensure proper fit and the best possible insulation job.
On the day I was finishing up the insulation, it was actually one of the hottest days the DC area has ever experienced. Official temps reached 105 degrees, with unofficial readings in the 109-110 range. The heat index on this day was about 116 degrees...and I was spending my time in the attic, ugh!
Before I ventured into the attic I weighed myself. I wanted to see how much weight I would sweat away in the name of insulation. As I ventured up, I was a whopping 157 lbs (I know, I'm a beast of a man). Over the next two and a half hours I dragged myself around the various corners of the attic. Trust me when I tell you, any work in our attic is a full body workout.
The attic is tight with no room to stand or really even sit up. As a result, I am constantly in a situp position, or am using my arms to support and pull myself around by the various beams. I wasn't up there three minutes before I was sweating profusely, and given the nature of the work, long sleeves are a must. But hey, I was able to spend some good quality time with the plastic Santa bestowed upon us by a neighbor. (Don't ask.)
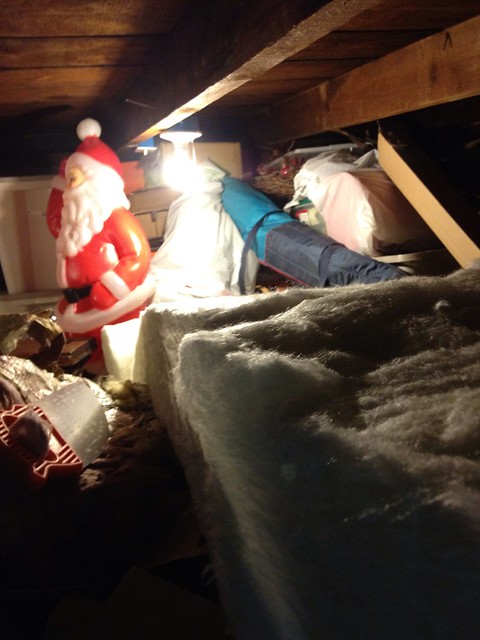
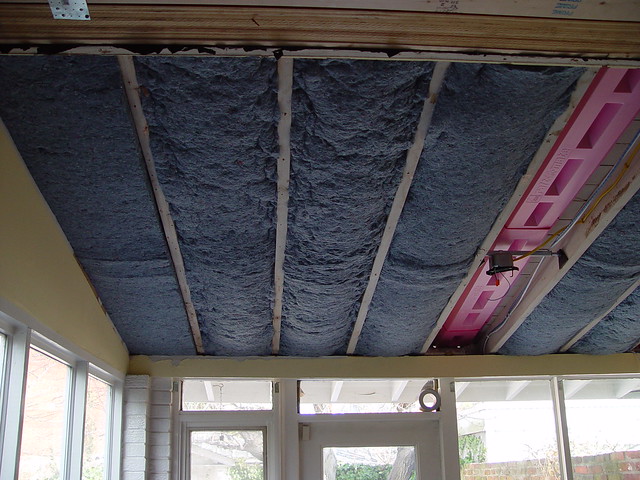
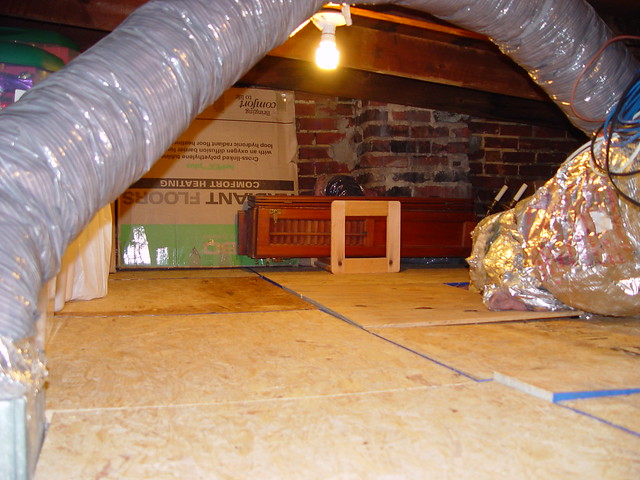
I continued repeating the same process over and over. Cut a few pieces, move them to their spot, lay them in place. It sounds so simple, but it was simply exhausting. But over the course of the two and a half hours, our attic went from this (with lots of shoddy duct work that could be removed)...

...to this.
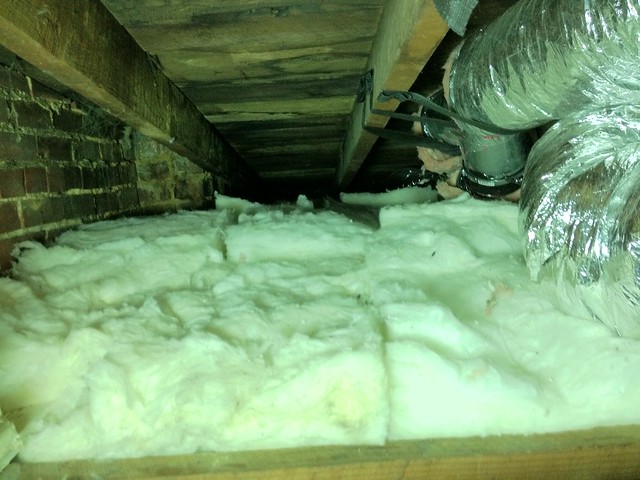
Yes, all of that old duct work is gone. The un-insulated duct you can see to the right is actually part of the bathroom exhaust fan, so no cause for concern there (but I think I'll still wrap it at some point. All of the next duct is fully insulated, so that should also help our cooling bills.
The work was a success! The middle of our house, at very long last, was finally insulated. After many long years of a slow and prolonged effort, the entire attic is finally insulated. We now have pillows of wonderful insulation to keep us warm in the winter, and cool in the summer.
I emerged from the attic as a victorious DIYer, and I jumped on the scale to see the weight I had lost. Total damage, I was down to 149.5 lbs, equating to nearly 8 lbs lost in about two and a half hours. Ridiculous.

Note: I assure you that Wendy HATES the fact I put a photo of my feet on the Internet. She says they are disgusting and alien like. Also, the red marks on my right foot are all from dragging around in the attic, they're all bruised now.
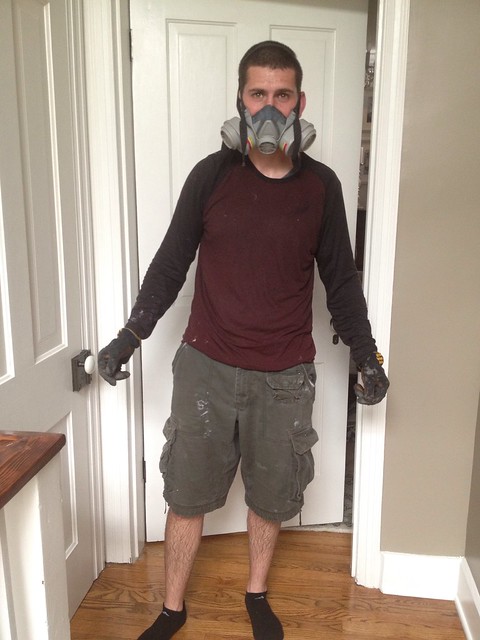
Normally, when I post a photo like the next one, you can see how sweaty I am based on the light areas vs dark areas of my clothes. In this case, both my shirt and shorts were 100% dark area, soaked through.
I was completely drained and exhausted. After a shower in which I couldn't make the water cold enough, I pretty much laid down on the couch for a few hours and relished in my insulating fortitude. The best news, since this endeavor was completed, the air conditioner now turns on and off throughout the day, it doesn't just run 24x7 anymore.
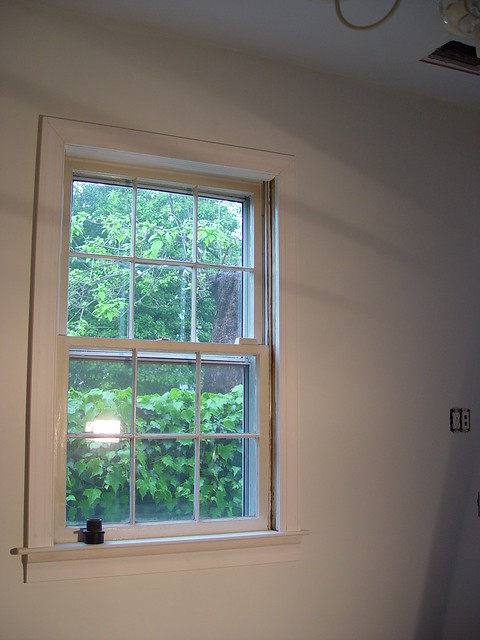
Now if only I could get my butt in gear to build the storm windows. I think the house might be downright comfortable almost all the time once we get to that point. Hrm, what I can do to get myself to work on that task? Only time will tell.
Have you done any insulating in your house? Did you face any of the similar challenges I faced during the process? And do you have any great successes or failures in your insulation process? Are your feet uglier than mine? Let us know.
]]>