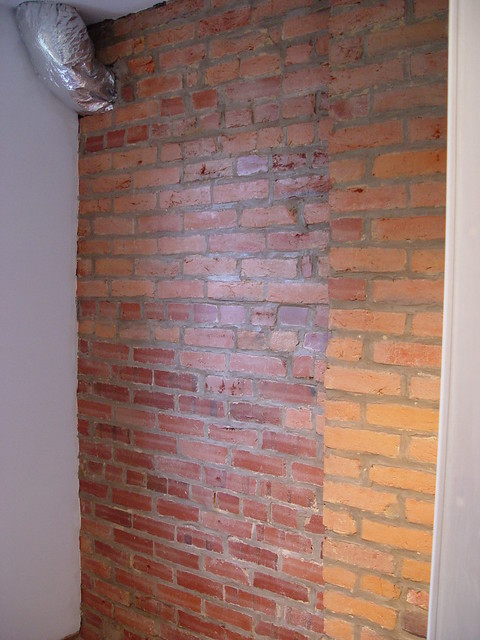
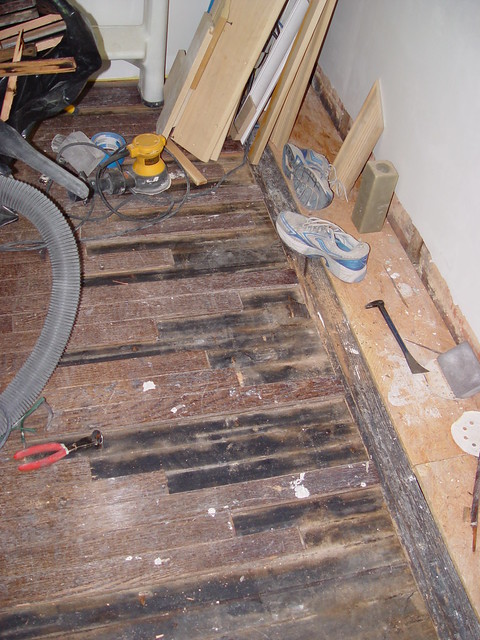
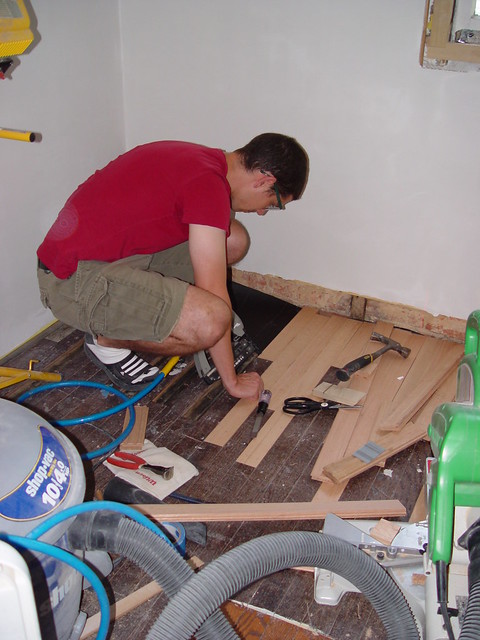
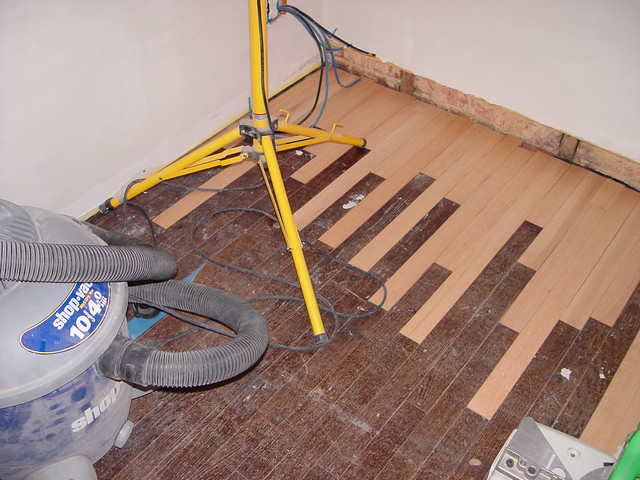
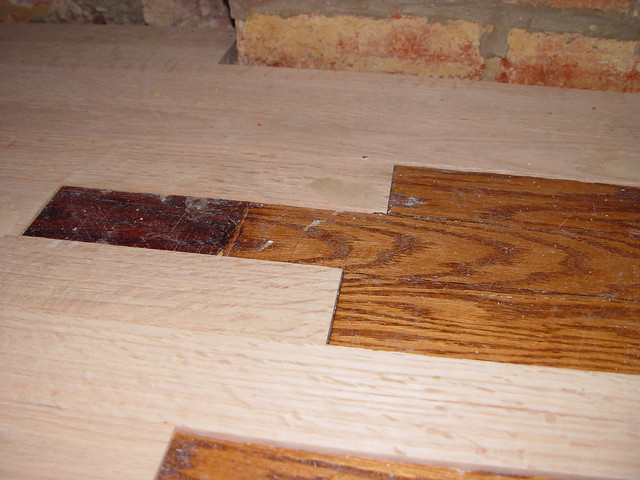
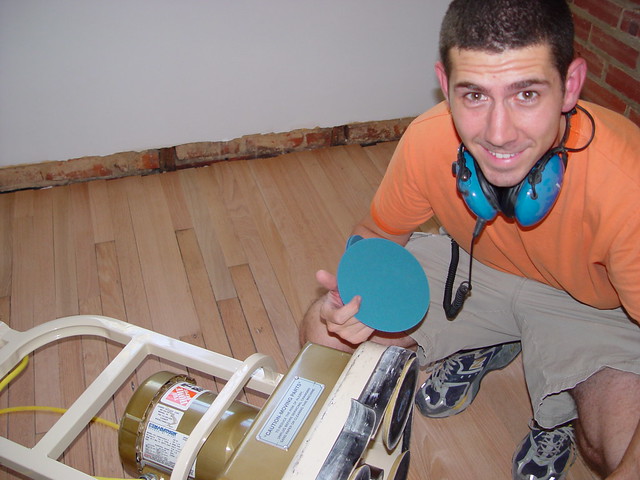
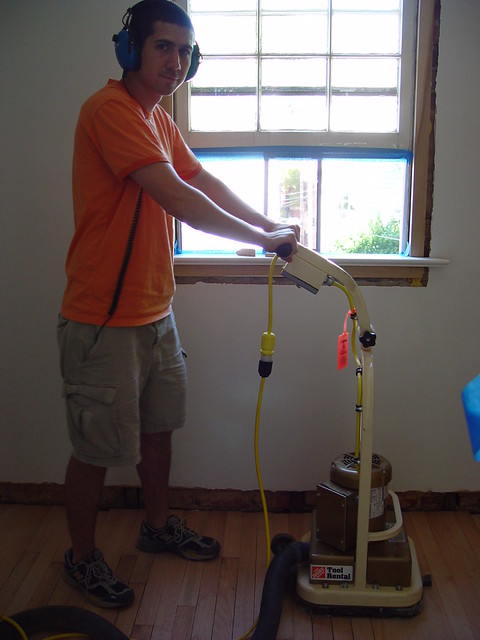
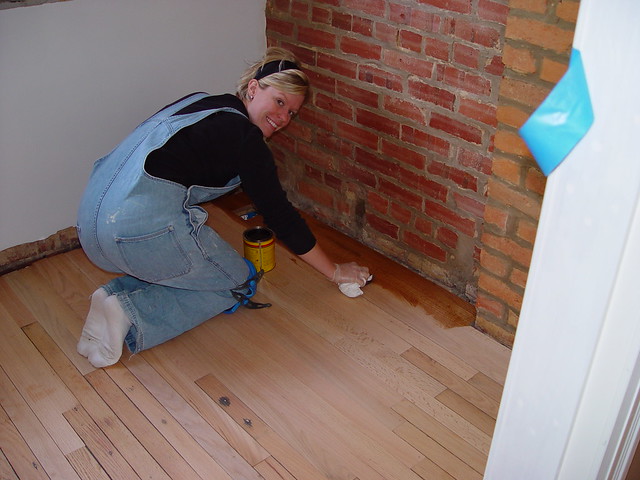
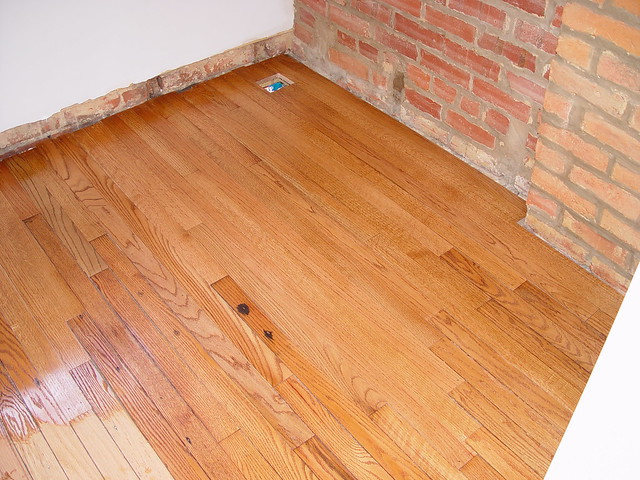
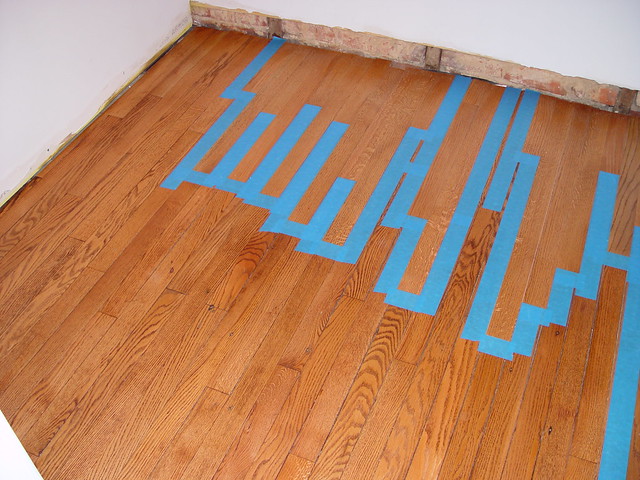
In our previous posts we covered our major office renovation to get the shell of the room in shape, followed closely by the significant effort to repair the oak floors that were badly damaged through bathroom renovations and neglect over the years. We also showed you the effort we went to that allowed an exposed brick wall to shine, as well as the extensive work we completed on our custom cherry desk. To say this project was "involved" is a pretty significant understatement.
I am getting a little ahead of myself. Before we could claim victory on our room we had a few finishing touches to put in place.
From time to time (okay, sort of constantly), we get a little ahead of ourselves and do things out of order. This is often due to the desire for progress even when progress is not readily available at the time. When this occurs, we've been known to paint the walls before installing the trim, finish floors before sanding the walls, or any number of other out of order item that requires us to take extra time to resolve the issue. Our office project was no different, as you will see from the various photos.
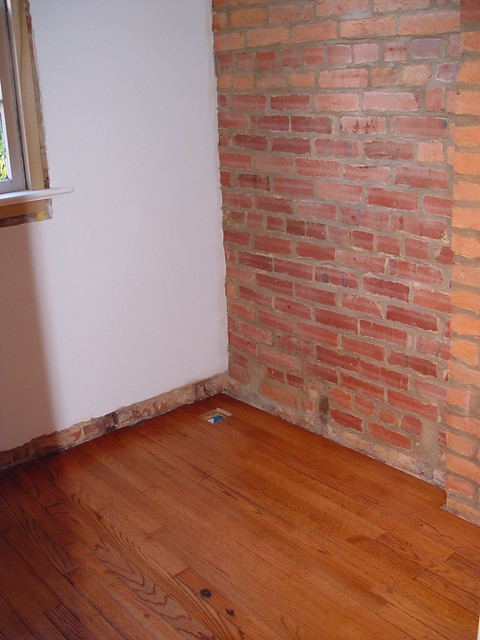
Given that we already had much of the room's palette defined by the dark wood of an antique bookcase, the color of the wood floor, and the reds and oranges of the brick wall, we definitely needed a rug before we chose a paint color. I really wanted to choose one that was unique, would play off of the various colors in the room, and most importantly, one that was the right size for our small office. I started to scour eBay for just the right thing, and after a few days of searching, I came across one that might work. A few days after the auction closed we laid the new and cool rug in place. It was quite a bit different than what we had through much of the rest of the house, but it really worked for us in the room. Unfortunately, I don't have any photos of the rug with white walls, but here's what we were working with.
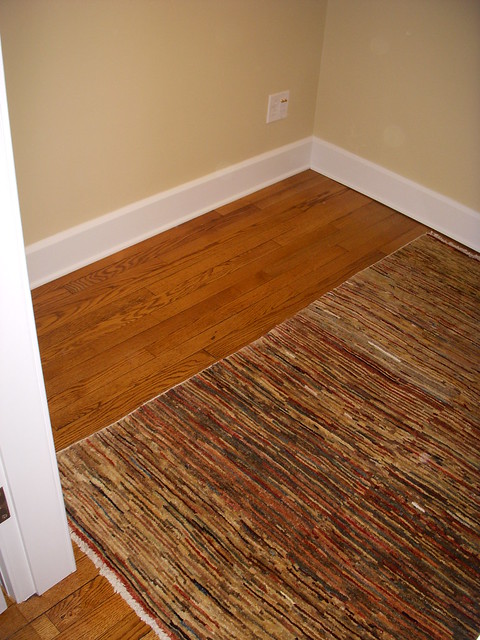
Though the color is on the wall in the above photo, we didn't decide on the color until after we had purchased and received the rug. For color selection, to complement the exposed brick, I chose a warm yellow color for the walls, Sherwin Williams' "Toasted Pine Nut." This color did an excellent job in making the room feel very welcoming, and also enhanced the colors in both the floors and the brick wall.

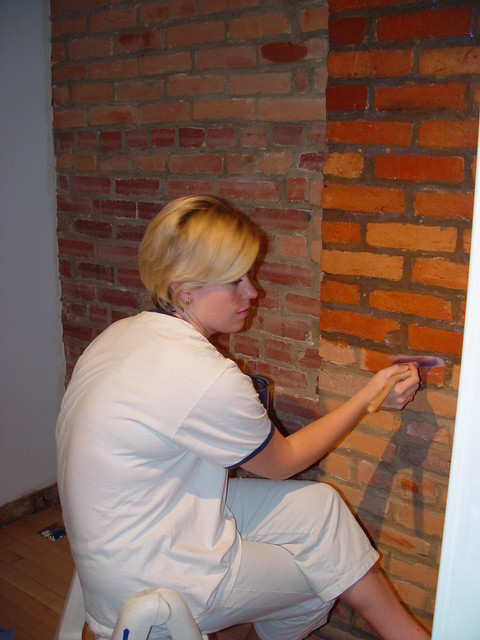
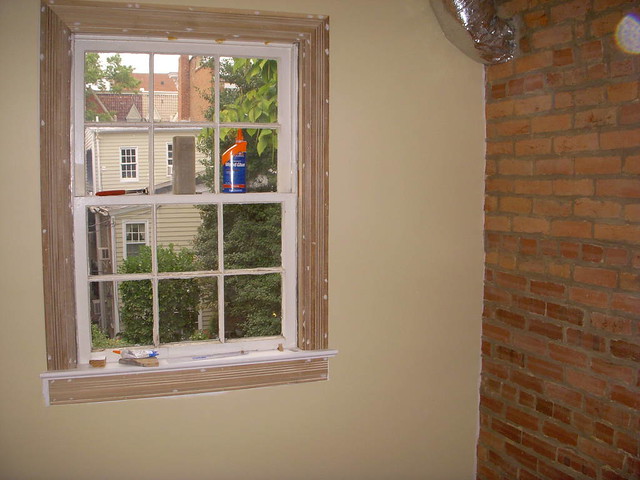
Just prior to painting the walls, we had also worked on the installation and painting of the custom and salvaged window and door casing. We had a bit of trim that matched our home's original trim that Alex rescued from the trash several years earlier. He did his normal routine of paint stripper and elbow grease to get these pieces of trim into shape, then cut and installed them around the window.
more]]>In our previous posts we covered our major office renovation to get the shell of the room in shape, followed closely by the significant effort to repair the oak floors that were badly damaged through bathroom renovations and neglect over the years. We also showed you the effort we went to that allowed an exposed brick wall to shine, as well as the extensive work we completed on our custom cherry desk. To say this project was "involved" is a pretty significant understatement.
I am getting a little ahead of myself. Before we could claim victory on our room we had a few finishing touches to put in place.
From time to time (okay, sort of constantly), we get a little ahead of ourselves and do things out of order. This is often due to the desire for progress even when progress is not readily available at the time. When this occurs, we've been known to paint the walls before installing the trim, finish floors before sanding the walls, or any number of other out of order item that requires us to take extra time to resolve the issue. Our office project was no different, as you will see from the various photos.
Given that we already had much of the room's palette defined by the dark wood of an antique bookcase, the color of the wood floor, and the reds and oranges of the brick wall, we definitely needed a rug before we chose a paint color. I really wanted to choose one that was unique, would play off of the various colors in the room, and most importantly, one that was the right size for our small office. I started to scour eBay for just the right thing, and after a few days of searching, I came across one that might work. A few days after the auction closed we laid the new and cool rug in place. It was quite a bit different than what we had through much of the rest of the house, but it really worked for us in the room. Unfortunately, I don't have any photos of the rug with white walls, but here's what we were working with.
Though the color is on the wall in the above photo, we didn't decide on the color until after we had purchased and received the rug. For color selection, to complement the exposed brick, I chose a warm yellow color for the walls, Sherwin Williams' "Toasted Pine Nut." This color did an excellent job in making the room feel very welcoming, and also enhanced the colors in both the floors and the brick wall.
Just prior to painting the walls, we had also worked on the installation and painting of the custom and salvaged window and door casing. We had a bit of trim that matched our home's original trim that Alex rescued from the trash several years earlier. He did his normal routine of paint stripper and elbow grease to get these pieces of trim into shape, then cut and installed them around the window.
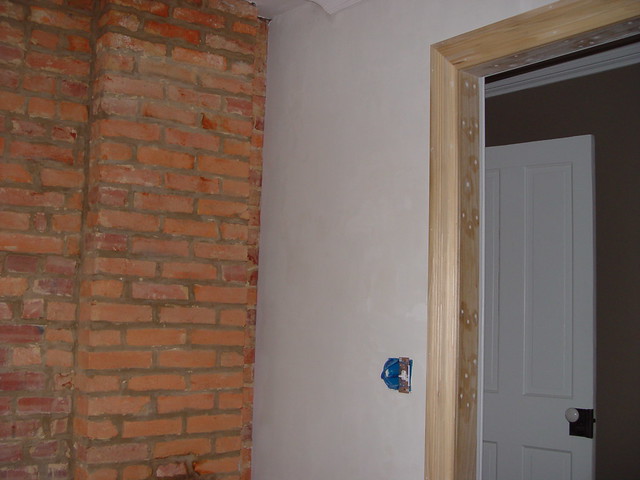
Around the doorway we installed some custom milled trim that matched our original trim. We always have about 100'-200' of this custom trim on hand for when we need it on any given project. When we start to get a little low, we order a bit more because we know we'll be using it somewhere. Here's the door casing and jamb prior to painting that wall.
Since the office is small, the door to the office needed to swing out into the hallway. We had thoughts of a pocket door, but that would have meant changing around electrical, and also that we couldn't use a rim lock, neither of which we were interested in at this point in the project. We were lucky to have an original door that was rescued from the trash during a neighbor's renovation (same rescue mission as the trim I mentioned). This door was an identical match to the doors in our home, so it was perfect.
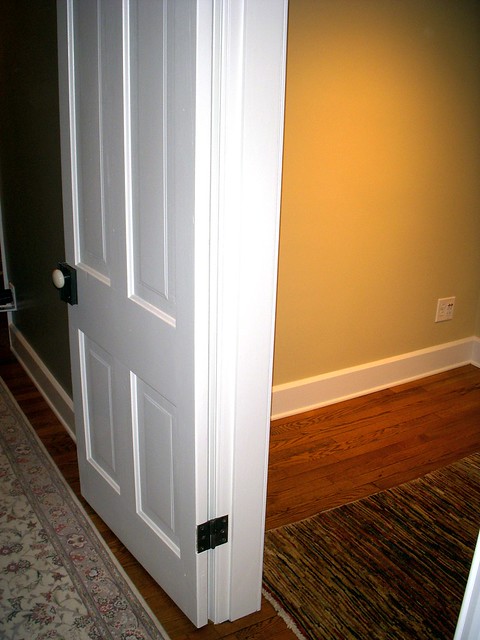
We installed one of the salvaged rim locks that match the other rim locks throughout the house, and used salvaged cast iron lift off hinges that match our other second floor hinges. Everything was really coming together.
I chose a dark bamboo roman shade blind for the small window from Next Day Blinds. Given that this is our office, and we plan on working many long nights in front of the computer, it was important that the blinds could be easily closed. Also, since the room is small and the window is so close to where the desk sits, the shade needed to be completely concealed inside the window frame, otherwise it would have been in the way of the work area.

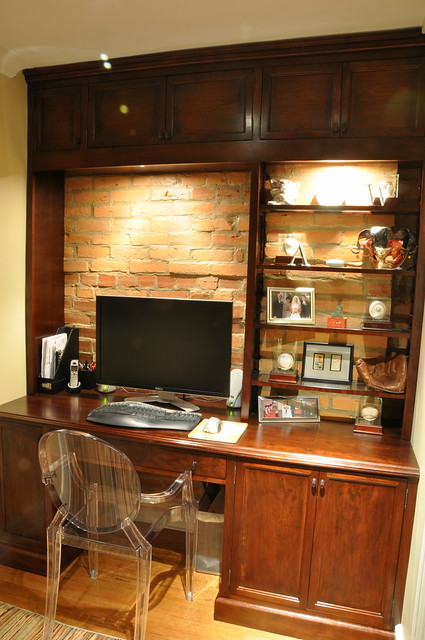
After our lengthy desk build was complete (if you haven't looked at that process, give it a look, you might enjoy it), we took a step back and were finally able to admire our completed room.

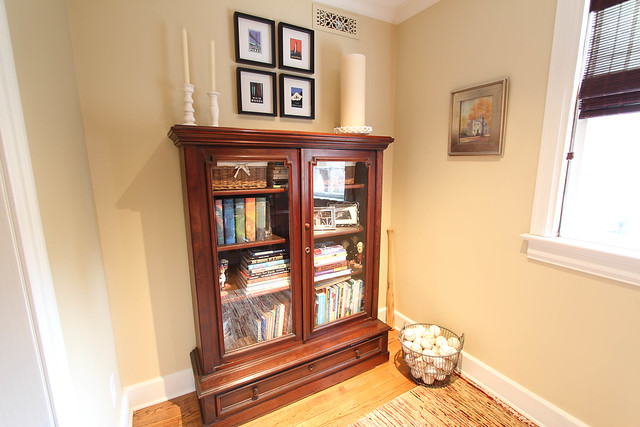
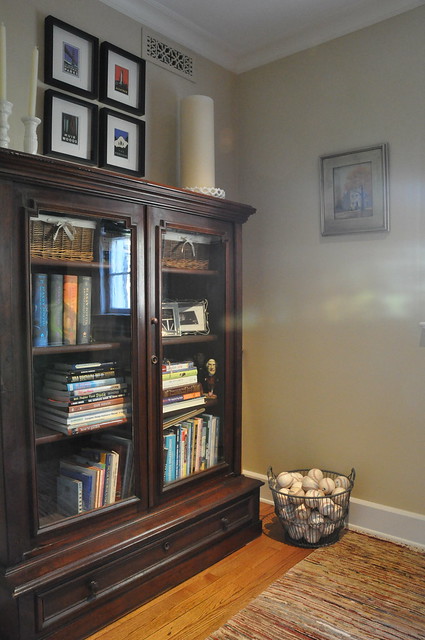
Opposite the desk wall we placed the inspiration for our desk, an antique bookcase we picked up several years earlier. We had been waiting for the right place to use it, and this was perfect.
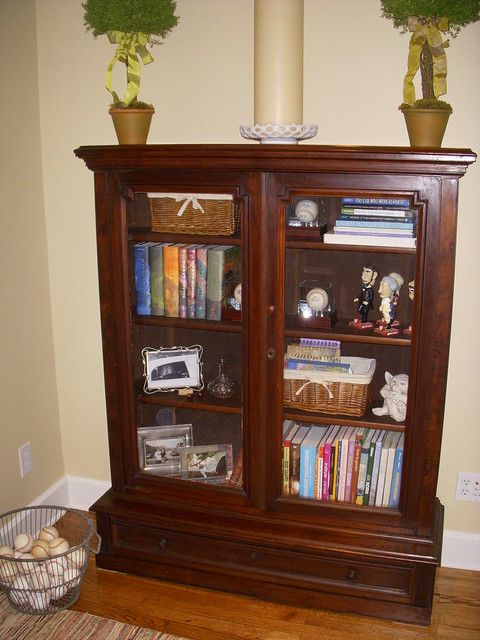
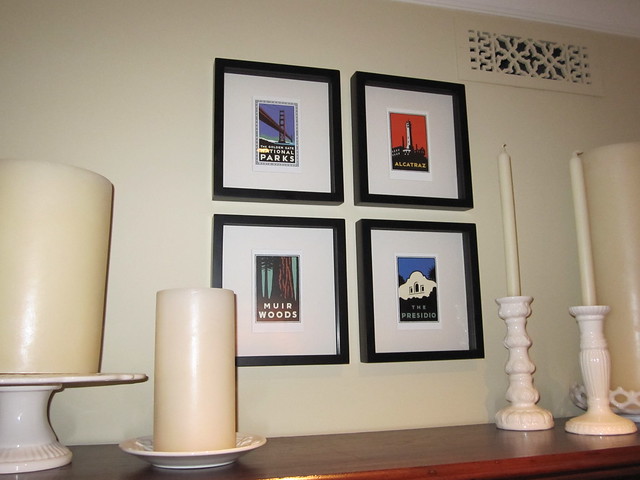
And since then I've accessorized with various items, including these four prints from the San Francisco Bay that I framed and gave Alex as a gift a few years ago. They represent some of our favorite locations that we visited on our various trips to the west coast.
As you can see in the photo above, the vent grate we used in the office is the same style as what we mentioned earlier this week with the return vent cleaning. This profile is from Reggio Register and we've slowly converted all register covers in the house to this style. I think it's just one of those little details that really put the cherry on top with our lengthy renovation.
Since this room is so small, it's really difficult to capture without using our wide angle lens. Unfortunately, I feel like it distorts the room a bit too much, but it's all we can do to give you a good look at the whole place.
Involved as it may have been, to turn a room from a poorly used bathroom space into a functional and relatively spacious home office felt almost like we had put an addition on our house. Suddenly we had a place where the computer could live that wasn't the same room where a guest could sleep. It was refreshing.
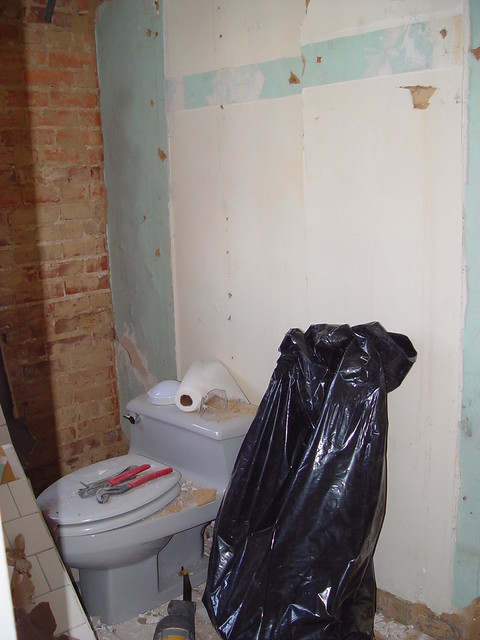
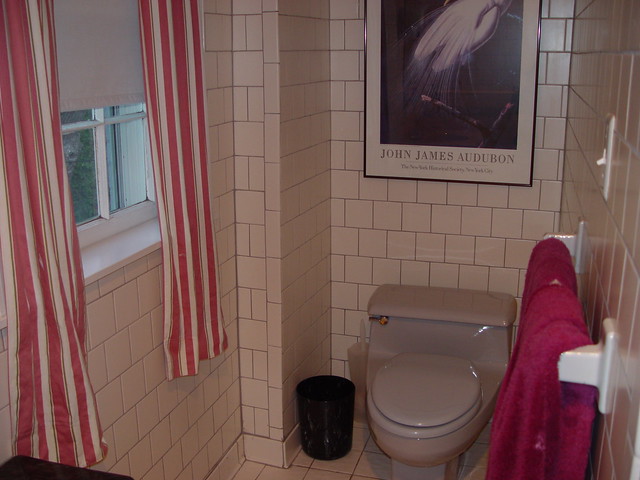
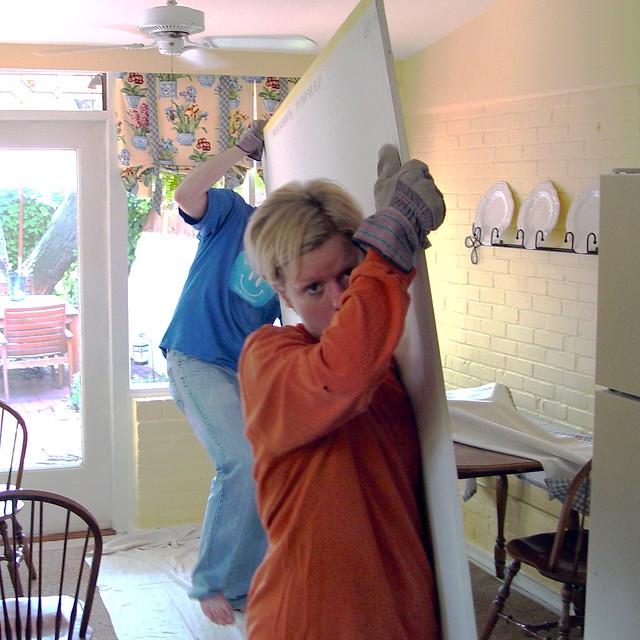
It's weird to think about the before...
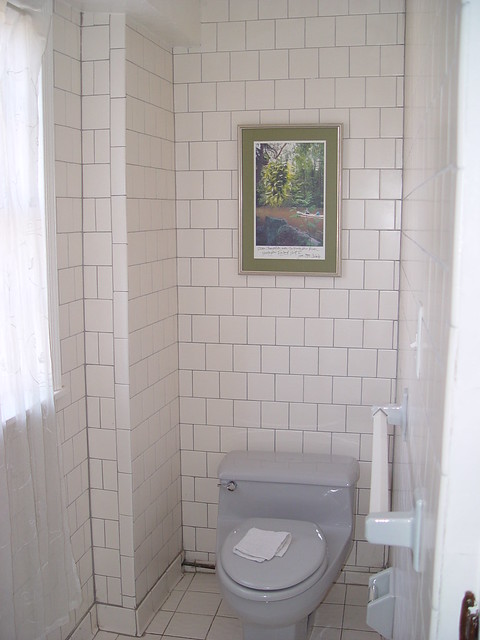
...Given the after.

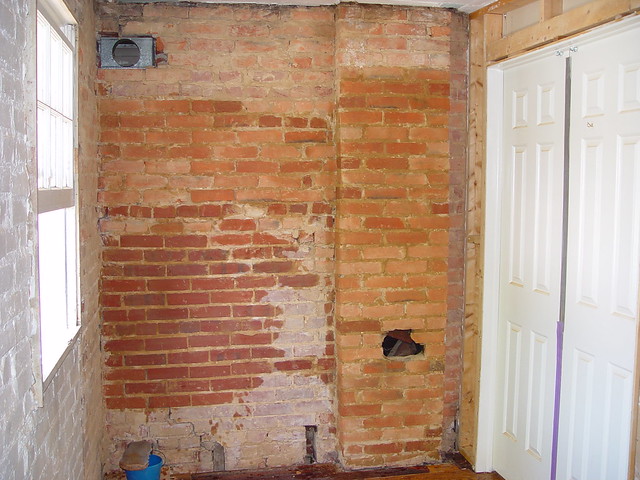
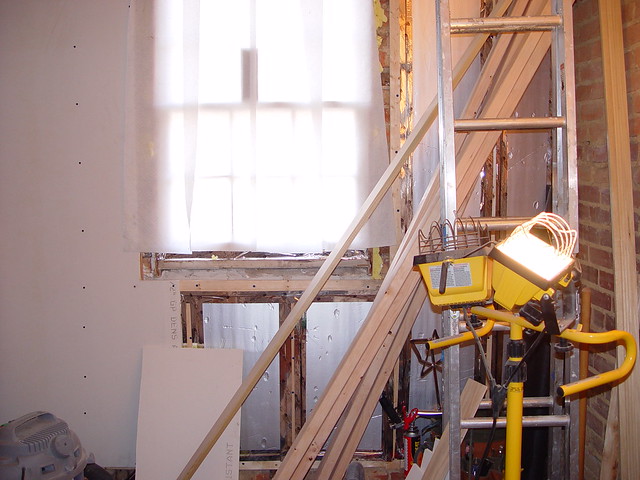
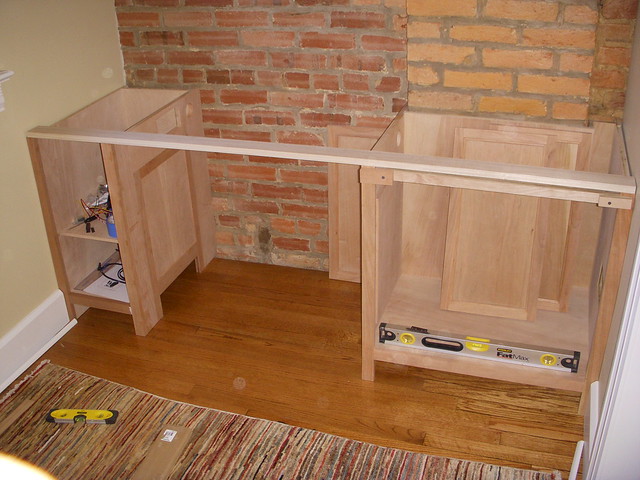
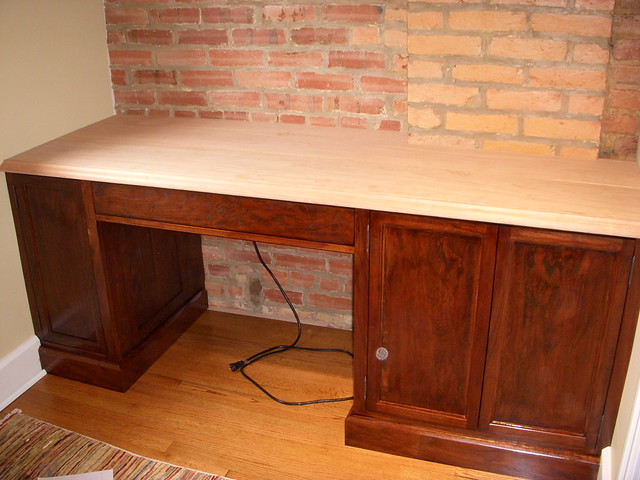
And how far things came when we started with this...

...And ended with this.
Oh, and the few things we have left? Alex still needs to build a storm window and replace the sash in the window. All in due time.
So what do you think of our work? Did we make the right choice in grabbing an inefficient piece of our house and turning it into an office? Though it's not big, we love the space. To us, the end result is the perfect size to efficiently work while not taking up too much of the house.
]]>