Ben when it came to outdoor low voltage lighting, we couldn't find one on the market that would work with home automation systems.

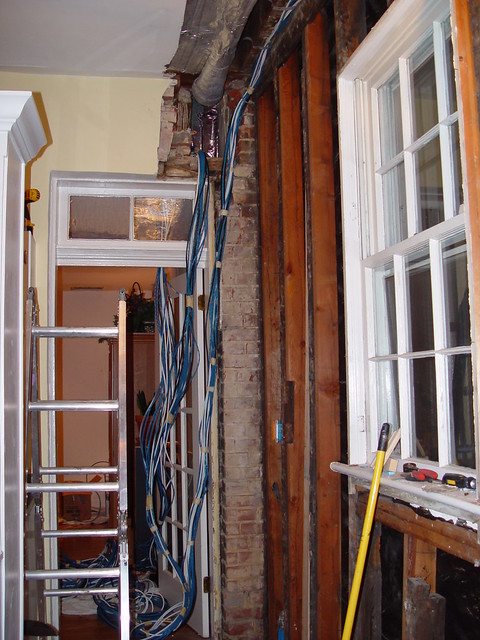
Back in February 2016 we shared the relatively inexpensive and very DIY friendly way you can add landscape lighting to your home. Though it looks great when it's on, the control of the lighting leaves something to be desired. There are several problems with how you can control the lights.
In the case of our unit, there's no good way to control it with a light switch. Each time you turn off the unit it resets, so turning it on only puts it in programming mode. Once it's set, when it's on it's on, even if you want it off, unless you actually press a button on the transformer. To turn it off we have to crawl behind the bushes and there's few people that want to crawl around in dark bushes at night.
more]]>
Ben when it came to outdoor low voltage lighting, we couldn't find one on the market that would work with home automation systems.
Back in February 2016 we shared the relatively inexpensive and very DIY friendly way you can add landscape lighting to your home. Though it looks great when it's on, the control of the lighting leaves something to be desired. There are several problems with how you can control the lights.
In the case of our unit, there's no good way to control it with a light switch. Each time you turn off the unit it resets, so turning it on only puts it in programming mode. Once it's set, when it's on it's on, even if you want it off, unless you actually press a button on the transformer. To turn it off we have to crawl behind the bushes and there's few people that want to crawl around in dark bushes at night.
There's the ability to set a schedule, but it's rudimentary at best allowing you only to specify the number of hours it should stay on once a photocell triggers it to turn on. And though a photocell sensor will turn the lights on at sunset and off at sunrise, it seems to be unreliable and we really don't want to leave the lights on all night. All of this together means it's just plain frustrating.
Tiny photocell that operates the transformer
While home automation has grown by leaps and bounds over the last several years, there are some products that just don't exist yet in the marketplace. In this case, we were searching for a low voltage garden lighting transformer that can be controlled with either Insteon or Z-Wave home automation protocols. I've searched high and low looking for an out of the box solution, and while they will probably exist at some point, right now I just haven't found one.
My searches uncovered some creative solutions, like a blog post that outlines how to create your own custom Insteon controlled outdoor enclosure unit. My initial instinct of "ooooooh, I want to build that" was quickly overridden by the practical side of my brain that suggested "there's probably a more straight forward and less labor intensive way to accomplish what you want." Rather than engineering a completely custom approach, I started to look for solution that might work with the transformer we already had on hand.
When I started to really think about what we wanted to accomplish, I had a lightbulb moment that turned the tide in what we were shooting for. I realized that the photocell that could be used to turn the lights on and off with the sunset and sunrise, was actually just a plain old switch. Sure, it had a light sensor on the end of it, but all that light sensor was responsible for was to turn the lights on and off on the transformer. If I could somehow control that photocell sensor with something else, we'd be golden.
After doing a fair amount of research, I came upon a solution that I thought might work. Insteon has a device call the Insteon IO Linc Module, and it's built for flexibility. If you read the marketing materials on this device, it's meant for whatever you can think of using it for. You can wire it to garage door closure relays, alarm device sensors, door bells, or any other number of low voltage items. But with this tremendous flexibility comes a complete lack of real instructions. So we had to just figure it out.
Assuming we could use the Insteon IO Linc as a home automation controlled switch replacement for the photocell, I got to work.
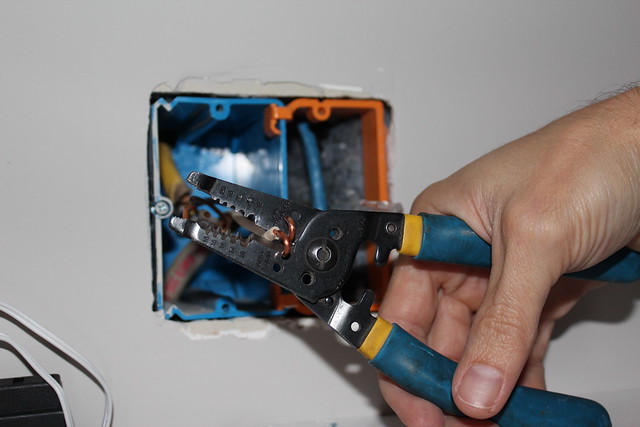
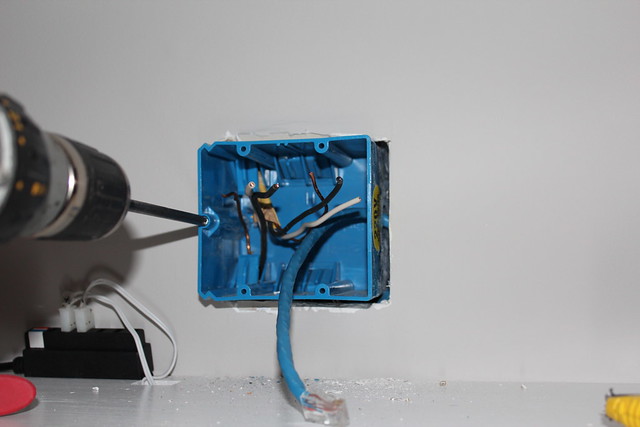
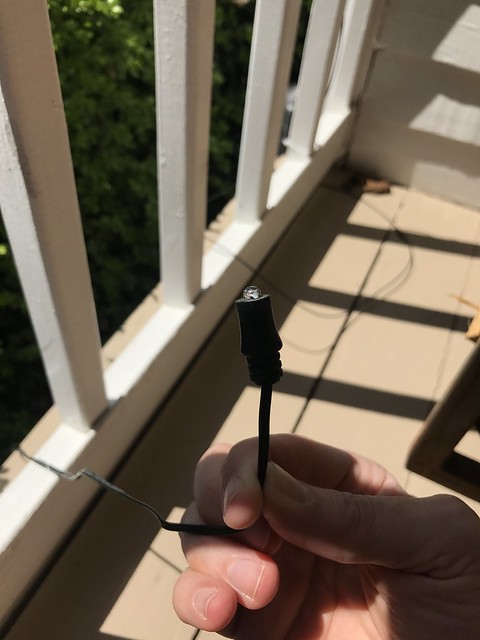
The first thing I had to do was to determine how the photocell switch works. Switches tend to work in one of two states, either "Normally Open" or "Normally Closed." What this means is that the photocell when triggered by light of the sun would either normally act in the Open or Off switch position or the Closed or On switch position. To verify I decided to just take the plunge and cut the photocell switch off of the wire.
As soon as I cut the photocell off of the end of the wire, the outdoor lights immediately turned on. This told me that when the photocell when activated by the sun was opening the circuit, so the normal position of the switch (without sun activation) was closed.

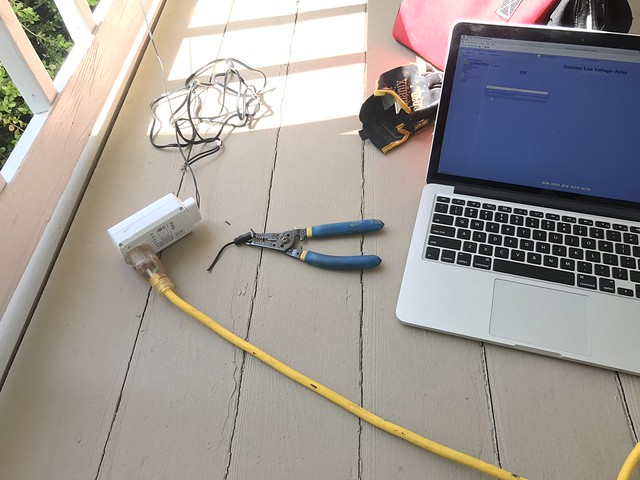
Once it was cut I was able to strip back the wires to the photocell lead, then connect them. This connection completed the circuit and made the state of the switch act in a "closed" manner. About 30 seconds after I closed the circuit, the lights turned off. With this confirmation of the normally closed state of the switch resulting in the lights going off, I could begin to setup the IO Linc test.

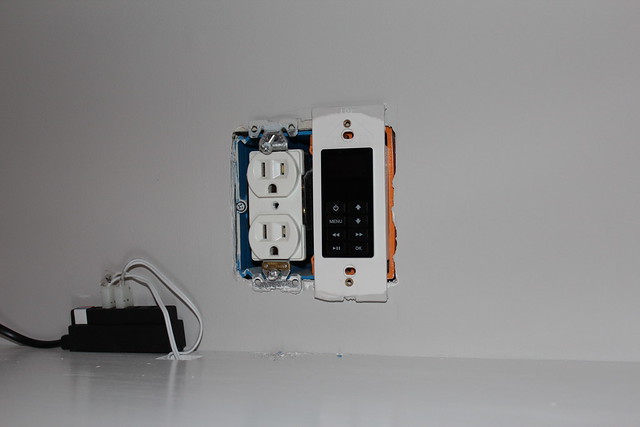
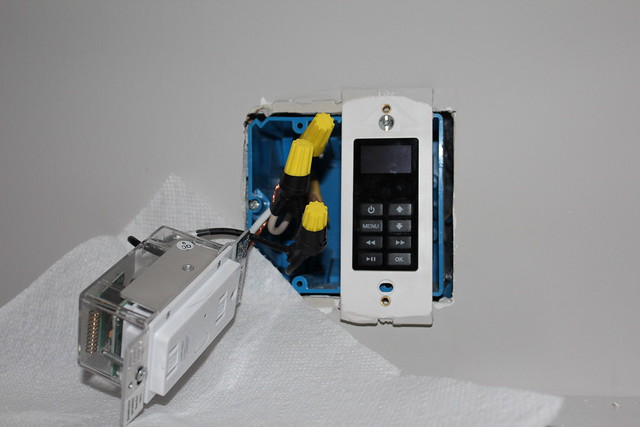
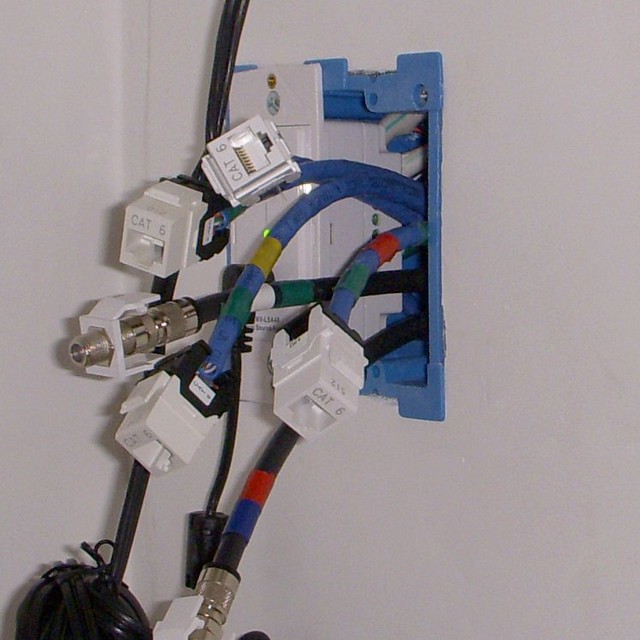
I wired the photocell lights into the "COM" or common terminal and the "NC" or Normally Closed terminal of the IO Linc. If my assumptions were correct, this would allow us to program any Insteon switch in the house to turn these outdoor lights on or off.

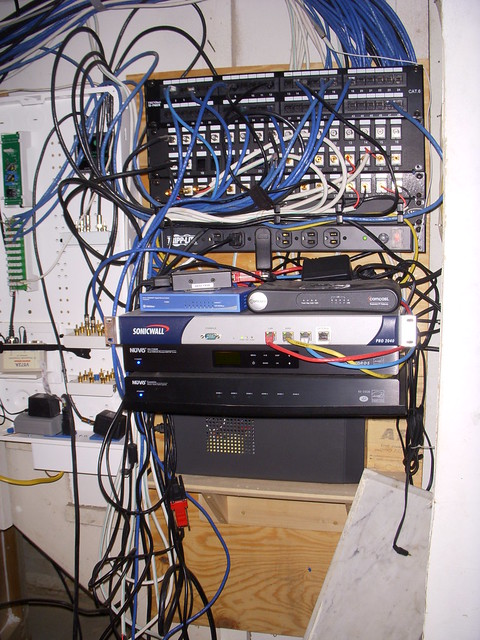
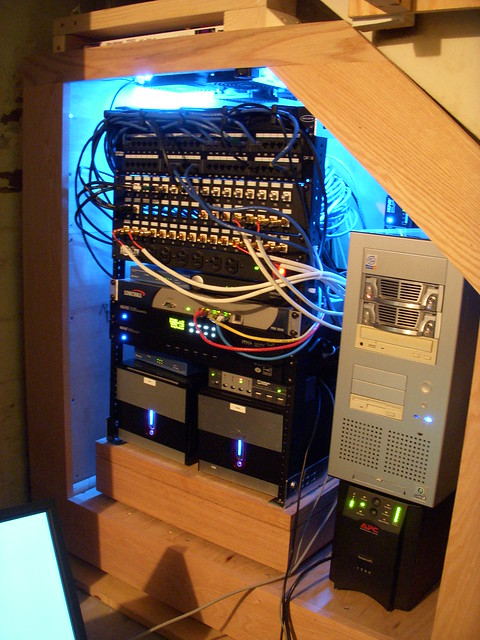
Our whole home automation system is managed using an ISY994i ZW PRO device. The "ISY" is the brains of our system, and manages all devices we have installed. In this case, the ISY can run a program that automatically turns these lights on when the sun sets each day, and automatically turns them off at a scheduled time (we'll put it at 10:30). I'll definitely do a much more in-depth post on home automation and my obsession with the ISY in the future, but it requires a lot of details. Anyhow, I needed to add this Insteon IO Linc to our setup through the application interface on my computer.
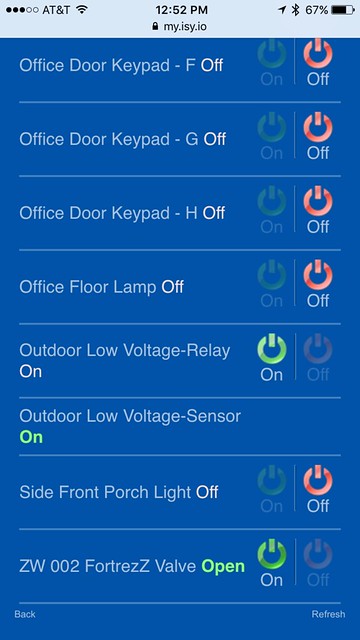
Once I added to the system I tested the function of the switch from the iPhone app. You can see in the screen shot that a "Outdoor Low Voltage-Relay" is listed. When the outdoor lights were off, touching the "On" button caused the lights to immediately come on. And when on, touching the "Off" caused the lights to turn off after the programmed 30 second delay. That 30 second delay is a part of the light system and something I'll just have to live with.
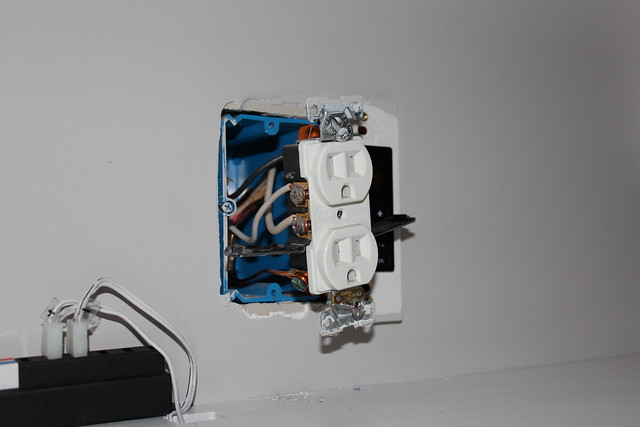
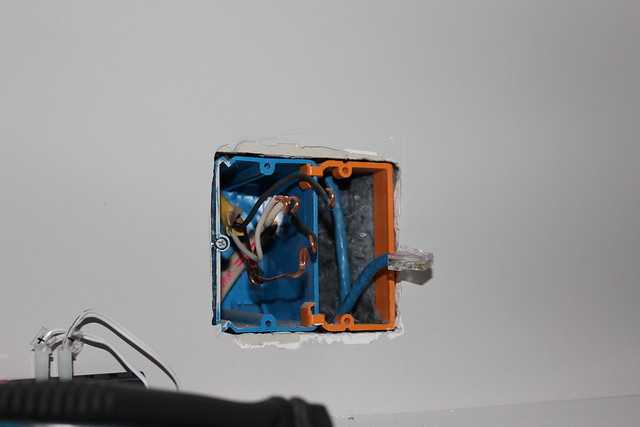
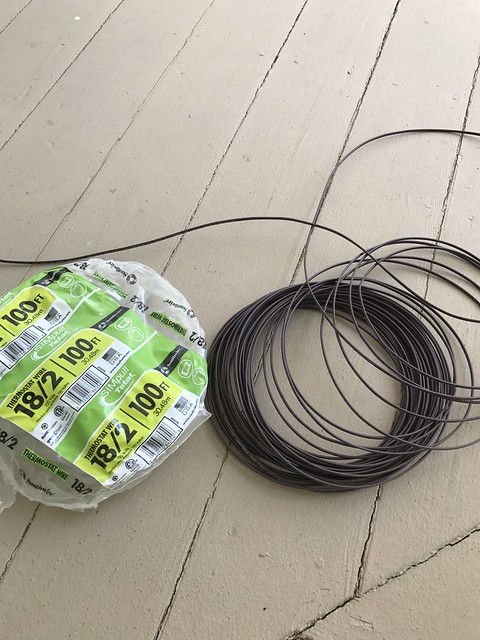
With the successful test of the system, I knew we had ourselves a winner. I disconnected my test set up and wired up a much longer length of lead using some spare HVAC wire I had from a prior project. Using this longer wire would allow me to extend the wiring from the transformer into an outlet in the crawlspace of our house. This way I can plug the IO Linc in an out of the way location that's protected from the weather.
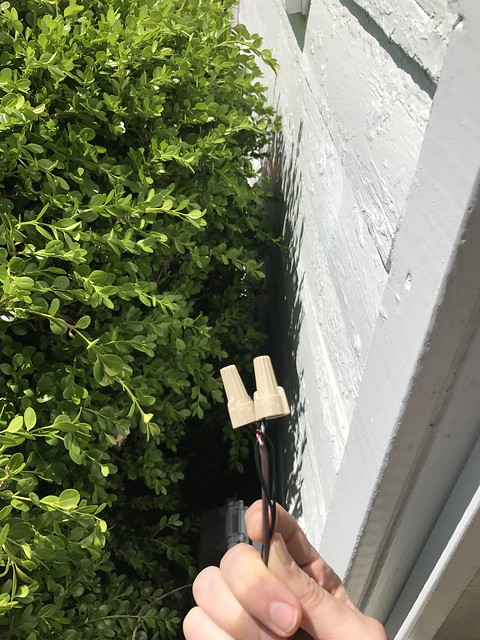
I applied a few wire nuts to the splice, then tons of weather resistant tape to the nuts. Then we hid the wire behind the bottom course of siding so nobody will ever see it.
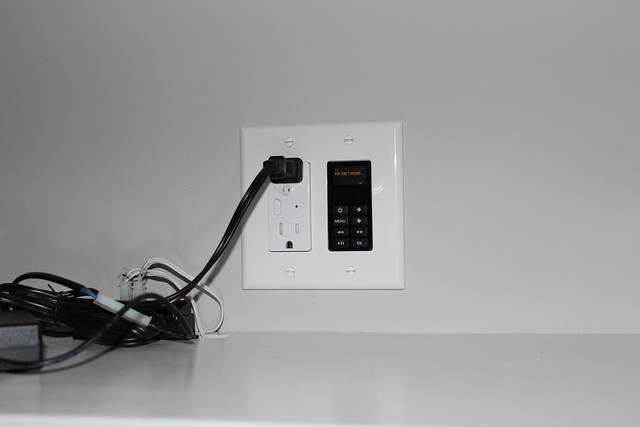
The final step in the process was programming one of the light switches near the front door to control these lights. Now, if we want to go outside and sit around a dark fire pit, but the lights are on, all we have to do it tap the button on the switch and the lights will turn off. (We actually programmed about three switches to perform this duty, which is a great flexibility of home automation.)

All told, it's taken much longer to write this blog post than to set up the Insteon IO Linc to control our lights. It was a quick and easy project that really expanded the function of our outdoor lights. Out of the box the programming of the lights and ability to turn them on and off was very limited. Now, using the ISY994 and our iPhone or wall switches, our outdoor lights run on a program that operates with the sunset and can be controlled by our switches or phones.
This is just one example of how versatile home automation is becoming. In many cases you can integrate home automation tools with existing technology in your home. We've been tinkering with home automation for more than a dozen years now, and the last four or five have seen such great strides that it's quickly becoming a reality for more than just the technology geeks of the world.
While this is a little bit more advanced of a home automation post, we plan on doing a handful of Home Automation 101 style posts to help the every day DIYer get off the ground with home automation.
Do you have any experience with home automation? If so, what technology did you choose and why? And if you don't have any experience, is this something that interests you that you'd like to learn more about? Let us know!
]]>