I picked up this method of treating cast iron many years ago while working in a window restoration shop. It's a tried and true method for protecting cast iron from rust, but there isn't a whole lot of information about it on the Internet. So it's our hope this will go a long way to helping others looking to restore their windows or other cast iron hardware in a classic and lasting manner.
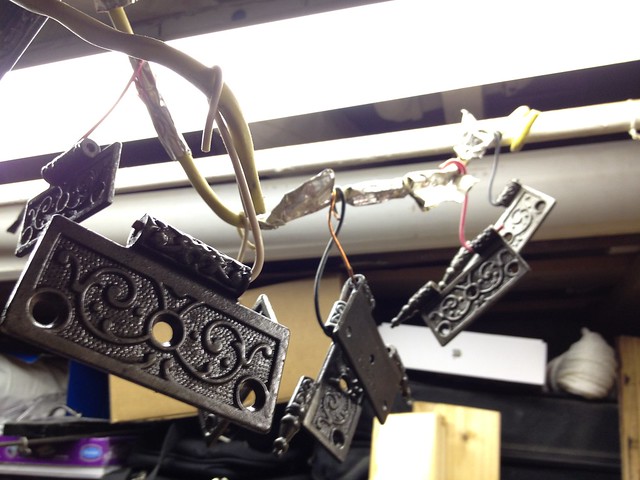
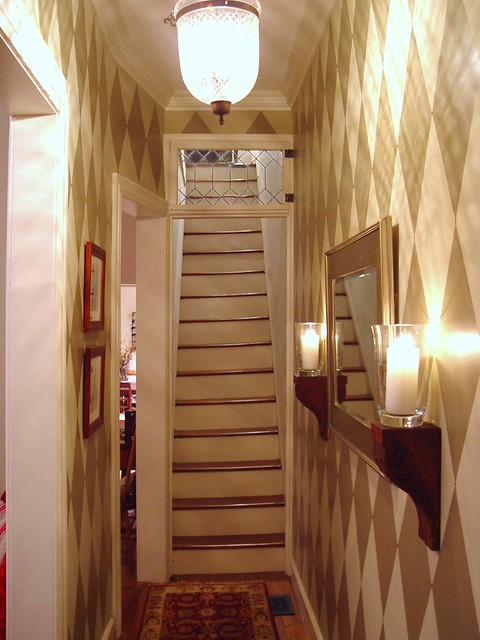
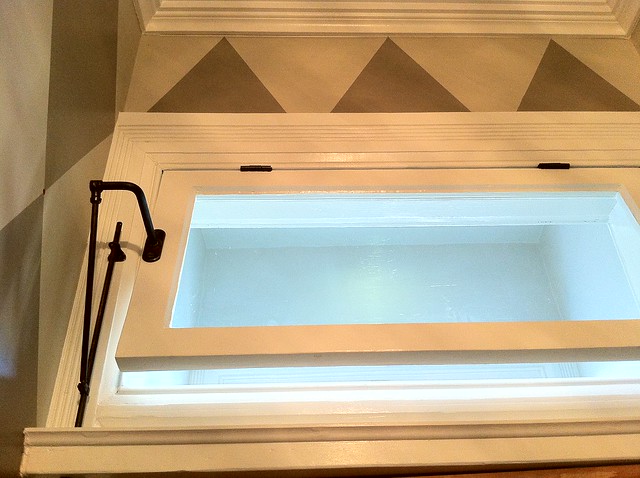
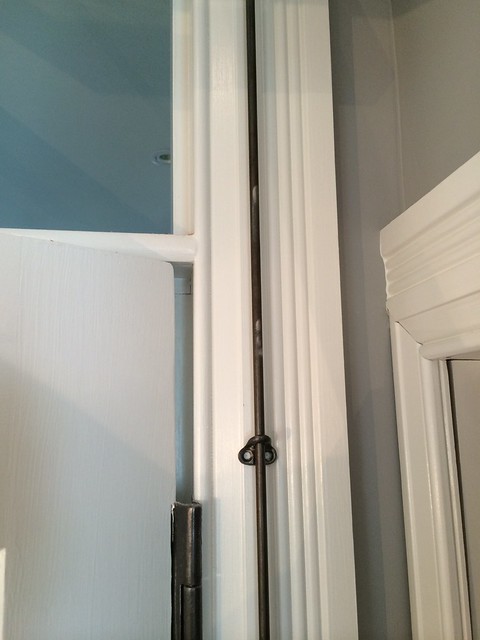
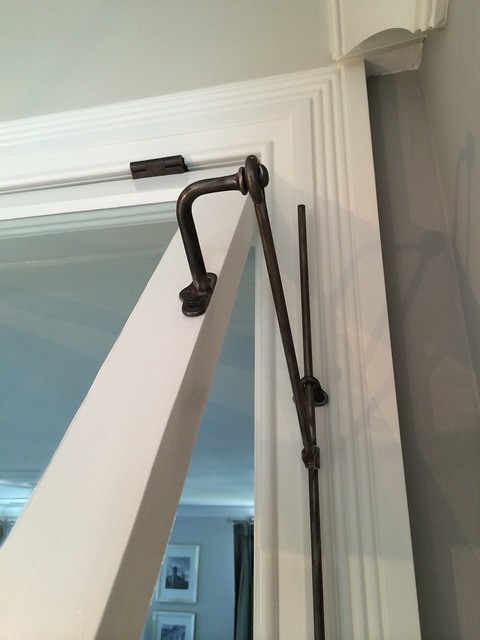
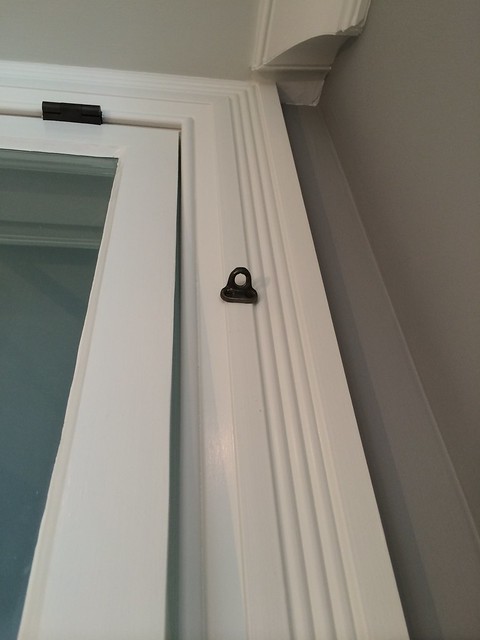
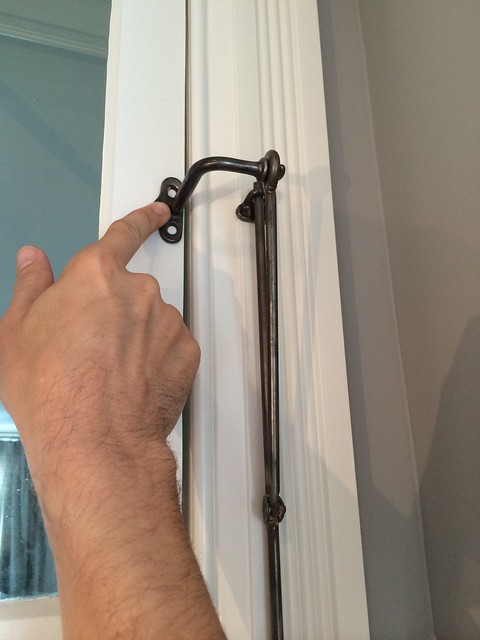
We're very fortunate to have several of our original windows almost completely intact. This means that our original cast iron sash pulleys are also in place and fully functional. However, they were all creatively disguised by many layers of paint, hiding their utilitarian beauty.

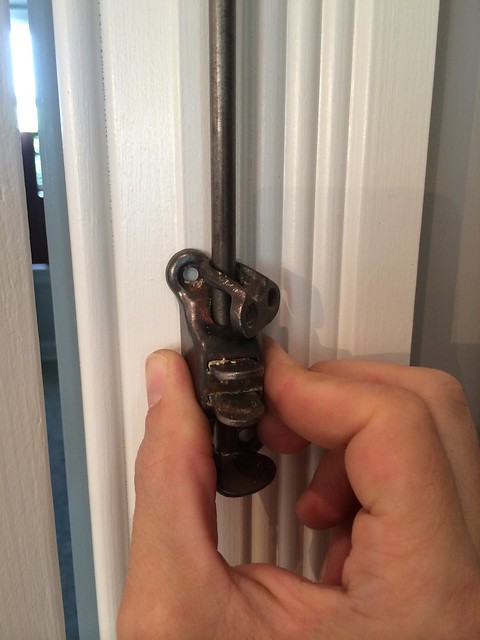
As beautiful as these original architectural details may be once stripped, they're also made of cast iron and are prone to rust. A few years ago we stripped and reinstalled several of our pulleys without protecting them from the elements. Even though they aren't directly exposed to water, the humidity in the air and blowing rain or snow is enough to leave surface rust on exposed portions of the iron. The end result after a few years in the window frame is a fine coating of the orange-brown patina we'd like to avoid, especially since it begins to stain the sash ropes.
more]]>
I picked up this method of treating cast iron many years ago while working in a window restoration shop. It's a tried and true method for protecting cast iron from rust, but there isn't a whole lot of information about it on the Internet. So it's our hope this will go a long way to helping others looking to restore their windows or other cast iron hardware in a classic and lasting manner.
We're very fortunate to have several of our original windows almost completely intact. This means that our original cast iron sash pulleys are also in place and fully functional. However, they were all creatively disguised by many layers of paint, hiding their utilitarian beauty.
As beautiful as these original architectural details may be once stripped, they're also made of cast iron and are prone to rust. A few years ago we stripped and reinstalled several of our pulleys without protecting them from the elements. Even though they aren't directly exposed to water, the humidity in the air and blowing rain or snow is enough to leave surface rust on exposed portions of the iron. The end result after a few years in the window frame is a fine coating of the orange-brown patina we'd like to avoid, especially since it begins to stain the sash ropes.

In the past we've coated some of our cast iron hardware, like rim locks and hinges, or other ferrous metal that may get wet (like outdoor chairs), with low luster poly or Penetrol, but neither of those are very good options for these sash pulleys. The fact that the pulleys have moving parts and the sash ropes cause friction through use means that coating this hardware with something that can fracture and flake off isn't a great solution.
Last week we touted the rejuvenating characteristics of boiled linseed oil and turpentine (or Blopentine) for breathing life into our old window sash, but what can linseed oil do for ferrous metal? Turns out, it can be a great option for keeping cast iron from rusting.
If you've ever tried seasoning cast iron (like what you might do to cast iron cookware) you might be familiar with using oil to keep it from rusting. The idea in what we're doing is very similar. Heating the pan and allowing the oil (often flaxseed oil for cast iron pots) to coat and protect the cast iron helps prevent the cast iron from rusting by keeping water away from direct contact with the metal. It essentially forms a thin protective film over the iron's pitted and porous surface.
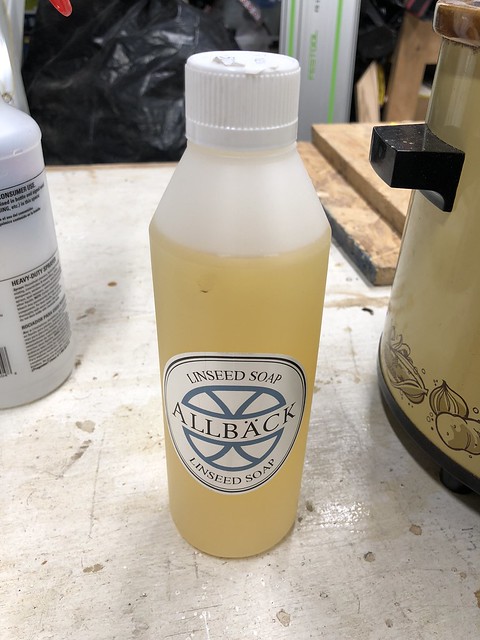
In our case we're using some Linseed Oil Soap from Allback, and we're giving our sash pulleys a linseed oil bath. The linseed oil soap is a mixture of organic linseed oil (not boiled linseed oil) and water, and can be diluted by adding it to the water in our "bath."
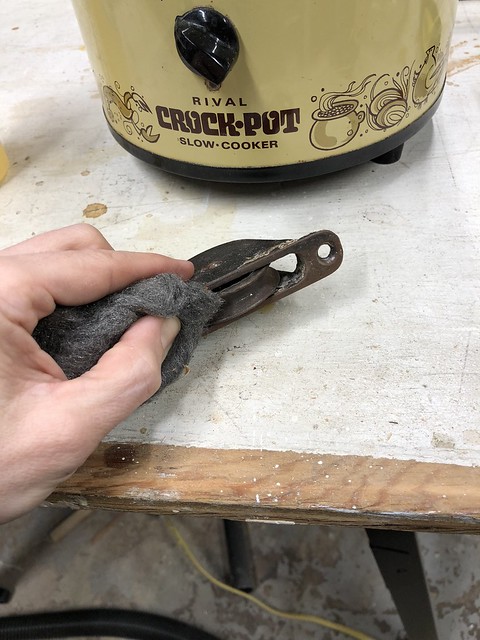
For us the first step is to clean the sash pulleys of their rush with a little steel wool. We previously used a wire wheel to completely clean the paint, but this thin layer of rust was no match for a #1 and #00 steel wool pad.
Once clean we moved onto the bath. We're using the vintage Crock-Pot I scored for free, coincidentally on the day after it was revealed on This Is Us (*SPOILER ALERT*) that Jack was killed by a vintage slow cooker, some crazy irony there, right?

I added enough water to fully cover the sash pulleys and then put in a few squirts of the linseed oil soap.

The soap is slightly clouding the water to start...
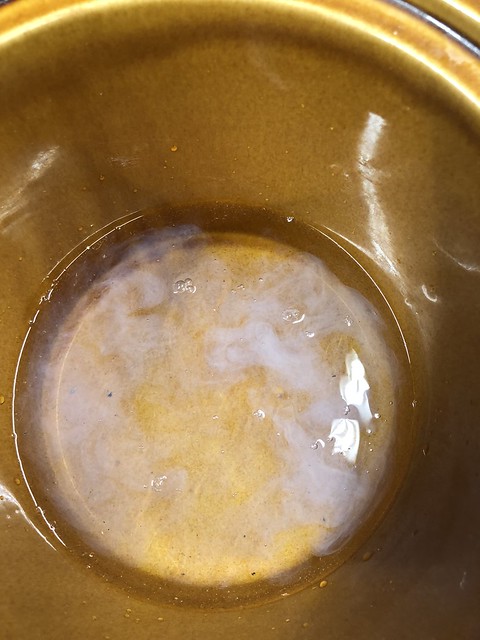
...but mixes easily with the water to fully disperse.
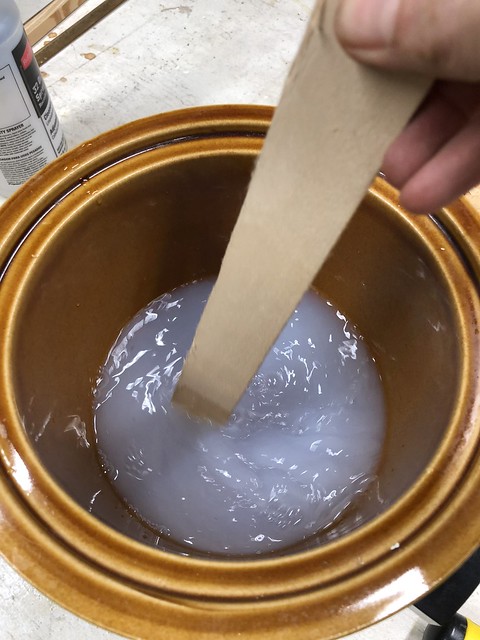
I went ahead and put the Crock-Pot on high to warm the soapy water up, and dropped the pulleys into the cloud.
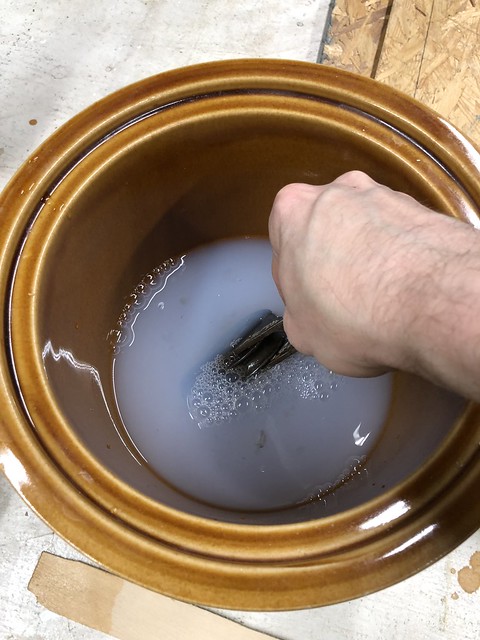
Allowing them to soak in the hot mixture for several hours gives the linseed oil a chance to heat and fully coat and protect the cast iron. Also, this gives the mixture a chance to smell a little bit like hot gross fish. If you're into hot gross smelling fish, you'll really love this whole process!
While they cooked the water started to turn a bit brown. I periodically spun the pulleys around to make sure there was no trapped air or areas not fully exposed to the bath. As you can see from the photos, the case iron did slightly darken from the water and oil, but that's expected.

After three hours or so I checked on the progress. Removing the pulleys from the hot oil bath revealed a great looking piece of hardware that's ready for another 100 years of service.
The pulleys are slightly tacky right after they've been removed from the bath, but allowing them to dry overnight yielded a smooth and fully dried end result. The final finish is very matte and there is not a plastic film look to it at all, as you'd expect from a traditional poly.
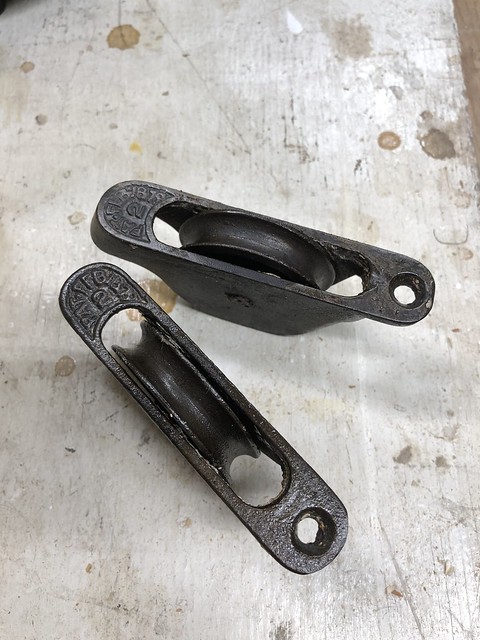
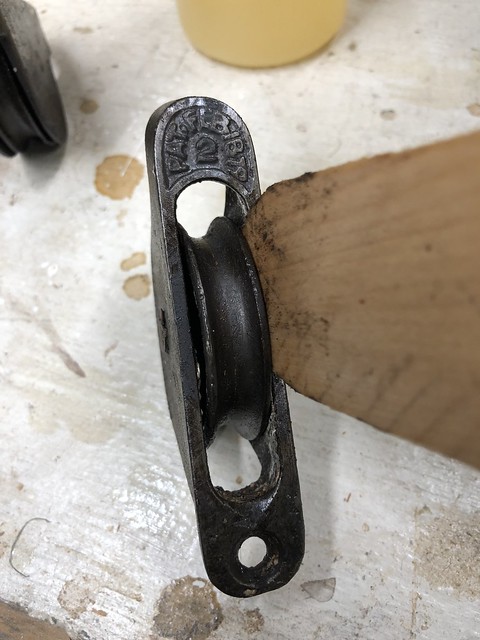
Our sash pulleys, with patent date of Feb 1879, are once again ready for reinstall. These one screw Norris style pulleys (based on their shape and the specialized mortise necessary for the window frame) should no longer be prone to rust if they encounter a little bit of moisture. After the linseed oil bath they now have that classic cast iron dark grey patina. There is no film left following the bath and the coating is more or less baked in over the entire pulley.
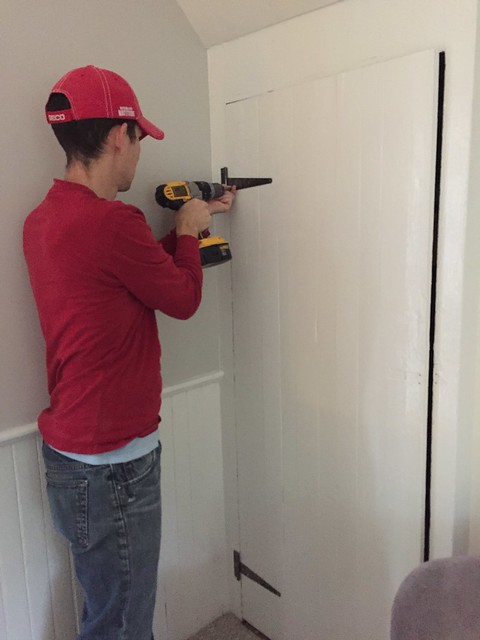
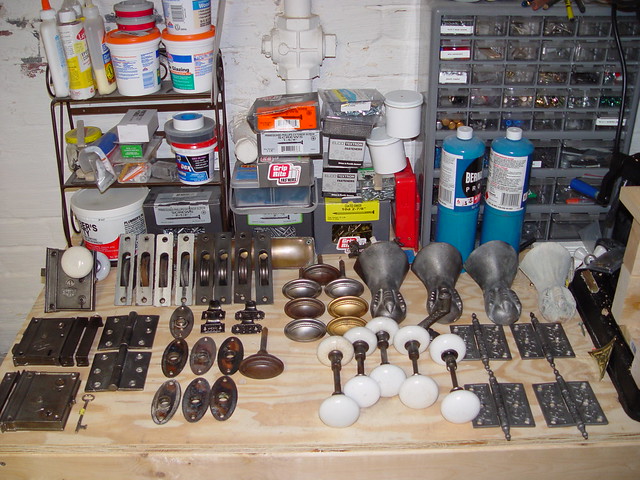
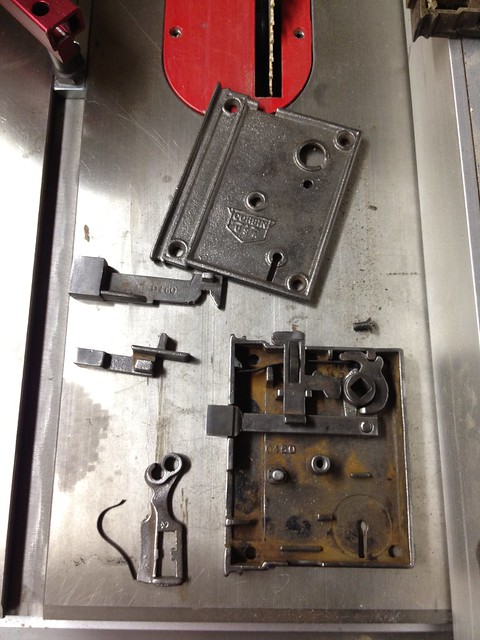
This linseed oil bath is a great option for hardware with movable parts that may be exposed to moisture. At the same time, it's even a great option if you want that raw cast iron look without the need for maintenance or a glossy coating of poly. We'll probably be using this method for future restoration of our rim locks after we're done cleaning off all of the rust.
Have you ever heard of using a linseed oil bath on cast iron hardware? Or maybe you're a fan of linseed oil soap as an organic and environmentally friendly method to cleanse difficult to clean surfaces? Would love to know if you found this tip useful and if you think you'll try it out some day.
]]>