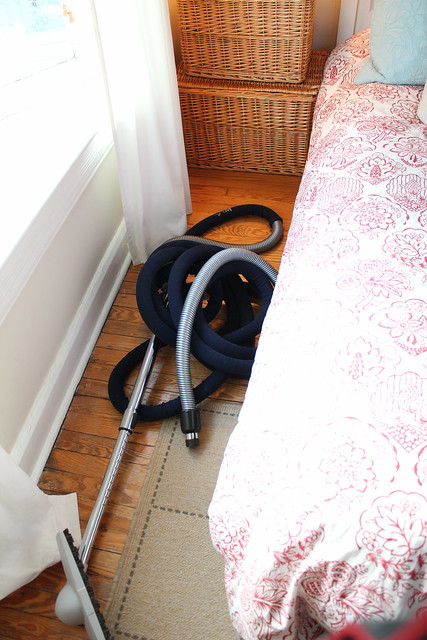
After years of having a guest room that was "good enough," a string of planned visits from guests in the upcoming months had me taking stock of our little guest room. This is the same room we gave a light makeover to some seven years ago, but since has been largely unimproved. Well, I recently looked around the room I realized that it may have been close to good, but wasn't what I wanted it to be. Besides not looking how I wanted from a decor perspective, we've been using it to store rugs we've moved from their prior rooms, the central vacuum attachments, and various miscellany that had been misplaced from other locations in our home. It was time for an upgrade.
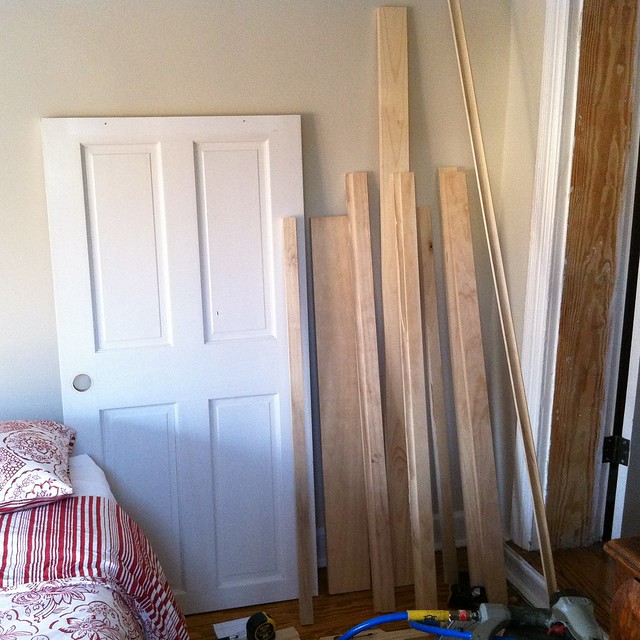
This all started pretty innocently. Besides the accumulation of junk, the bed and box spring were sitting directly on the floor, where it's been since our last update in 2011. There it sat, still waiting for the bed that Alex will eventually build (but hasn't yet). I had grown sick of the bed on the floor look. When a neighbor gave us a metal bed frame he was planning to throw away, I figured it was a good chance to overcome this single annoyance with our room.
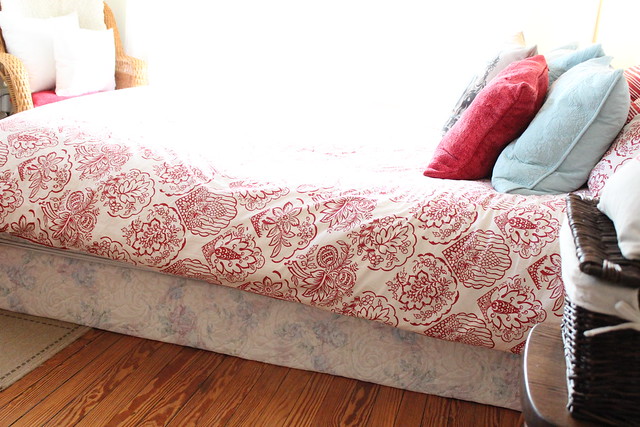
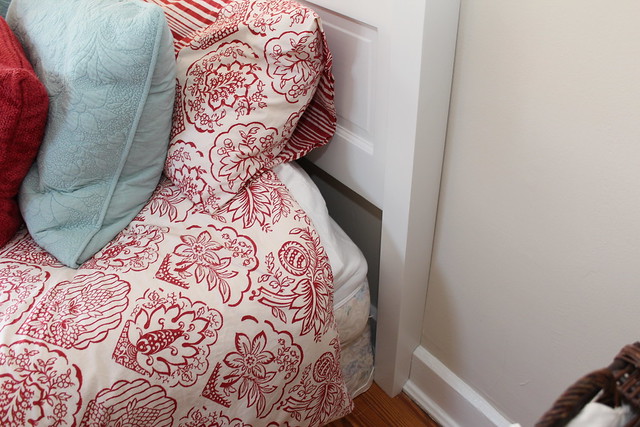
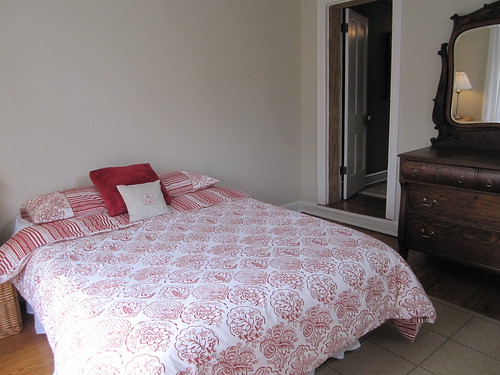
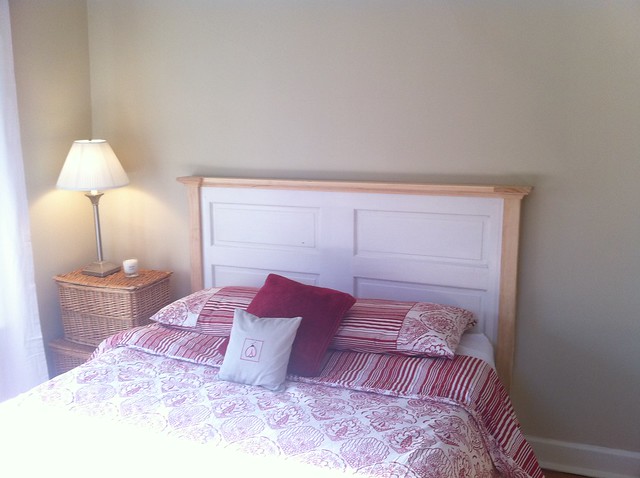
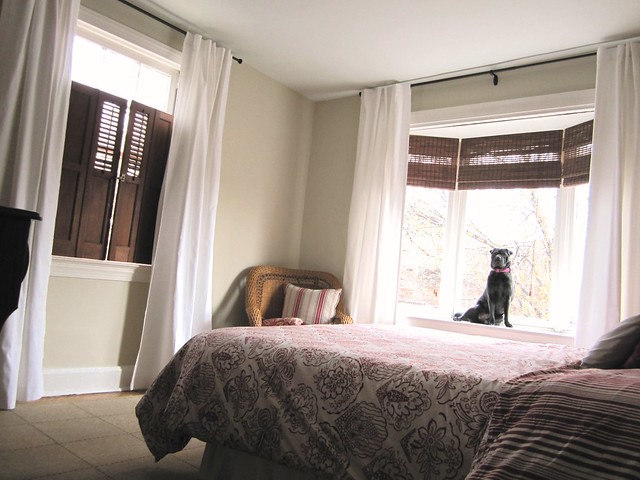
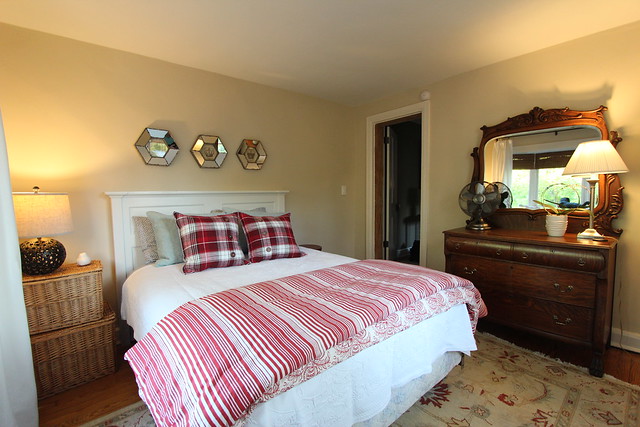
Having the bed at a normal height made me realize we needed a proper bed skirt. Simple enough, right? And while we're at it, it was spring, so time to swap the heavy comforter for the lighter white matelasse coverlet. Here's how the room looked as we tried to prep it with what we had.
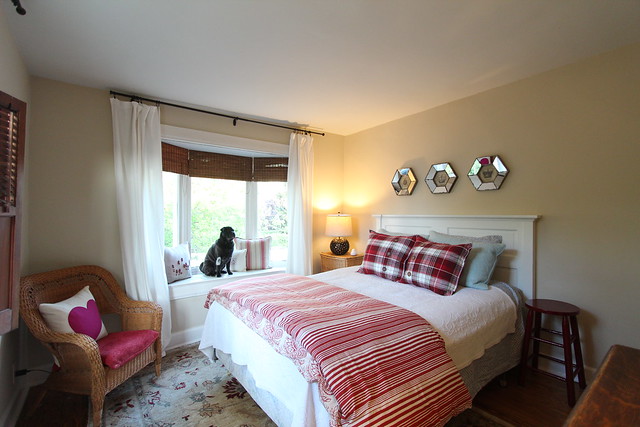
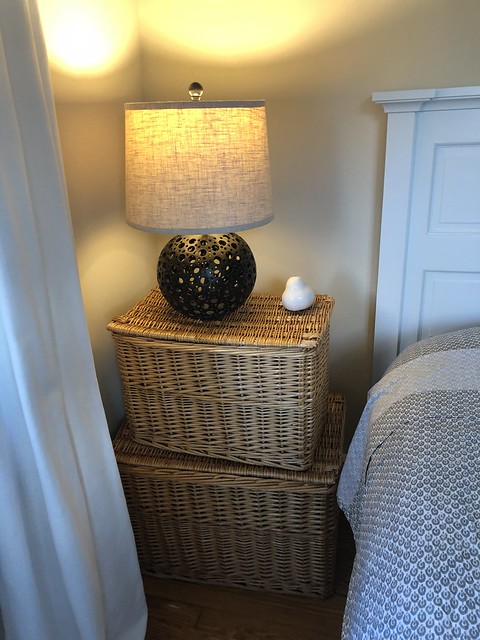
Besides missing a skirt, the problem I ran into is that the white coverlet we put on the bed from Spring to Fall has a large brown stain on it, courtesy Mel and a cat vomit incident last year. Now, I don't know about you, but as a guest staying, well, anywhere, I'd prefer to not have cat vomit stains on my bedding. Beyond the stained bedding, I felt like the red stool and recycled wicker baskets as night stands, both "rescued" from the curb, were far from ideally functional.
more]]>After years of having a guest room that was "good enough," a string of planned visits from guests in the upcoming months had me taking stock of our little guest room. This is the same room we gave a light makeover to some seven years ago, but since has been largely unimproved. Well, I recently looked around the room I realized that it may have been close to good, but wasn't what I wanted it to be. Besides not looking how I wanted from a decor perspective, we've been using it to store rugs we've moved from their prior rooms, the central vacuum attachments, and various miscellany that had been misplaced from other locations in our home. It was time for an upgrade.
This all started pretty innocently. Besides the accumulation of junk, the bed and box spring were sitting directly on the floor, where it's been since our last update in 2011. There it sat, still waiting for the bed that Alex will eventually build (but hasn't yet). I had grown sick of the bed on the floor look. When a neighbor gave us a metal bed frame he was planning to throw away, I figured it was a good chance to overcome this single annoyance with our room.
Having the bed at a normal height made me realize we needed a proper bed skirt. Simple enough, right? And while we're at it, it was spring, so time to swap the heavy comforter for the lighter white matelasse coverlet. Here's how the room looked as we tried to prep it with what we had.
Besides missing a skirt, the problem I ran into is that the white coverlet we put on the bed from Spring to Fall has a large brown stain on it, courtesy Mel and a cat vomit incident last year. Now, I don't know about you, but as a guest staying, well, anywhere, I'd prefer to not have cat vomit stains on my bedding. Beyond the stained bedding, I felt like the red stool and recycled wicker baskets as night stands, both "rescued" from the curb, were far from ideally functional.
In order to make this a truly inviting space, I felt it was a pretty good time to make a few minor decor updates.
I headed to HomeGoods to pick up a new bed skirt and quilt, and that's where the decor monster grabbed hold of me. As I wandered the aisles of HomeGoods the effort quickly began to escalate. What started as a trip for just a couple items quickly turned into new bed pillows, a crisp white coverlet (preferably without cat vomit stains) and matching shams that would work well for the summer, and a long grey bolster pillow that I simply couldn't leave without. This pillow was my gateway drug, and before I knew it my habit had quickly spilled over into the lamp section of the store.
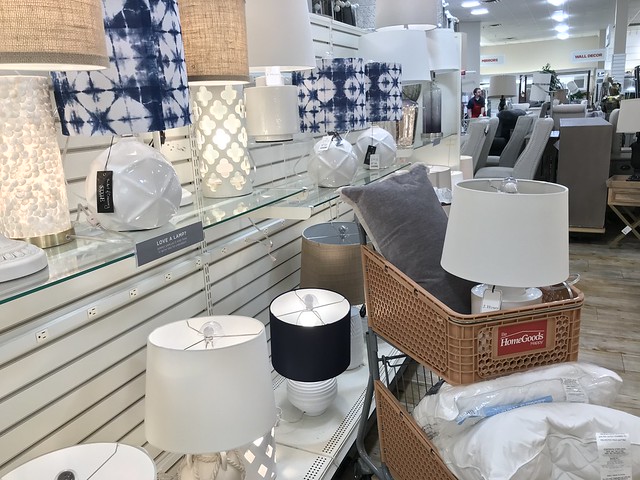
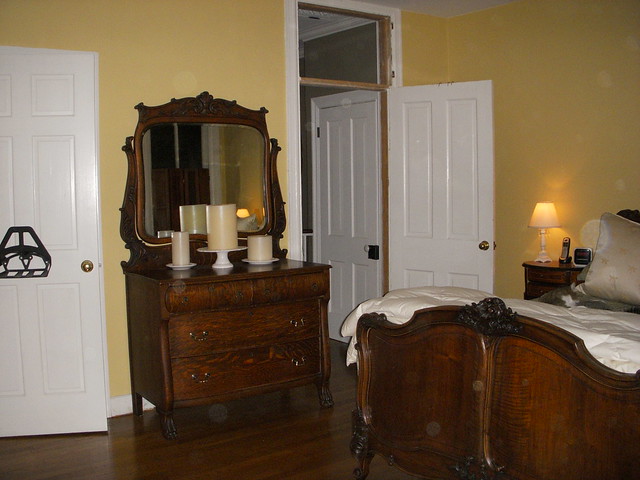
The mismatched brown holy ball lamp and silver Restoration Hardware lamps in the room were okay, but how much better would a matching set of white ceramic lamps look? So much better, that's how! Before I knew it I was wandering into the rug section of the store.

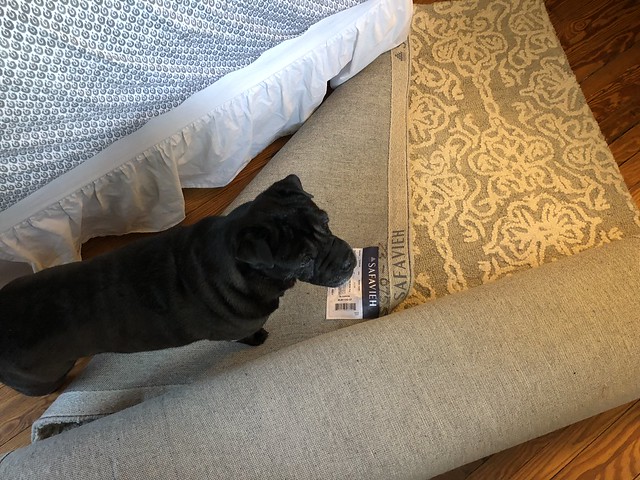
Stark geometric patterns were whispering in my ear beckoned me to the selection, double dog daring me to replace the rug in the guest room. Yes, the rug which was once on our family room floor and had found a second life in our misfit hand-me-down guest room, had to go, or at least that's what the decor monster told me. It was shockingly easy to justify this purchase to myself, as the new rugs I'd somehow found myself admiring would work much better with the look I really wanted. White and grey are more in line with my aesthetic, are calm and inviting, and the old rug not only wasn't what I really wanted in the room, it was also faded, (surprise) also stained, and has a hole in it from a nervous digging incident courtesy of Lulu.
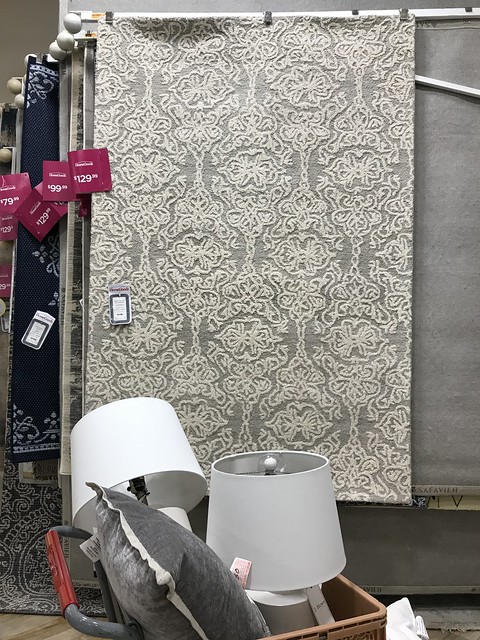
Before I even knew what was happening I'd selected a 5' x 7' rug and seemed to almost be levitating, carried by some unknown force -- perhaps the carpet I'd selected was magic -- over to where I'd find two matching grey tables that would work perfectly as bedside tables.
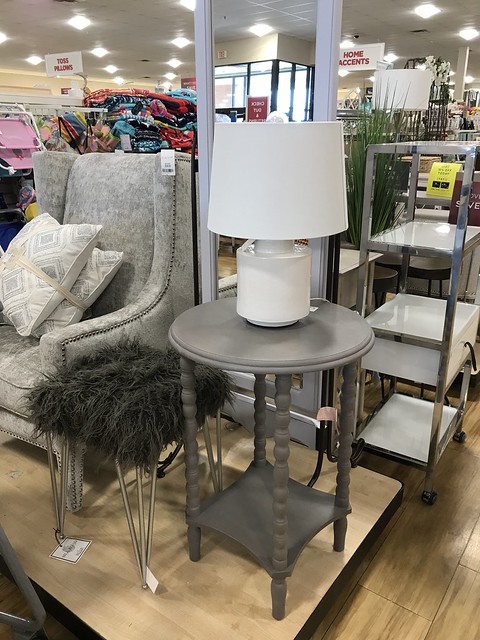
This was all some sort of crazy HomeGoods fate that had a hold of me. I was in the decor zone, I couldn't be stopped!! And how rare it is to find a matching set of lamps and tables at this fabulous discount store. It must be fate.
I gleefully skipped to the car carrying all of my HomeGoods bounty. The guest room was not only destined to no longer exist as a tired excuse for a guest room, I was going to make it so dang cute that I might even want to start sleeping there after our guests have left.
When Alex got home from work we launched in to our light decor refresh. Though I'd gone to HomeGoods to find a bedskirt, I'd failed in that endeavor (turns out I had more pressing matters to fulfill). We have a partially fitted sheet that was intended as a skirt for an inflatable mattress, so we decided to make it work as the skirt until we can find one that's better suited...or Alex builds the bed, you know, whichever comes first.
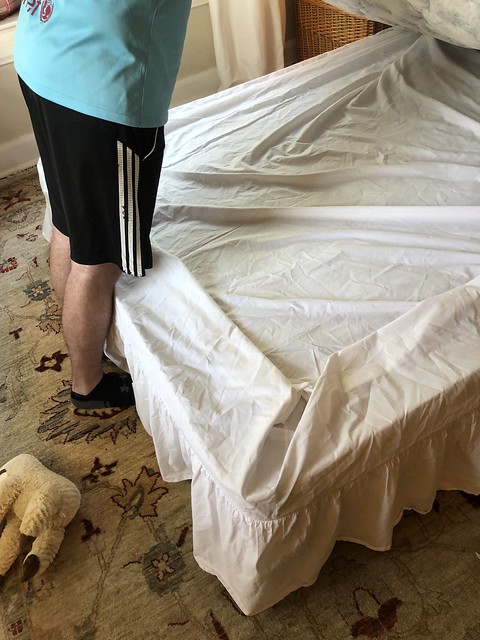
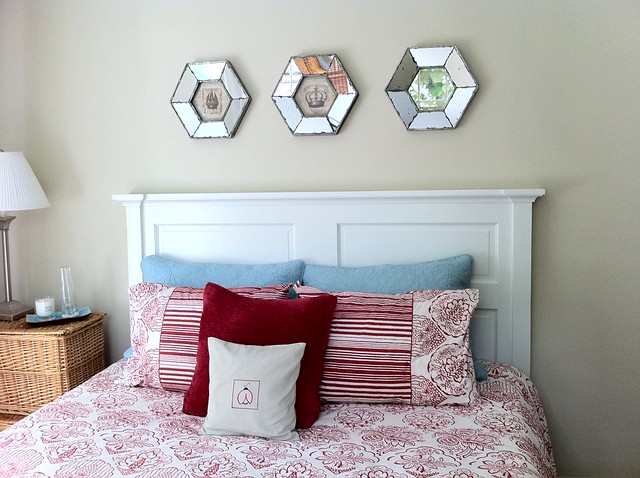
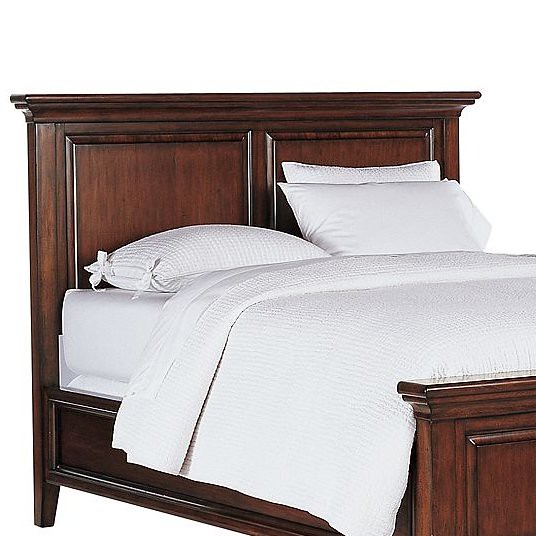
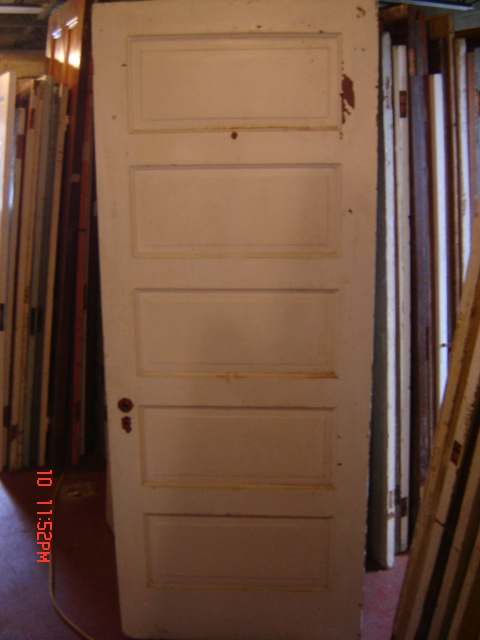
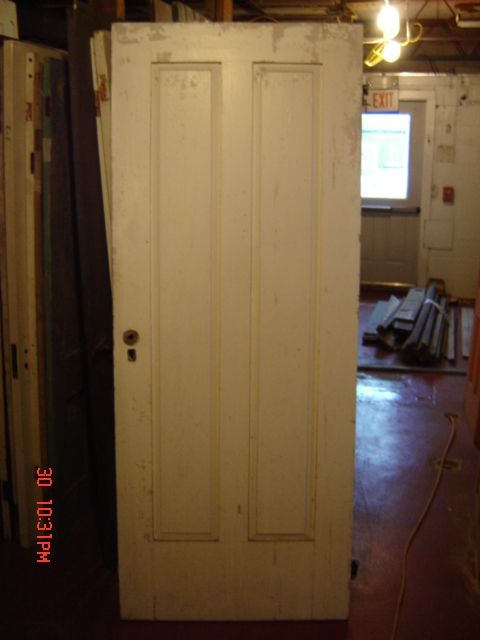
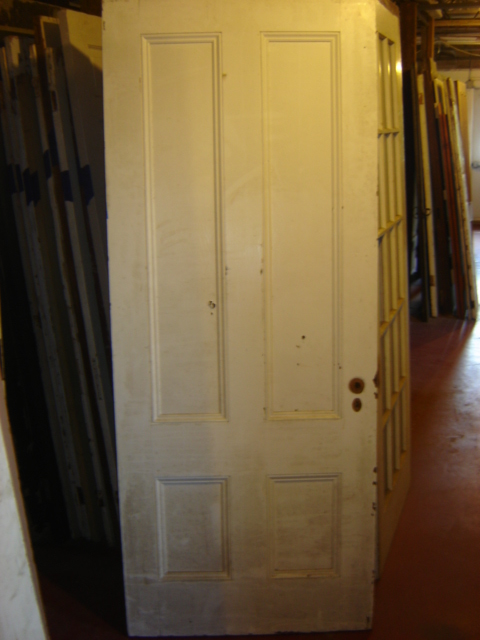
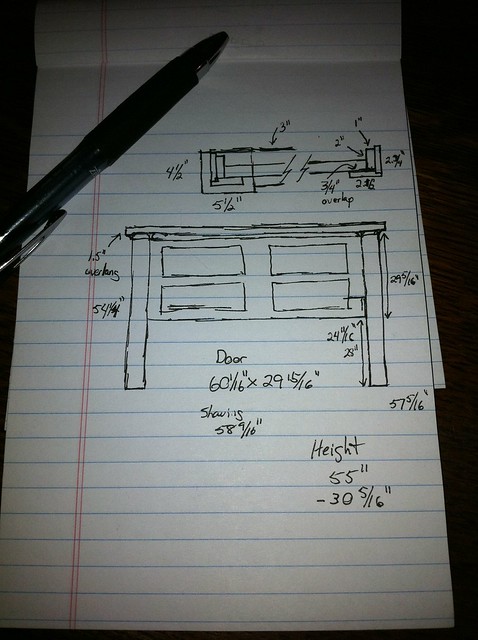
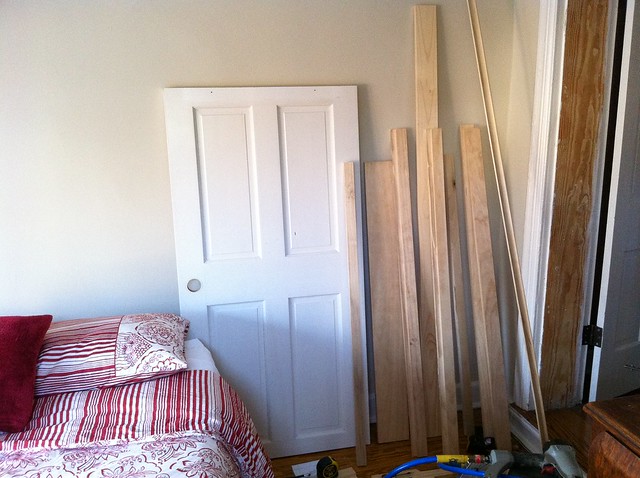
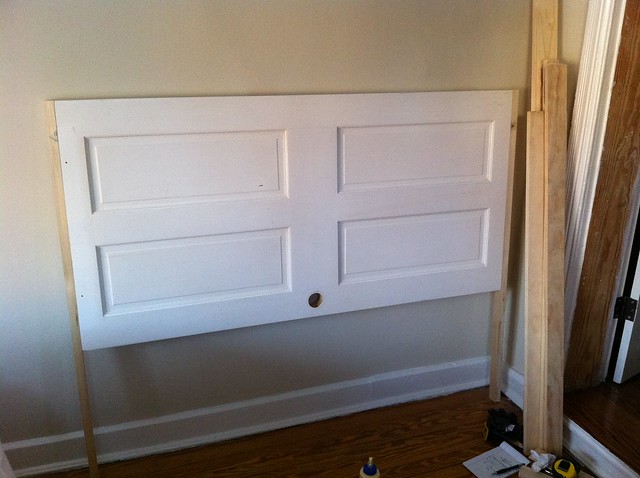
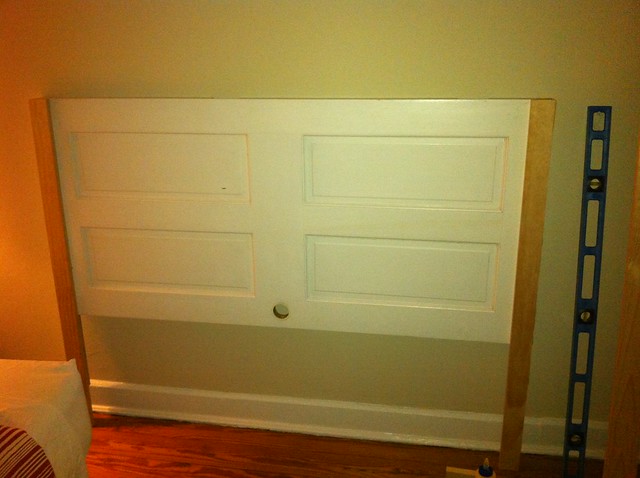
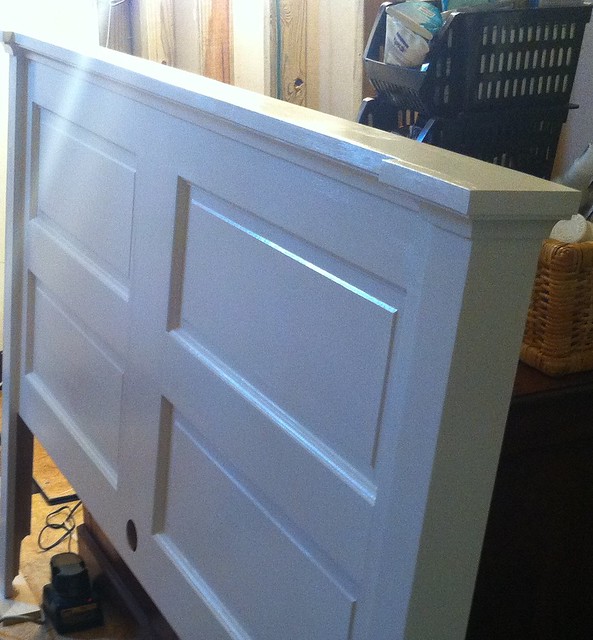
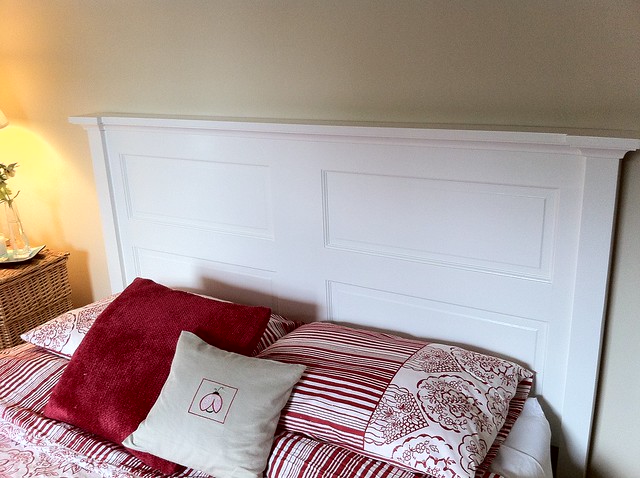
We stupidly did much of this in the wrong order. We put the new bedding on the bed, then put on the makeshift bedskirt. I think we were just excited to have the new coverlet without a stain. As you can see, we're sticking with the headboard that we made from our old bathroom door.

Once that was done we realized we needed to take up the old rug, which required us to move/lift the bed. It was truly a series of poor choices that caused us to take much longer to get this done. And in typical Lulu form, she helped by standing on most of what we were trying to put in place.
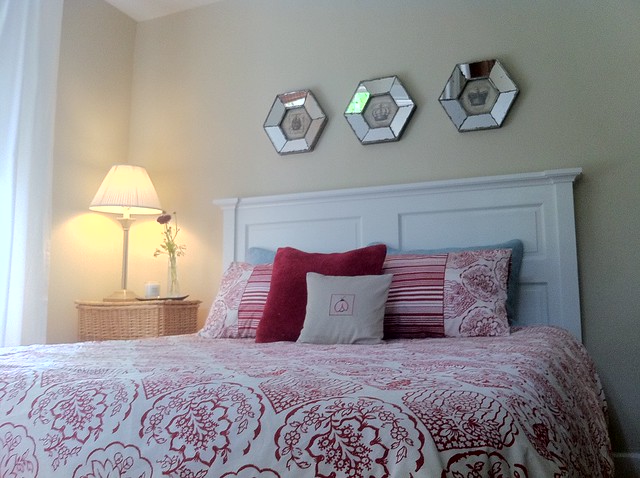
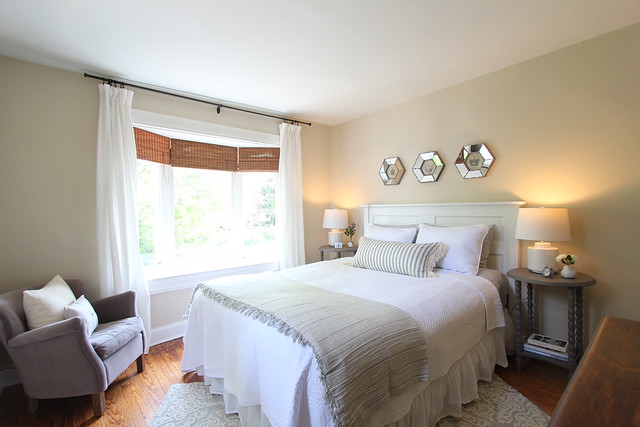
But as we progressed, the room slowly started to come together. Bedding, end tables, lamps, the rug, it was all looking wonderful! I was so excited! I loaded in a few interesting books on the end tables (including "Ghosts of Virginia" for a little fun late night reading), arranged a few fresh flowers, and placed a few small grey accessories we had on hand in other rooms of our house.

Beyond the decor, getting all of the extra stuff out of the room felt liberating. The house started to feel less junky and more how I wanted it to feel for our guest's arrival.

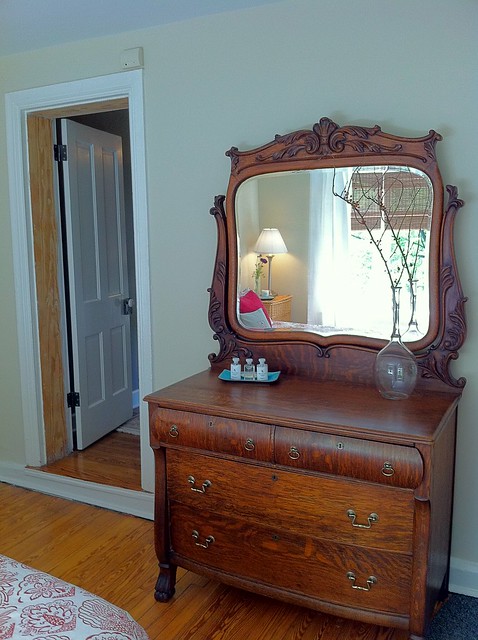
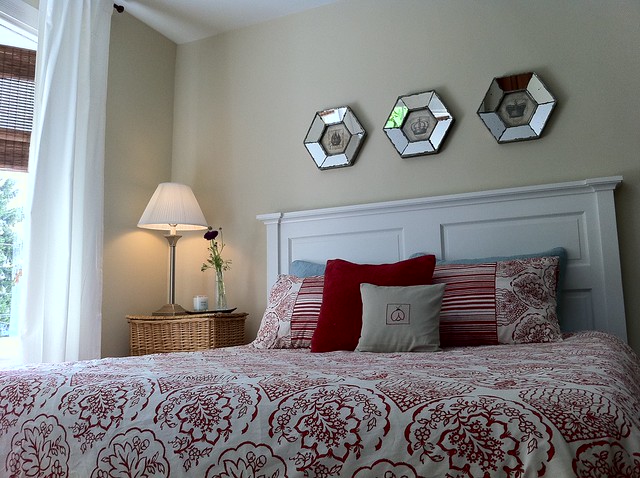
After all was said and done our guest room is now the fresh and welcoming space we wanted it to be.
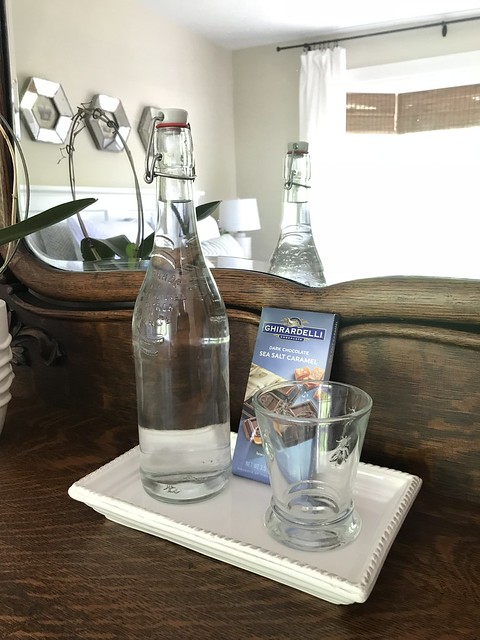
In order to make it just a tad more inviting, I added a bottle of water and glass on the dresser, and a chocolate bar in the event a snack is necessary. This will have to make do for now, but Alex thinks we should add a stocked mini-bar to round out the experience.
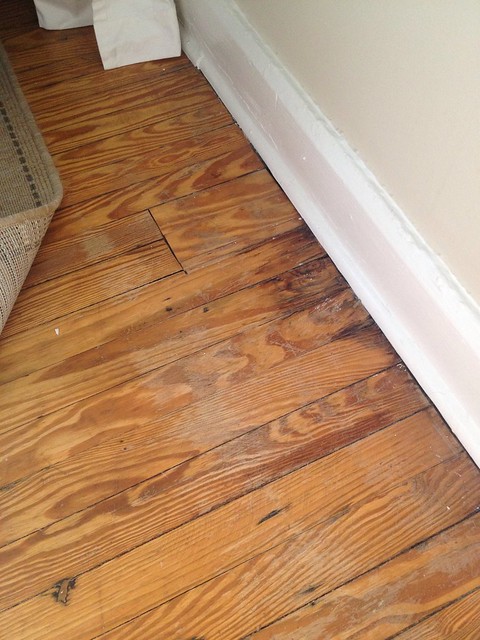
We're far from done with this room, as we have plans to completely overhaul it, complete with windows that open, correct moulding, repaired plaster, refinished and repaired floors, and a large exposed brick wall. But as far as the room is concerned today, it's exactly what I wanted it to be for our guests. The major overhaul to the room can wait, we have a perfectly pleasant and enjoyable guest room today.
Throughout the remainder of the spring and summer we'll have a long list of visitors that will be coming to stay in the Old Town Home B&B, and we really hope they enjoy the little updates we've made to this room. This was by no means a difficult or time consuming update, but it's one that I feel has really refreshed and improved the room. All told it was about $380 for everything, and I think it was money well spent.
Have you ever been in the situation where you feel you need to quickly get your guest accommodations in shape before someone's arrival? Were you successful in your endeavor? Did you every get a little beyond your intended scope when you went to HomeGoods for something small? Would love to hear your experiences.
]]>