The most major of our projects has been our focus on the overall exterior appearance of our Foursquare. As a realtor, I'm keenly aware of curb appeal, and how small differences on the exterior of your home can truly set the tone for how you feel on the interior of your home. But as an owner of a house with wood siding, a large yard, and a lot of plantings around the house, I know what an overwhelming endeavor it can be to stay on top of those items that impact the curb appeal of your home.
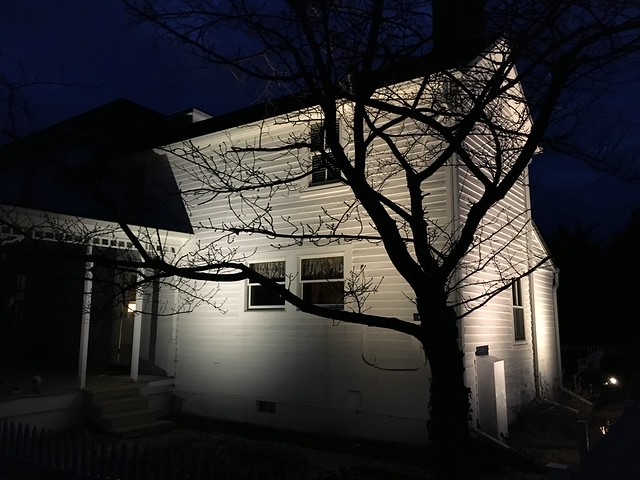
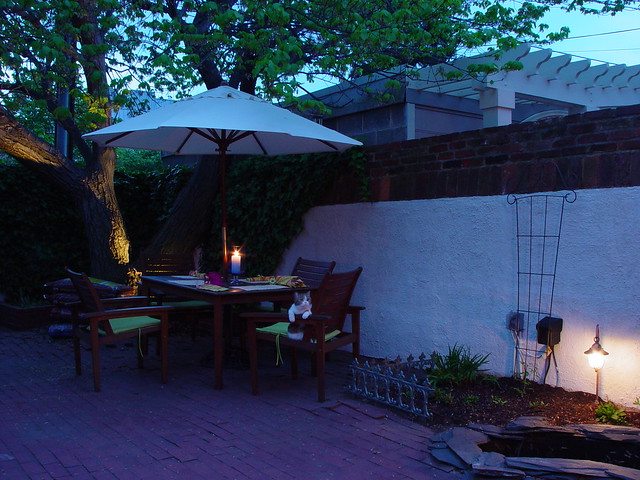
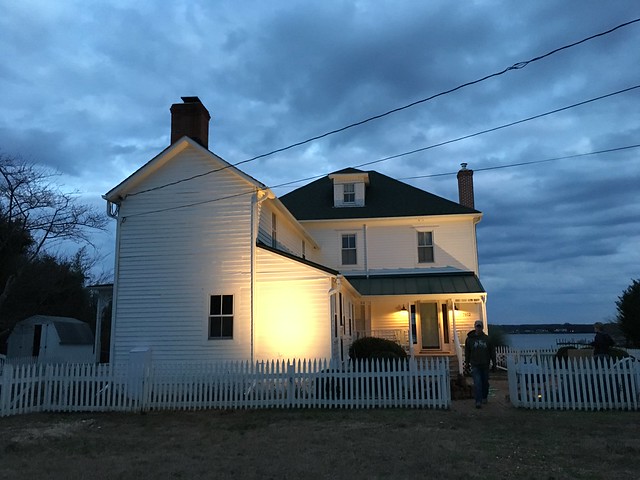
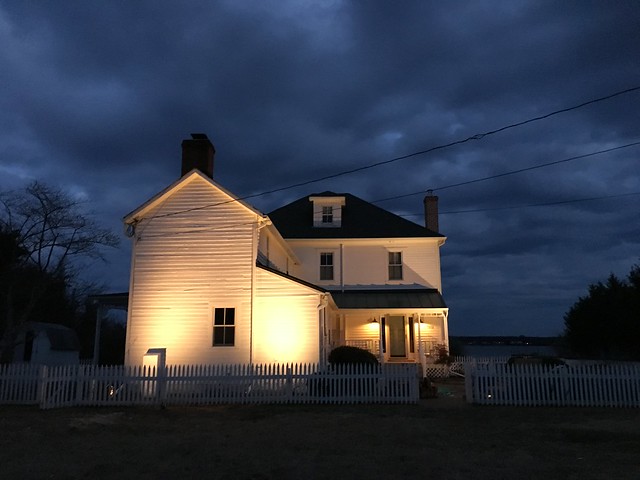
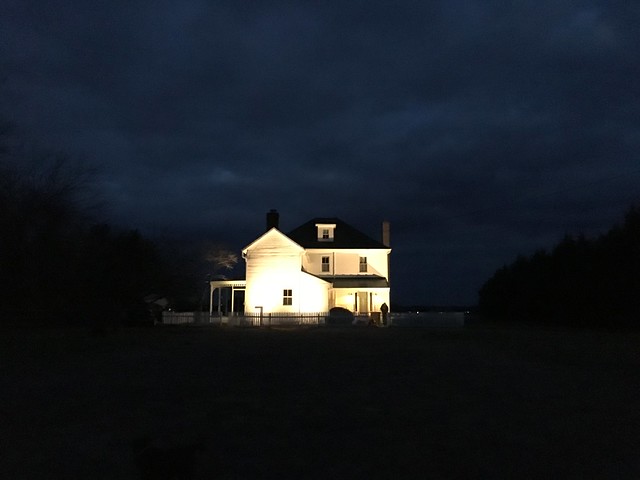
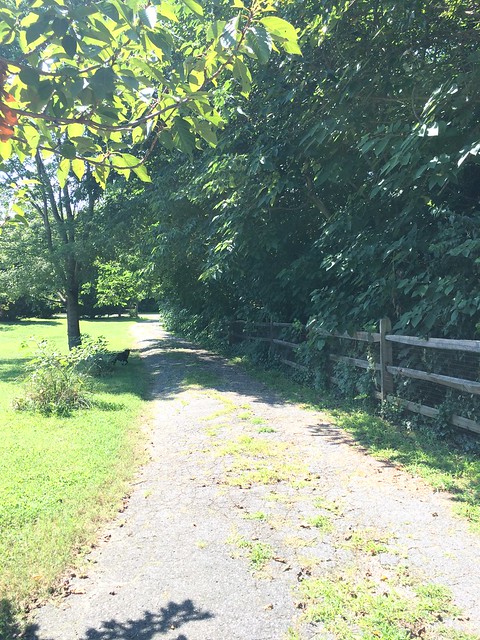
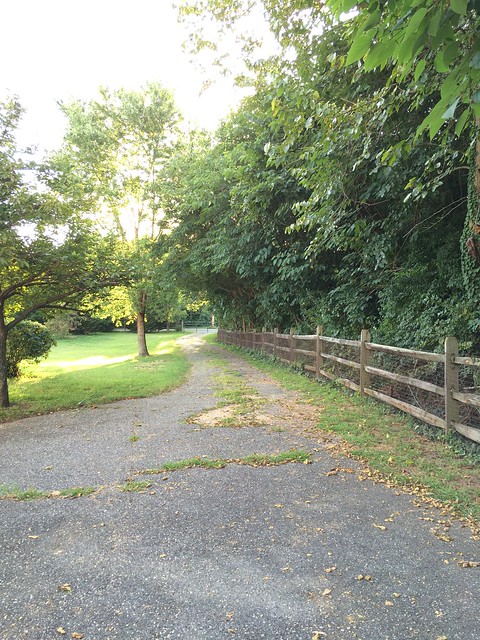
In our case, I'm not so concerned about what people driving or walking by our home think. Instead I'm more concerned with how the curb appeal makes me feel, or how it makes our visitors approaching the house feel. I want our home's exterior to set a tone of relaxation for all of our visitors, and it's hard to feel relaxed when you approach a yard of long unkempt grass, flower beds full of weeds, and significant sections of cracked or peeling paint on the house. After all, it's our goal to have more relaxing evenings like this.

This summer we've decided to approach the curb appeal and exterior maintenance of our home in three distinct phases.
more]]>
The most major of our projects has been our focus on the overall exterior appearance of our Foursquare. As a realtor, I'm keenly aware of curb appeal, and how small differences on the exterior of your home can truly set the tone for how you feel on the interior of your home. But as an owner of a house with wood siding, a large yard, and a lot of plantings around the house, I know what an overwhelming endeavor it can be to stay on top of those items that impact the curb appeal of your home.
In our case, I'm not so concerned about what people driving or walking by our home think. Instead I'm more concerned with how the curb appeal makes me feel, or how it makes our visitors approaching the house feel. I want our home's exterior to set a tone of relaxation for all of our visitors, and it's hard to feel relaxed when you approach a yard of long unkempt grass, flower beds full of weeds, and significant sections of cracked or peeling paint on the house. After all, it's our goal to have more relaxing evenings like this.
This summer we've decided to approach the curb appeal and exterior maintenance of our home in three distinct phases.
- Flower/planting bed beautification
- Addressing exterior paint issues
- Overall porch projects and paint
We're going to put off repairing/rebuilding/repainting our picket fence and some bigger yard projects until next summer, but this list of three items should keep us busy outside for most of the summer. So we kicked things off a few weeks ago with the garden beautification piece of our curb appeal project.
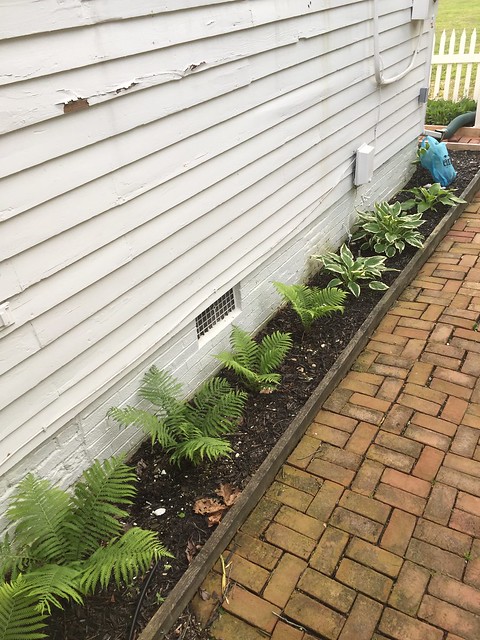
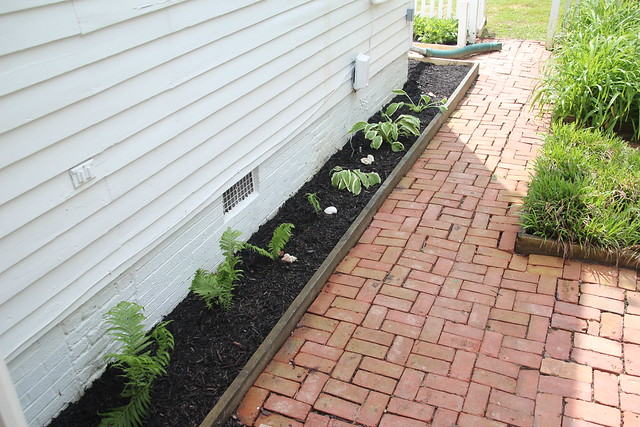
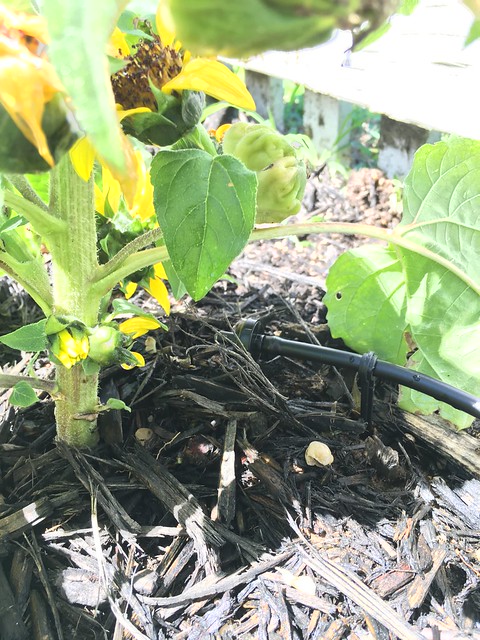
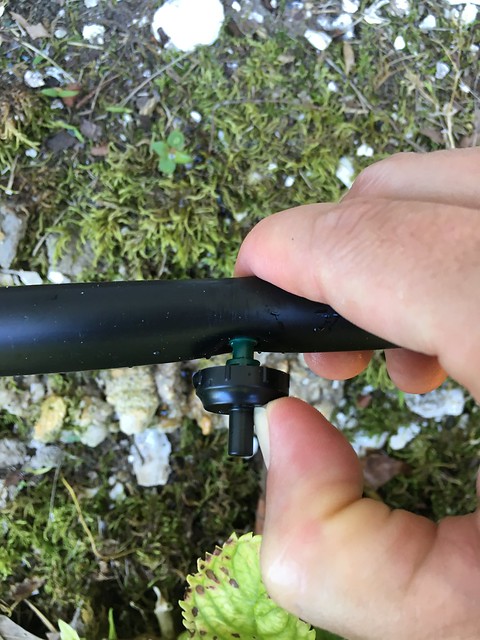
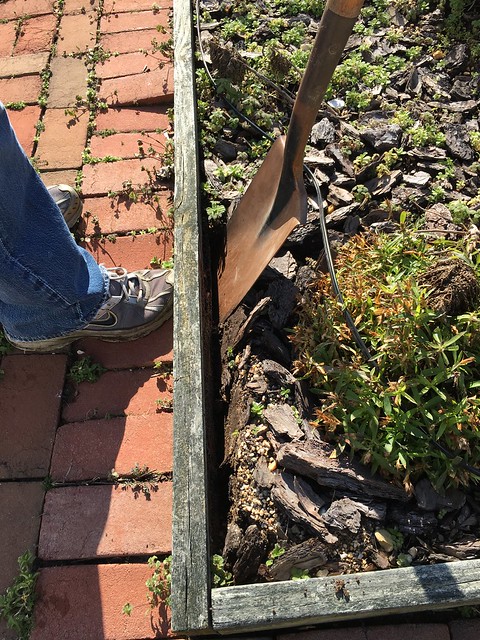
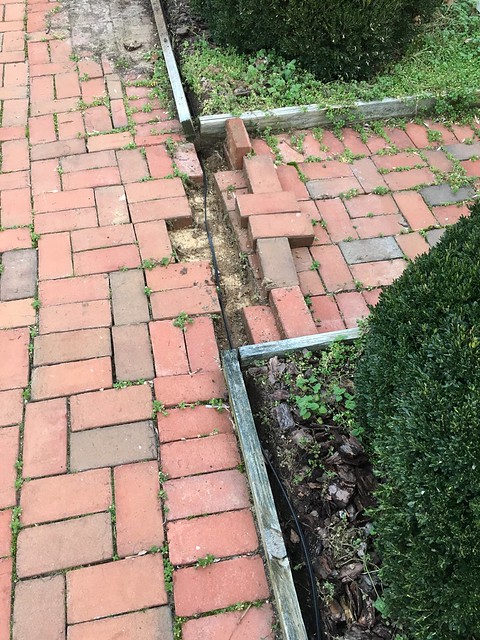
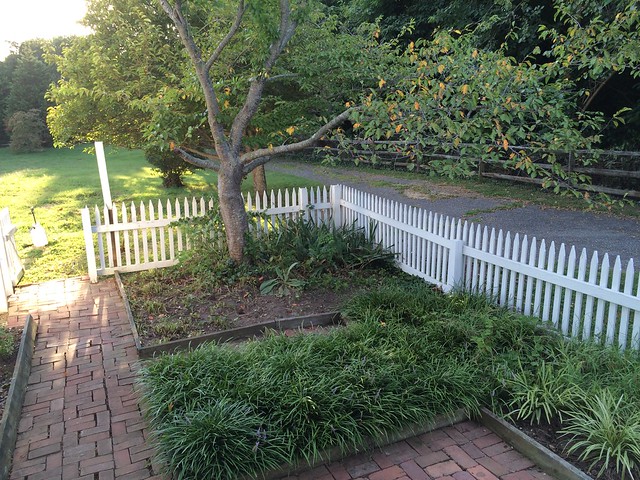
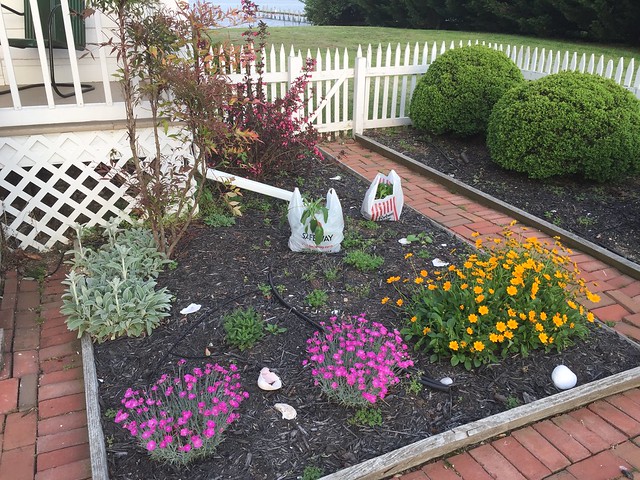
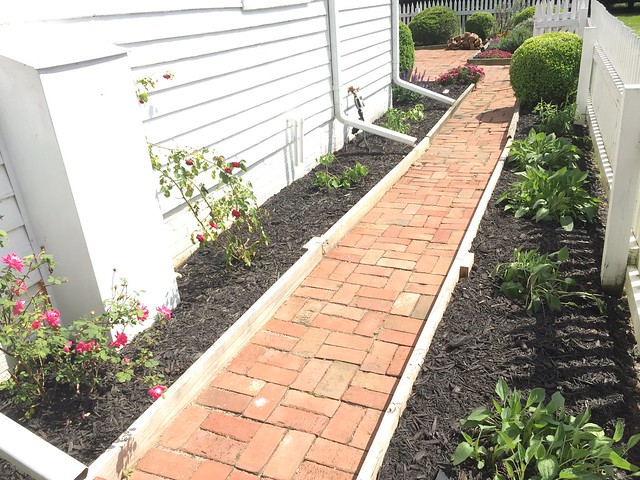
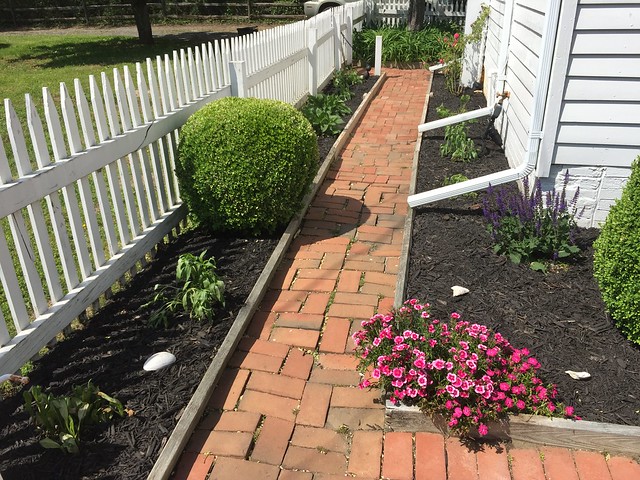
You can see some of the paint/siding issues on the house in the photo above, but we were more focused on the flower beds. We planted a good number of ferns and other items last year, and they were doing well, but we had several bare spots we wanted to fill in. If you saw that we installed a drip irrigation system last year, you can also see it exposed in the photo. The black tubing has bothered me since we installed it, but we installed it all after mulching, so we never went ahead and buried it all last year. That's another item on our list that we'd like to take care of.
We have a few friends in Alexandria that have an absolutely lovely garden. After they visited us last year they told us we should stop by to split some of the plants they have when it came time to plant this season. So we took them up on the offer.
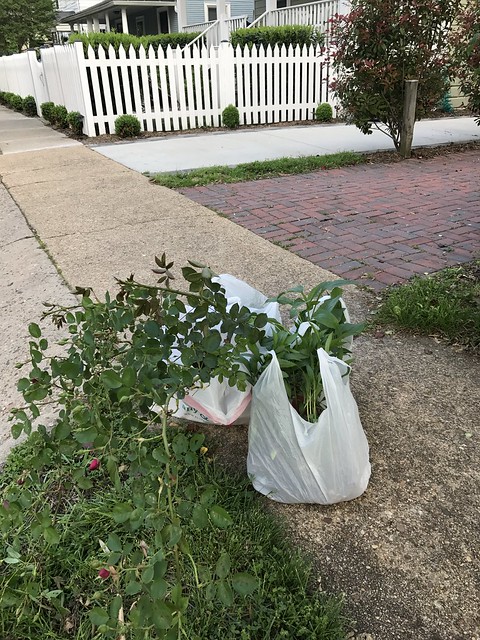
After a very nice tour of their gardens, we ended up walking way with several bags of plants destined for our garden. In total, we had ourselves a new rose bush, obedients, cone flowers, daisies, and sedum.
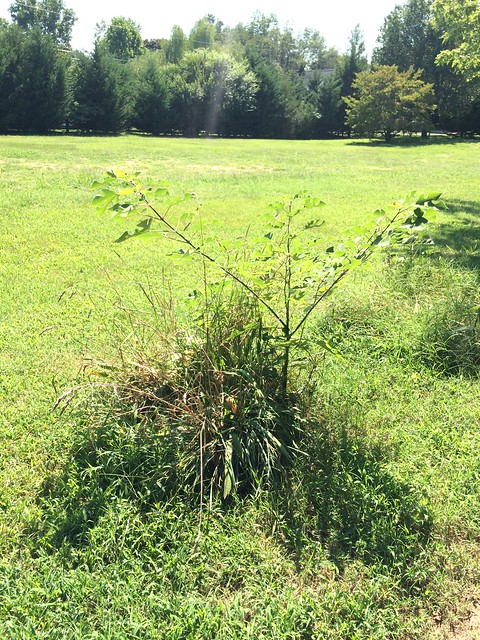
We took all of the plants to the house and placed them in the locations that would soon be their new homes. Throughout the garden we have about nine different areas where we can plant. I planned it all out based on likely cover, color and height of the plants, and where I felt our existing plantings were just a little thin.
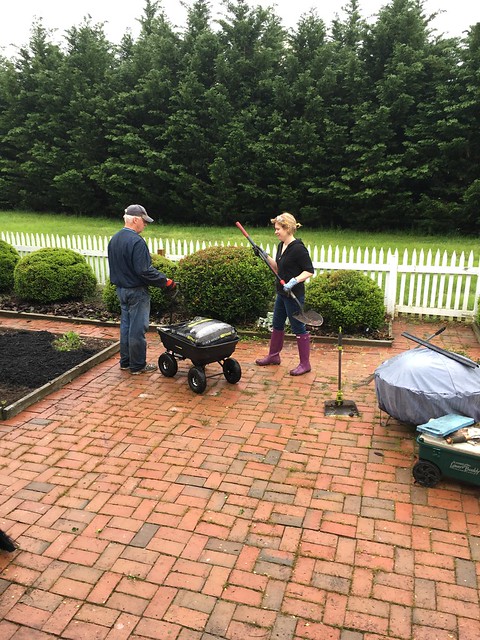
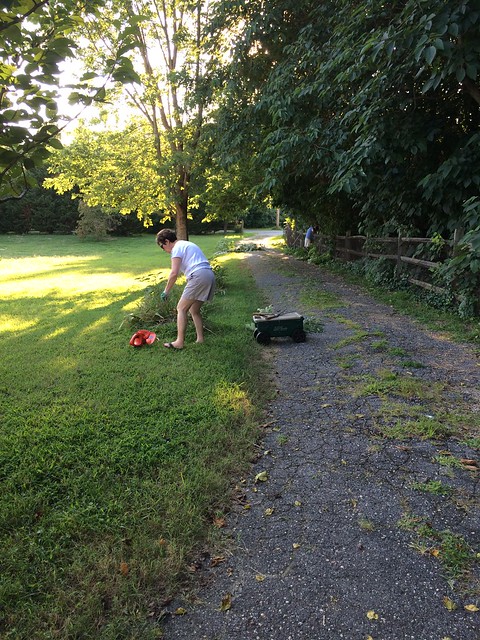
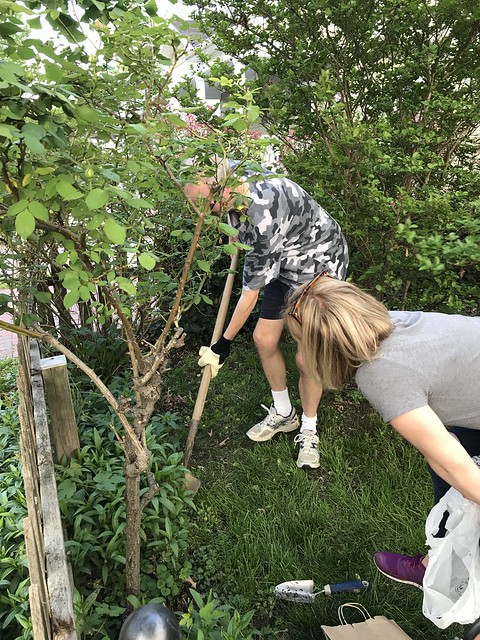
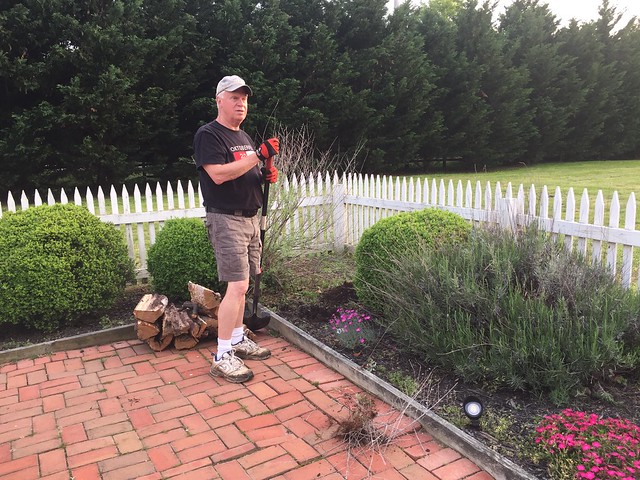
That same weekend, my parents and brother had planned to visit. While I'm sure they wanted to relax a little, they also offered to help us get the garden in order for the season. I can't tell you how wonderfully welcome it is to have a helping hand when it comes to weeding, mulching, and general garden prep.

While my parents and I worked to rid our beds of as much dead, overgrown, and unwelcome inhabitants from our flower beds, my brother and Alex hit up Lowe's for all of the mulch and dirt we'd need.
Alex and my brother brought back 30 bags of mulch and three bags of dirt. It's amazing just how much mulch you need for this garden, which takes up a relatively small part of the yard.

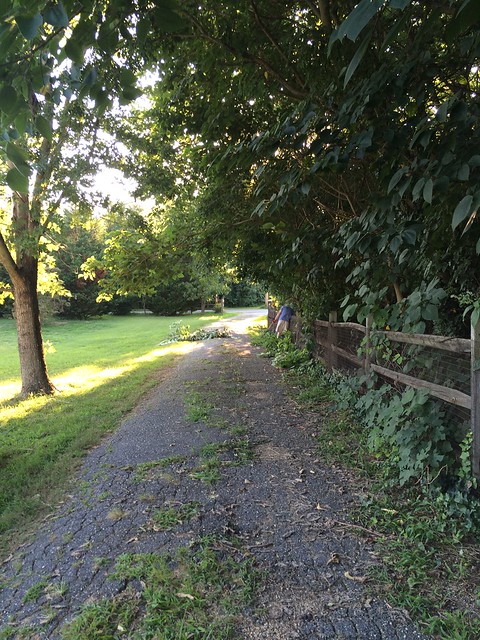
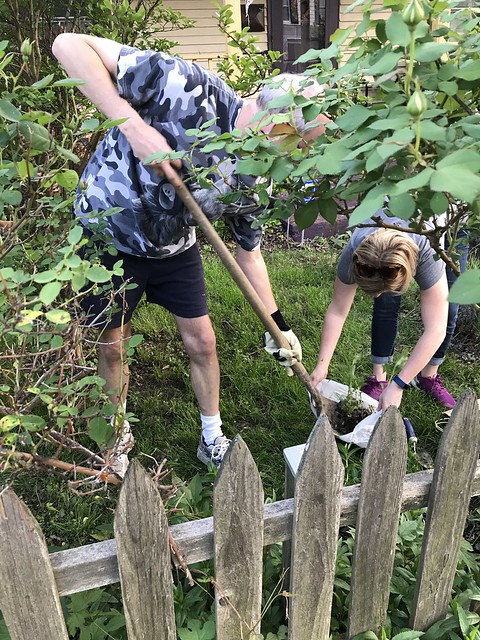
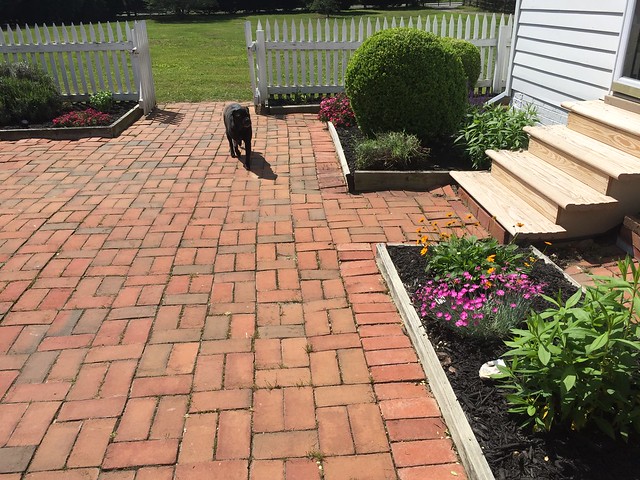
We took a methodical approach to the whole project. First my parents trimmed or cut back the plants and boxwoods. Then my mom and I worked our way through the beds to remove weeds, and I worked with my dad to plant the new plants and flowers in theirs places around the garden. Alex then followed burying the drip irrigation line and running anything new to supply water to the new plants. Finally, my dad, mom, Alex, and I all worked around the whole yard spreading the bags of mulch. (My brother during this time was on the water side trimming our massive hedge.) The whole thing took two days, but when we were done we had the garden looking better than it's looked since we bought the house in 2014.

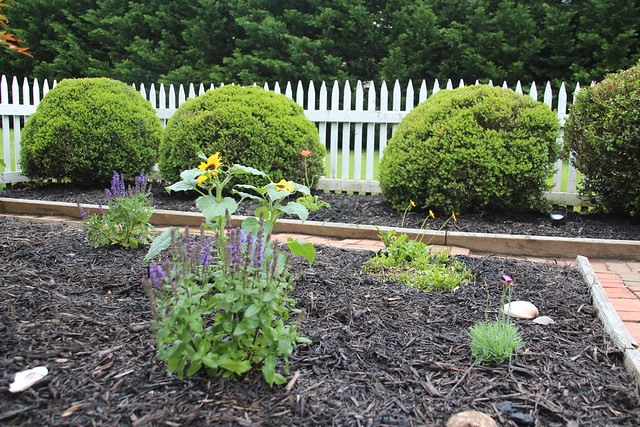
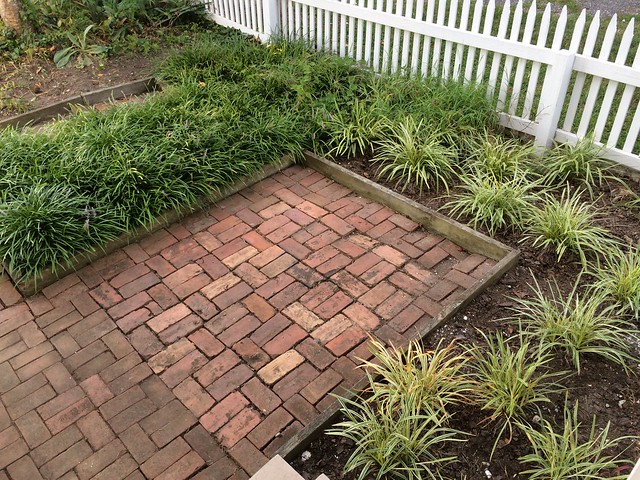
I varied the colors of plants from bed to bed to keep it interesting, and with the larger bushes now nicely trimmed back it gave some of the smaller plants a little more room. While the wood borders may not be perfect, they work well with the garden in its current state, and give us a well defined area in each section for plantings.
I'm very hopeful that the drip irrigation system will do wonders to keep everything well fed throughout the summer. And now that the line is fully buried, mid-day waterings won't end up supplying swelteringly hot water onto our plantings.
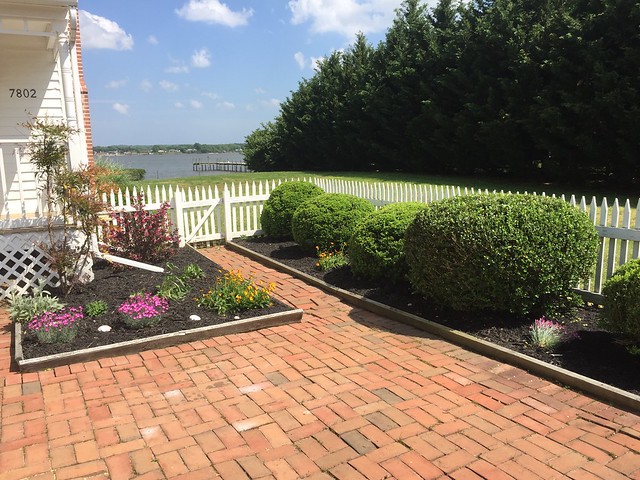
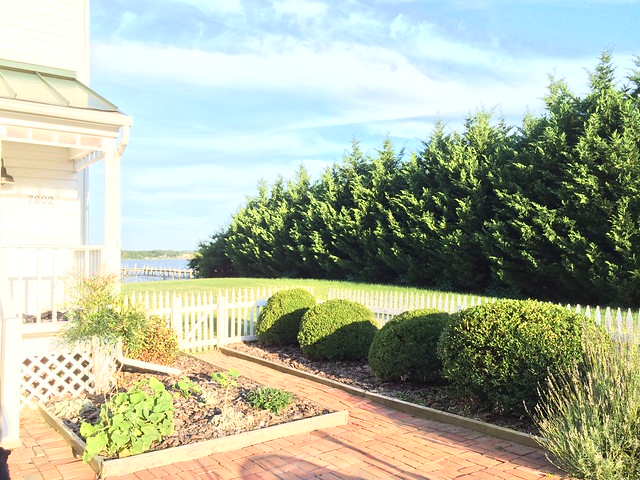
One area that I'm particularly excited about is the front of the house. It's actually the "back" given the orientation of the front towards the water, but this is the view that visitors see when they pull up. The large white metal box houses the geothermal ground loop at the entrance to the house. We planted our new rose bush to the right of the box, and the rose bush from last year is on the left. It's my hope that these climbing rose bushes will flourish and eventually will camouflage this unsightly feature.
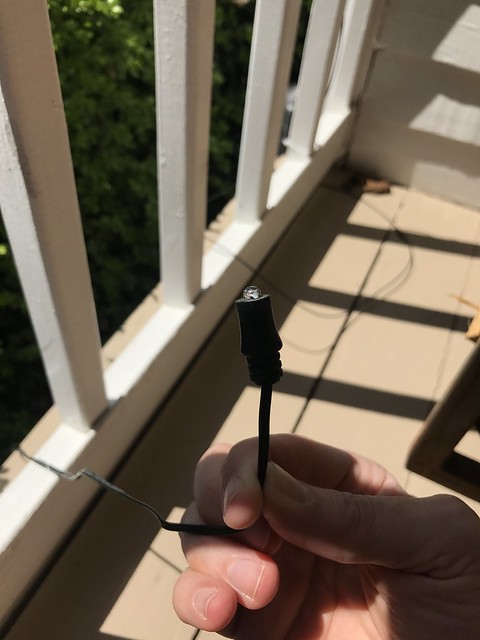
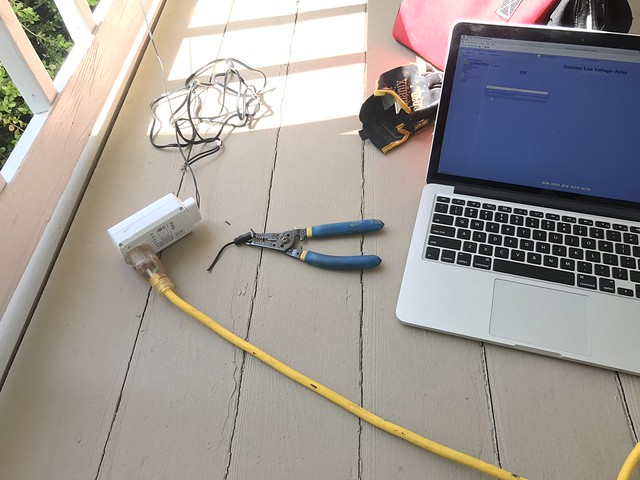
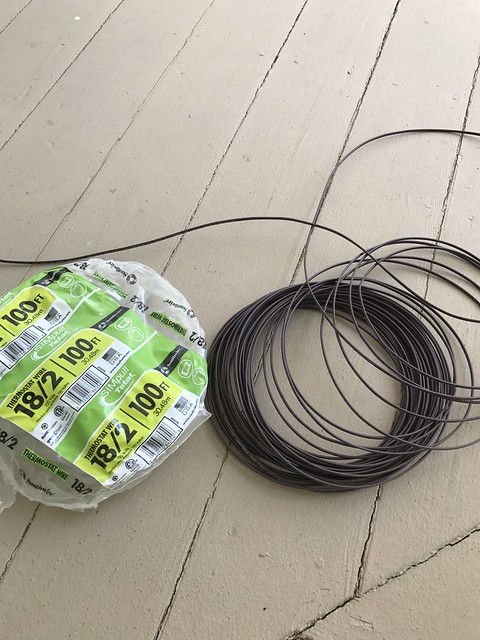
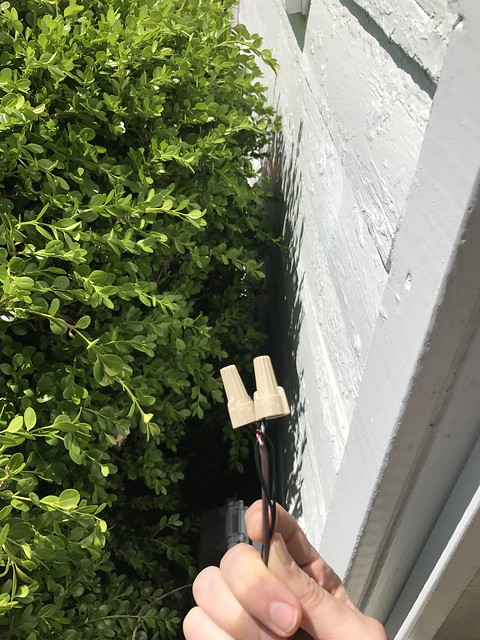
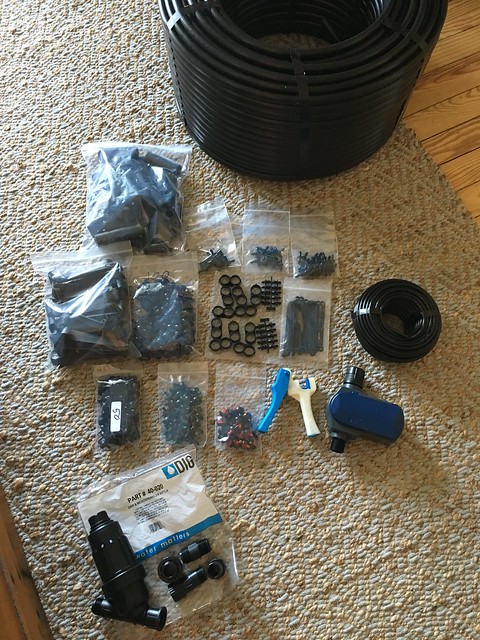
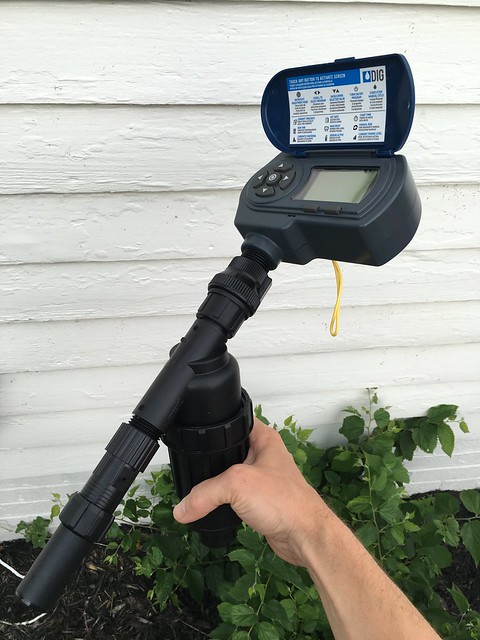
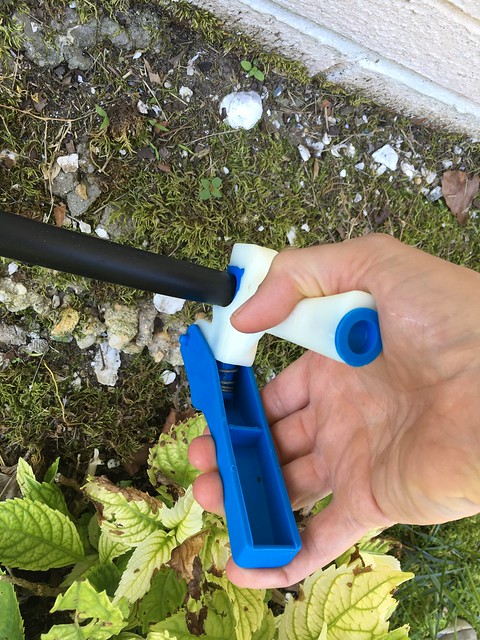
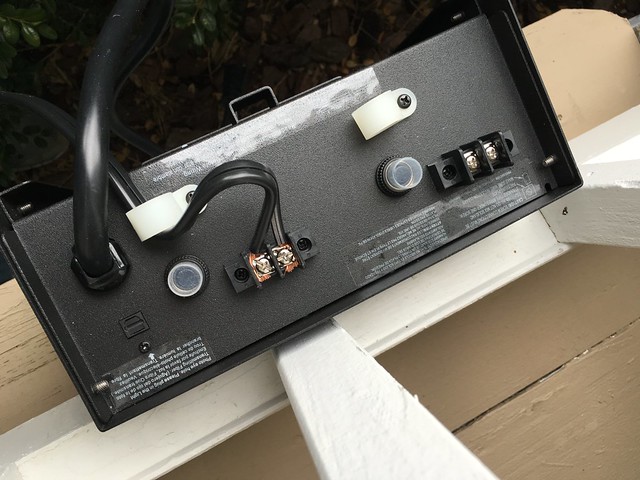
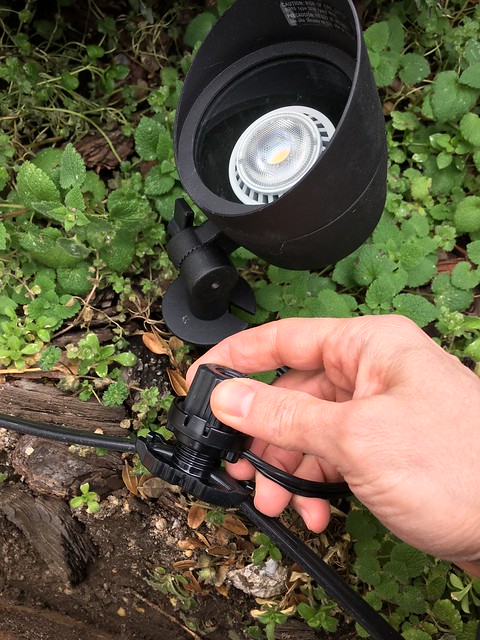
This section of the house is also where our drip irrigation system hose bib sits. It's in direct sun for the second half of the day and that abuses the hose timers. The first hose timer, which we installed last summer, was solar powered but the solar cell went bad after the first month, leaving our plants without water for a week (and they died). The second hose timer we installed had an LCD panel on it, which ended up going bad. We couldn't read what it said and we weren't able to change the program after that. So this summer Alex decided to go the wifi route. He picked up this Melnor Rain Cloud wifi enabled hose time.
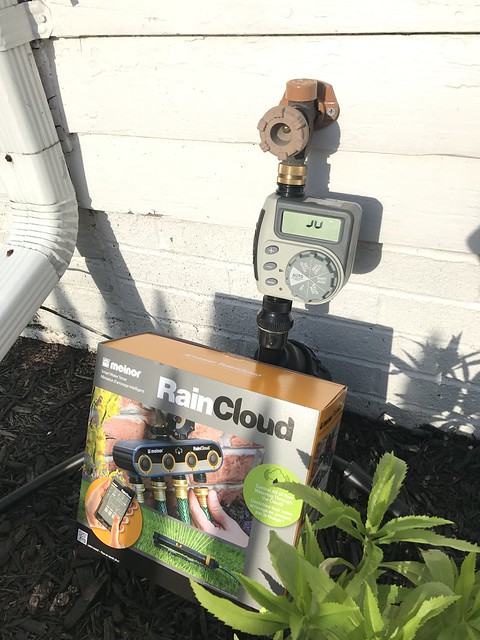
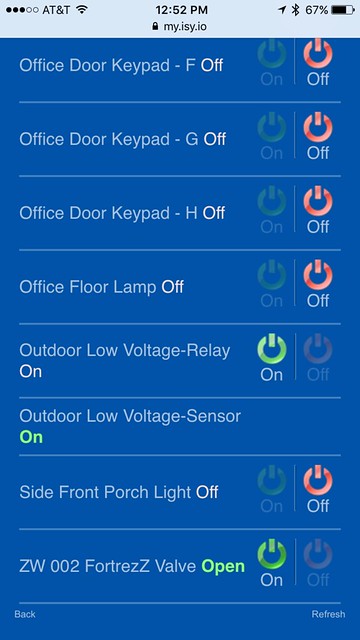
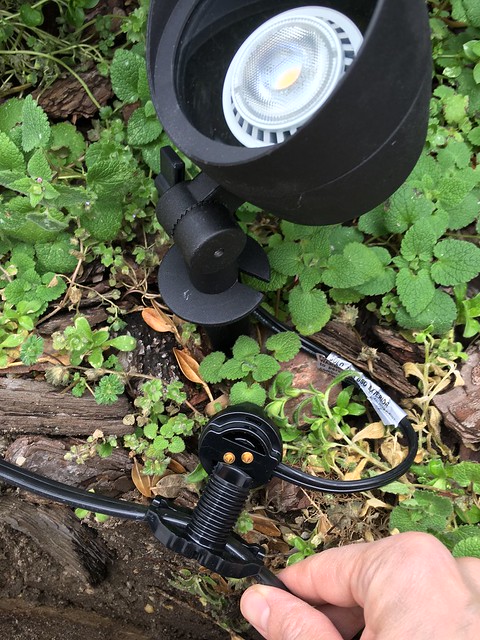
It has 4 outlet zones, was extremely easy to setup, has advanced scheduling options, and even has a component that allows the system to monitor soil dampness, only watering when the plants actually need water. Best of all (for Alex's peace of mind), he can check on the watering status from his phone.
This is one of the parts of the house he wanted to be able to monitor remotely, and now he can.
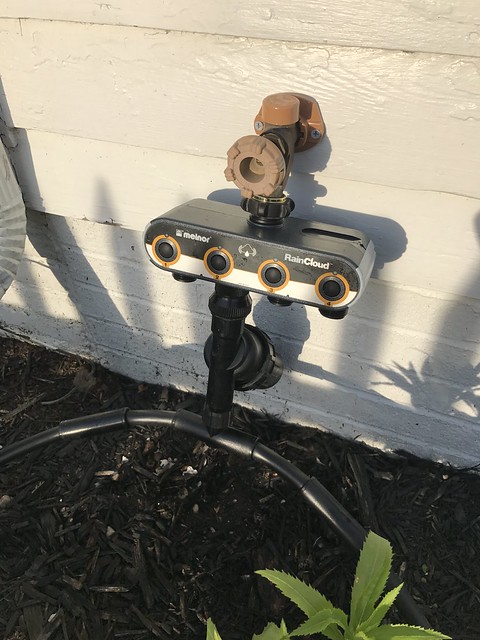
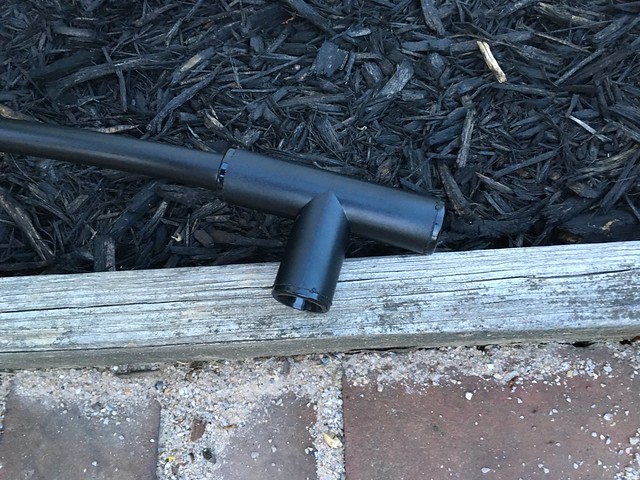
Right now we're only using one outlet, so we will just cap off the other three. But we plan to expand this in the future if we ever plant a fruit, veggie, and flower garden in the front yard. Each zone has an independent schedule capability, which is great for something like a vegetable garden that has far different needs for water than a flower bed garden.
All told, we had a pretty solid weekend of work and effort to get this garden looking good. But when we were done we could really see that we made a ton of progress.
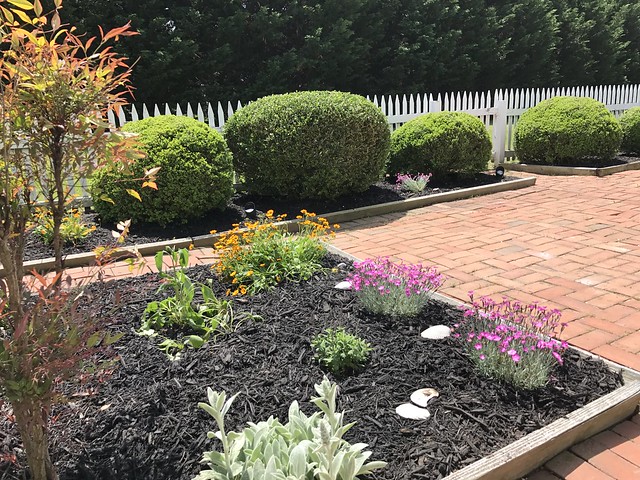
It's amazing how great a few dozen bags of mulch can make a garden look. We used the mulch with weed stop in it this year in the hopes that it might keep some of the weeds we normal get at bay. We'll see if it actually works, but I'd love to pull fewer weeds this year.
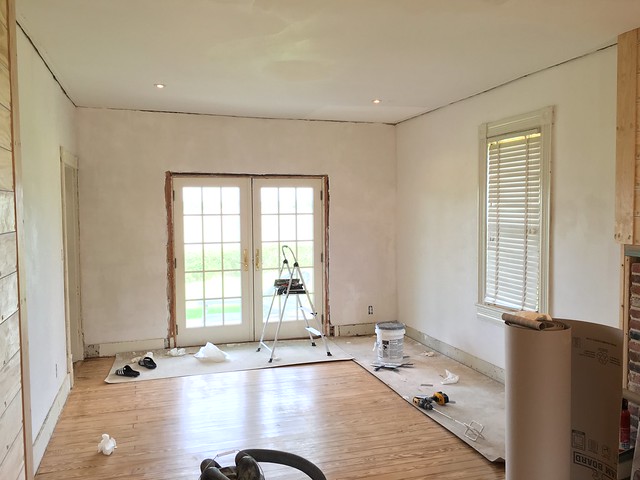
With the garden in shape our attention turned to the next more piece of our curb appeal efforts, taking care of the siding and paint issues that have plagued our house since day one. But that's another story for another blog post. I can tell you one thing for sure, when this is your scientific method for figuring out the right paint colors, you might be in for a bumpy ride.

Do you have any curb appeal dreams for your home this year? Is your garden the place you go to relax and enjoy, or is it a daunting part of your home that you dread the upkeep on each year? I have a love/tolerate relationship with my garden, and I welcome all advice on how to make it more of a love/enjoy relationship.
]]>