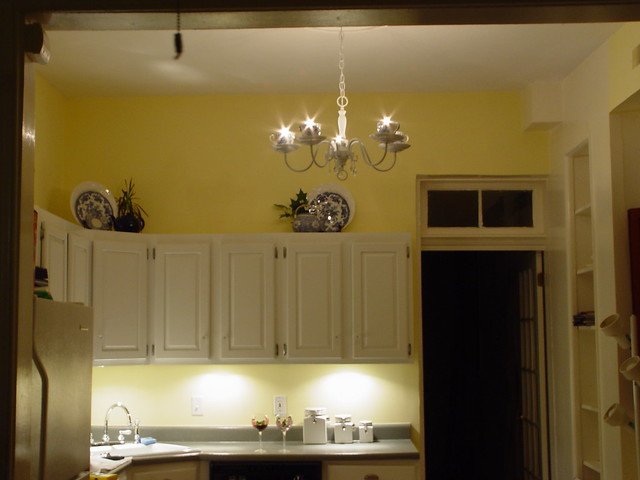
...Into a great looking storage solution for our kitchen.
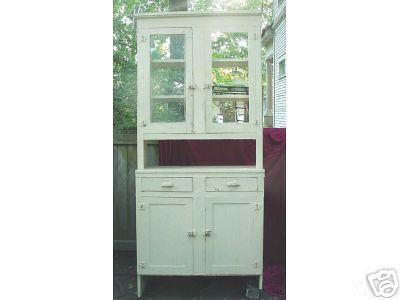
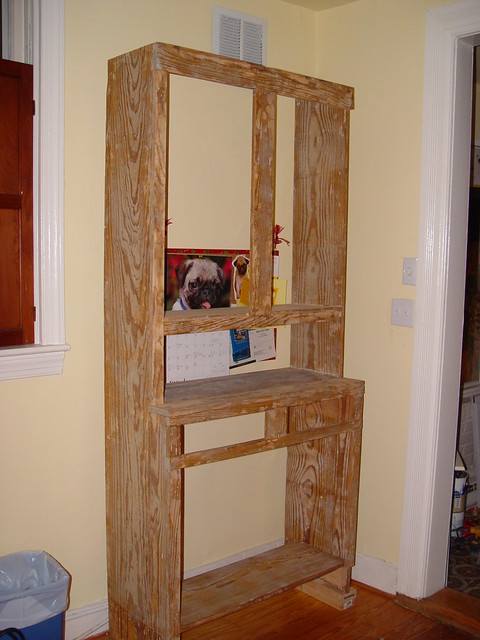
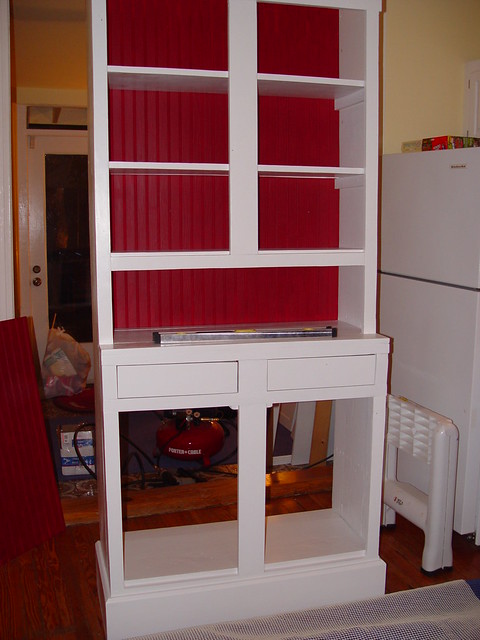
Our "white hutch," as we've come to know it in our household, has been a veritable Swiss Army Knife of kitchen furniture. From wine glass storage behind the upper glass doors to miscellaneous cookbooks/recipes/food scale/juicer/whatever else we could fit in there storage in the bottom cabinet, it was about as full as we could make it. Over the years we've asked a lot of out trusty white hutch, and It was clear that this hardworking piece had seen better days.
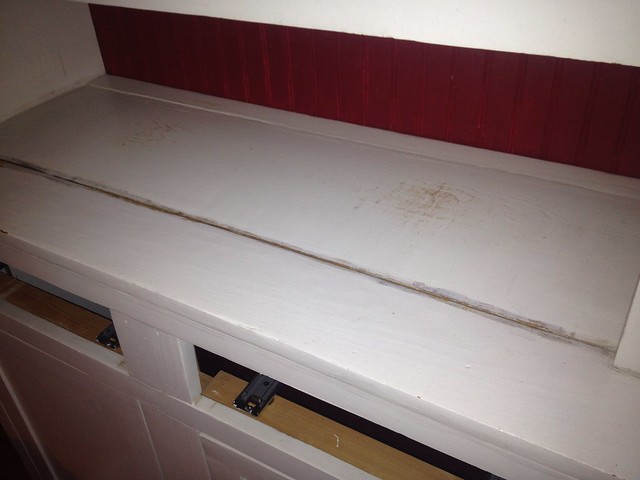
The paint was chipped, scuffed, and dirty, the doors were not closing properly, some of the hardware was starting to pull loose, and Alex had gotten overzealous with his application of caulk that was now cracking and looking tired. I'm not being critical of Alex's caulk skills here, just ask him and he'll gladly admit that he was "just learning" in these early days.
In addition, the bead board in the back of the cabinet still retained the red accent color, selected to complement our old floral window treatments in the kitchen and sun porch. Today, the red bead board backing just wasn't going to work with our new "London Fog" gray (or should I say "gray") color.
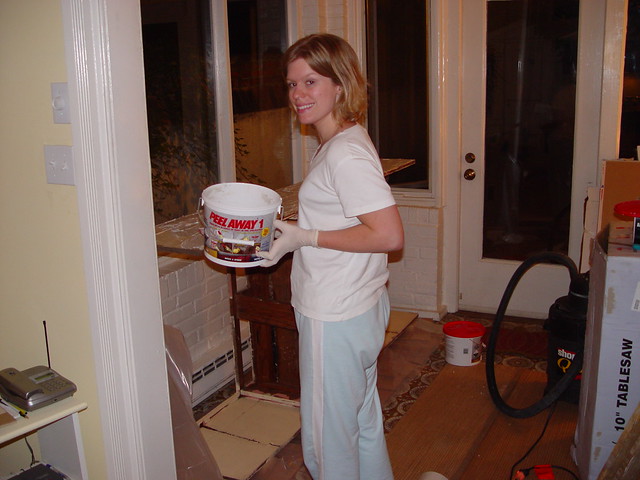
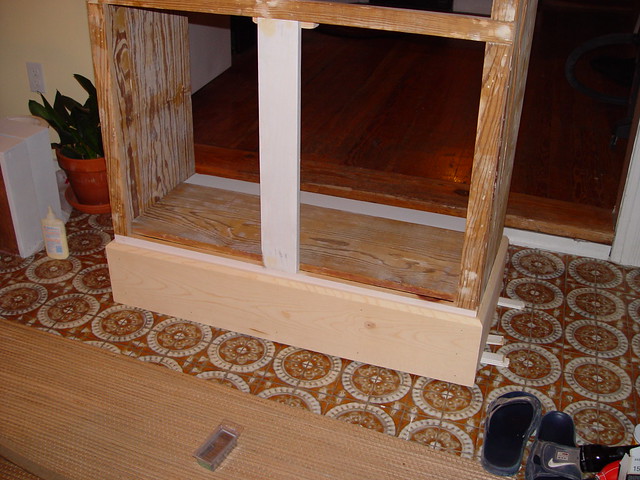
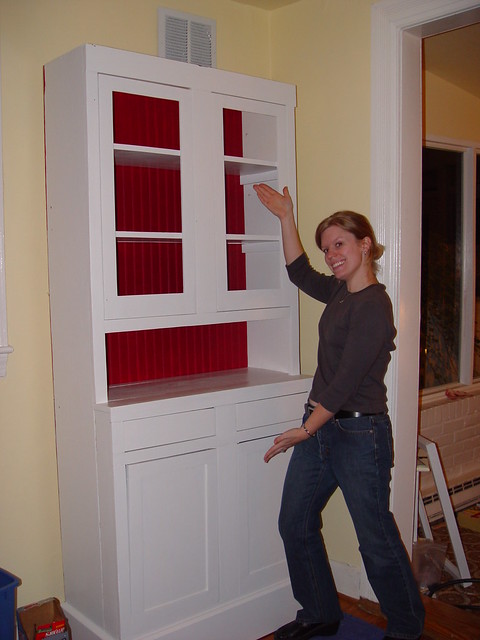
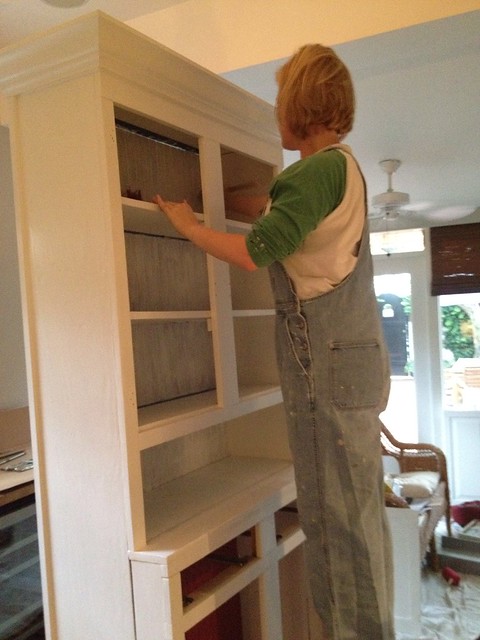
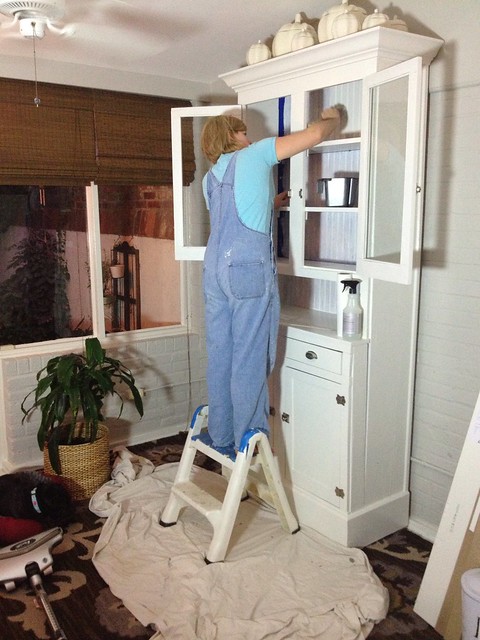
Since our big epiphany over the weekend which includes moving this lovingly restored kitchen furniture to our sun porch, it was high time we give it a little facelift to allow it to blend with our decor. To tackle this side project, I got to work taping off the back of the cabinet.
more]]>
...Into a great looking storage solution for our kitchen.
Our "white hutch," as we've come to know it in our household, has been a veritable Swiss Army Knife of kitchen furniture. From wine glass storage behind the upper glass doors to miscellaneous cookbooks/recipes/food scale/juicer/whatever else we could fit in there storage in the bottom cabinet, it was about as full as we could make it. Over the years we've asked a lot of out trusty white hutch, and It was clear that this hardworking piece had seen better days.
The paint was chipped, scuffed, and dirty, the doors were not closing properly, some of the hardware was starting to pull loose, and Alex had gotten overzealous with his application of caulk that was now cracking and looking tired. I'm not being critical of Alex's caulk skills here, just ask him and he'll gladly admit that he was "just learning" in these early days.
In addition, the bead board in the back of the cabinet still retained the red accent color, selected to complement our old floral window treatments in the kitchen and sun porch. Today, the red bead board backing just wasn't going to work with our new "London Fog" gray (or should I say "gray") color.
Since our big epiphany over the weekend which includes moving this lovingly restored kitchen furniture to our sun porch, it was high time we give it a little facelift to allow it to blend with our decor. To tackle this side project, I got to work taping off the back of the cabinet.
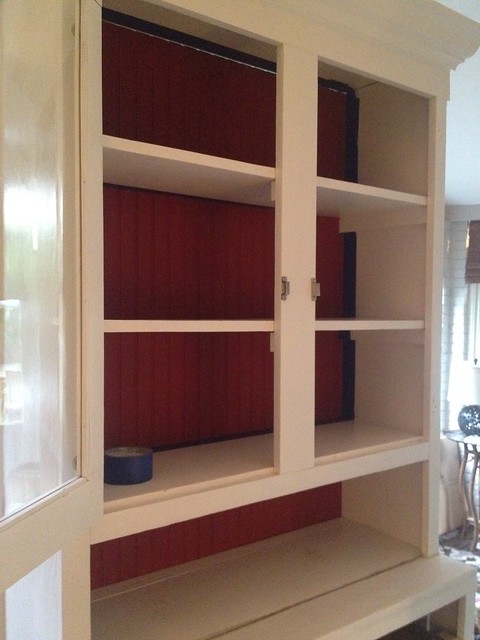
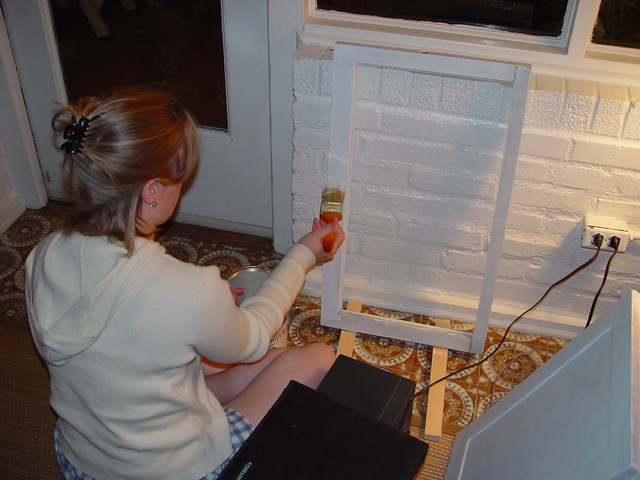
The red we had applied is called "Red Red Wine," and is the same color red that coats our dining room walls. To ease the transition to its next color, I decided to apply a quick coat of primer. While I was at it, Alex removed the caulk that was looking bad and sanded all of the rough areas that needed a little help. I continued with priming and touched up some of the areas in the worst shape.
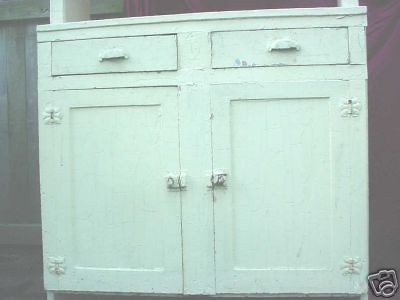
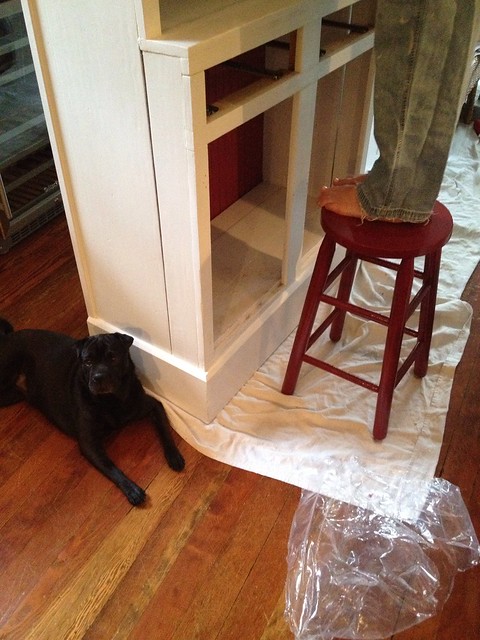
Though I was painting the red in the upper visible areas, I decided I could leave the red in place in the lower cabinets. This area really isn't seen, and I like the idea of a reminder of colors from the past. Call it sentimental, it just comforts me to know it's there.
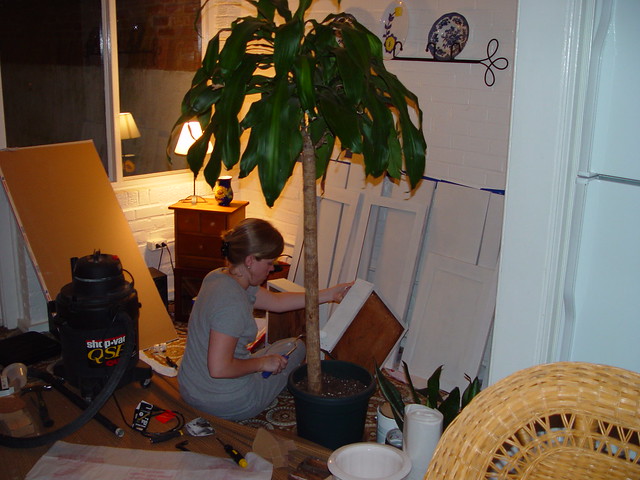
During the entire process, I always had a friendly helper very nearby.
Alex removed all fo the hardware and screws and set them aside for future reinstall. One thing we learned long ago is to place all of your different types of screws on pieces of tape. This keeps them all in one place, keeps them organized by type, and makes sure you don't have any unfortunate drops that could end up in lost hardware fasteners.

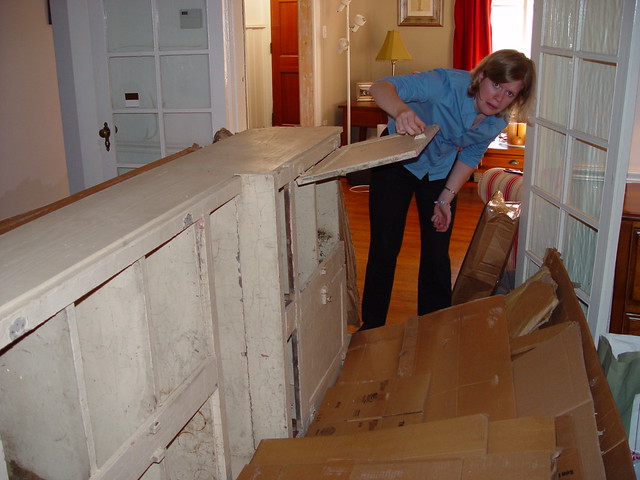
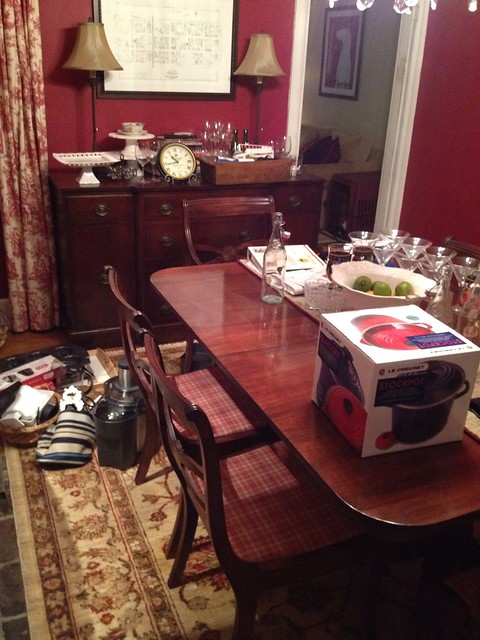
I mentioned all of the stuff we were able to fit inside of this cabinet when it was fully stocked, and though we were fully aware of what was in there, when we removed everything and put it in the dining room we were still shocked. There were glasses, bottles, cookbooks, cookware boxes, and small kitchen appliances all over the place.
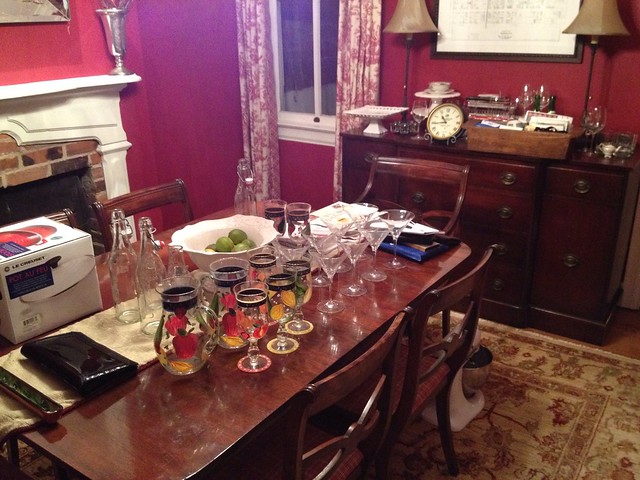
From the dining room tables to the buffet to the floor, the hutch's innards were seemingly everywhere. This is the very reason we decided it was high time to add a little bit of kitchen storage by way of IKEA cabinets.
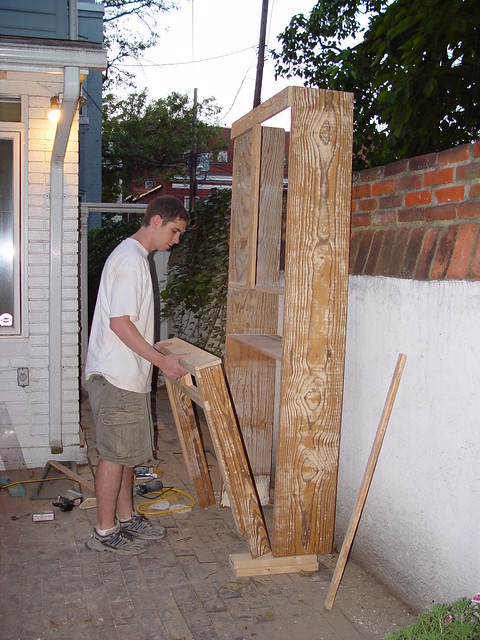
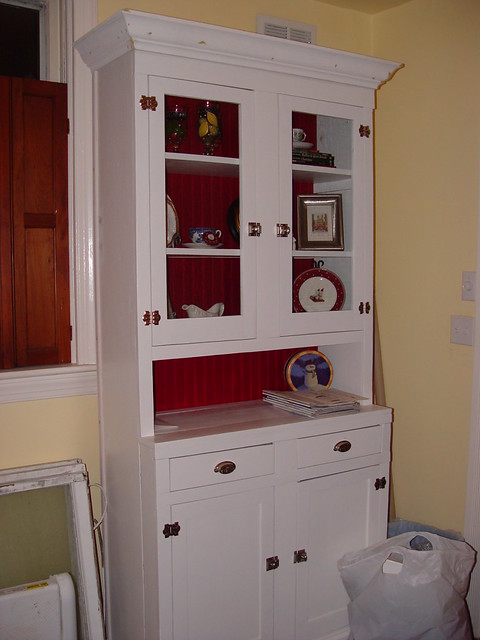
My efforts continued on the hutch painting and I completed the exterior and interior painting over the course of two evenings. I decided to go with an all white color to match the trim throughout the room and the house. The color isn't a true white, as it has a bit of cream to it, but it matches the IKEA cabinets quite nicely. And yes, in case you're wondering, wearing overalls when you paint does tend to help the process along quite a bit, and you always have better results. (It just scares me that I used to wear these overalls as a "real outfit" when I was in college. Yikes!)
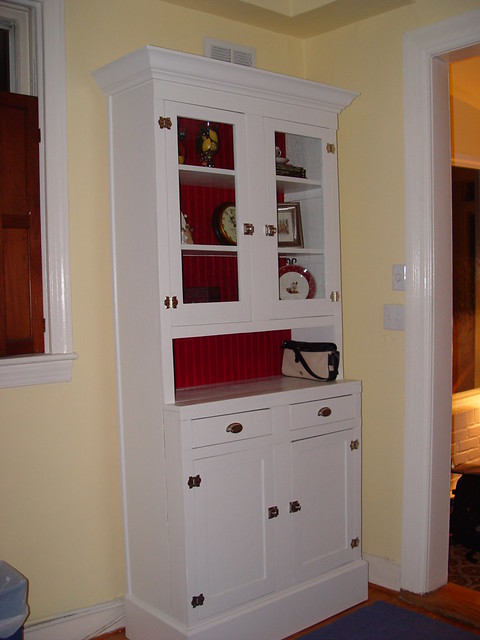
We completed the whole project by shoving a few toothpicks in the hinge screw locations to better secure the doors in place. Before we knew it, we have a completely refreshed, great looking, and upgraded "White Hutch" to continue serving a critical purpose in our kitchen.
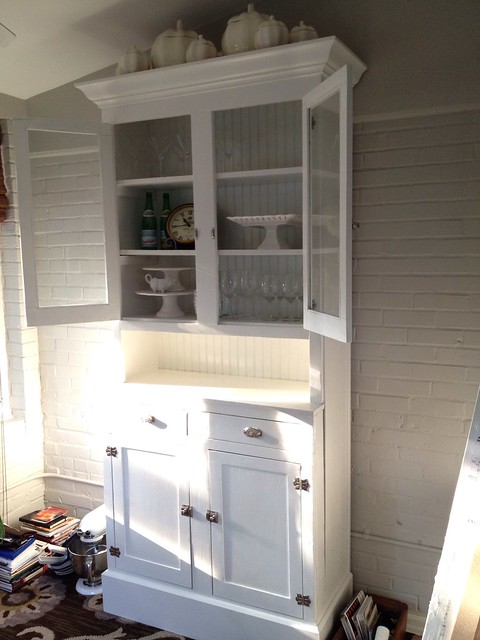
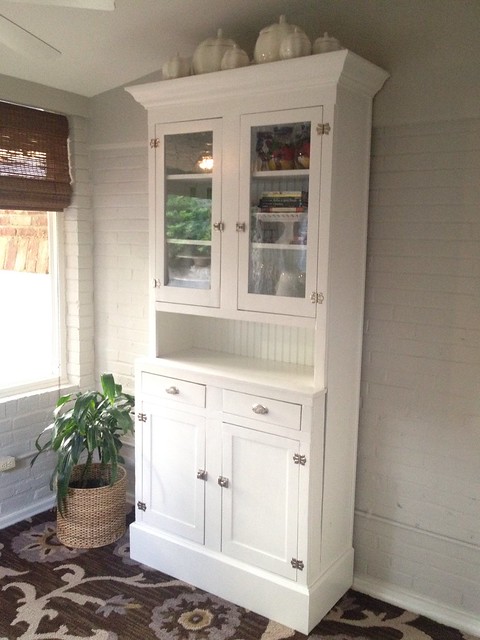
We're quite happy with the end results of the quick facelift, and with the continued use of our diamond in the rough eBay find in the sun porch. The new room houses the piece quite nicely and it really seems to work well along that long gray wall. Now we can add a check mark next to this item on our long list of things that "just need a little attention" while we're doing our quick and temporary kitchen update. Hopefully it will be in good shape and will keep working well in the sun porch and anywhere else we decide to use it for many many years to come.
The next step will be to find lighting as well as two small chairs that we can angle on either side of the hutch to provide additional seating in this room.
Do you have any pieces in your house that you love, but just need to give it a little love to whip it back into fighting shape? This is definitely another case of "what took us so long to do this project?" But then we remember just how much junk we had to unload and then reload to get it all back in place.
]]>