A few weeks ago we told you about our heated debate involving just how we'd ultimately refinish our new home's nearly 110 year old antique heart pine floors. We didn't want to go the old stain and poly route and we were assessing at all of our various options to achieve the look we wanted.
If there's one thing you might know about us, it's our mutual understanding that this isn't a matter to be taken lightly. (We take our antique floors perhaps a bit too seriously.) What we do now will set the tone for our home for many years to come. What's more, what we do now will have a lasting impact on these beautiful floors, so we'd better make the right choices now for the sake of the floor's future.
Well, after going over all of our various options and doing a ton of research, our wheels were spinning a little bit. We knew the direction we wanted to head, but we were discovering it was difficult to find a contractor that was familiar with and wanted to work with some of the newer approaches to refinishing. In steps fate.
While spending a bunch of time on Instagram I stumbled across the account of wood floor refinishing company called Royal Oaks Flooring that is working down the street from us on a beautiful old home in Old Town. As I looked at some of their other photos I saw several newer techniques in use that we had been researching, including a photo that looked a lot like what Wendy wants our floors to be one day.
As a result I sent them a message to see if they'd be interested in working with us on our home. A few days later I met Roland at our house to give him a tour and show him what we were interested in doing. Can I tell you, I wanted to work with him almost as soon as I met him.
more]]>A few weeks ago we told you about our heated debate involving just how we'd ultimately refinish our new home's nearly 110 year old antique heart pine floors. We didn't want to go the old stain and poly route and we were assessing at all of our various options to achieve the look we wanted.
If there's one thing you might know about us, it's our mutual understanding that this isn't a matter to be taken lightly. (We take our antique floors perhaps a bit too seriously.) What we do now will set the tone for our home for many years to come. What's more, what we do now will have a lasting impact on these beautiful floors, so we'd better make the right choices now for the sake of the floor's future.
Well, after going over all of our various options and doing a ton of research, our wheels were spinning a little bit. We knew the direction we wanted to head, but we were discovering it was difficult to find a contractor that was familiar with and wanted to work with some of the newer approaches to refinishing. In steps fate.
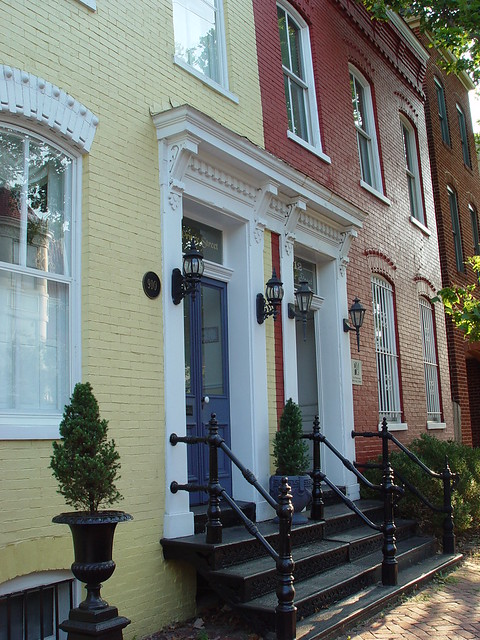
While spending a bunch of time on Instagram I stumbled across the account of wood floor refinishing company called Royal Oaks Flooring that is working down the street from us on a beautiful old home in Old Town. As I looked at some of their other photos I saw several newer techniques in use that we had been researching, including a photo that looked a lot like what Wendy wants our floors to be one day.
As a result I sent them a message to see if they'd be interested in working with us on our home. A few days later I met Roland at our house to give him a tour and show him what we were interested in doing. Can I tell you, I wanted to work with him almost as soon as I met him.
Roland is dedicated to his craft and seems to really like the work he's doing. He knows how to work with old floors and material, knows how to respect the character of old houses, and knows how to make things look good. We talked about the portions of the floor that would need to be repaired vs the things we'd leave put. Pretty much we just came up with a game plan for how he should tackle the whole thing.
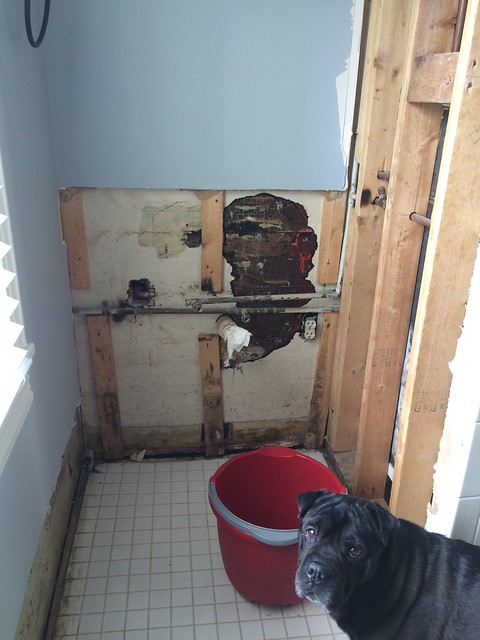
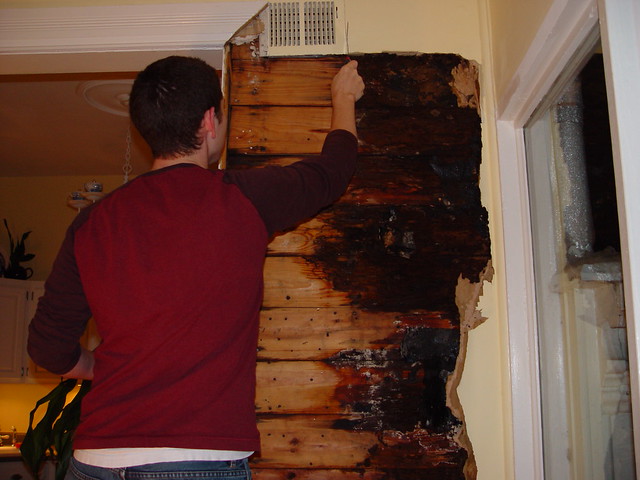
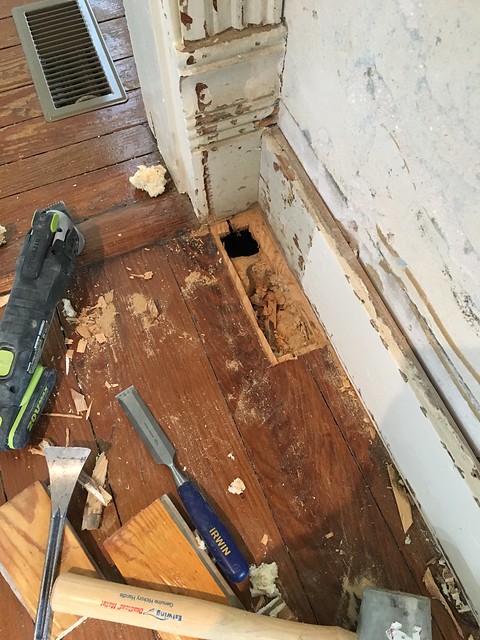
After we agreed on a start date I had my tasks ahead of me that I'd need to accomplish before he could get moving. This included a few more holes to plug in the corner of the living room....

...and a suitable patch for a particularly nasty looking section of floor where radiator pipes used to run.

I spent last weekend getting everything I could ready for him to start at the beginning of this week. I'll tell you one thing for sure, getting a house ready to have the floors refinished is a serious pain...even if you don't really even have anything in the house in the first place.
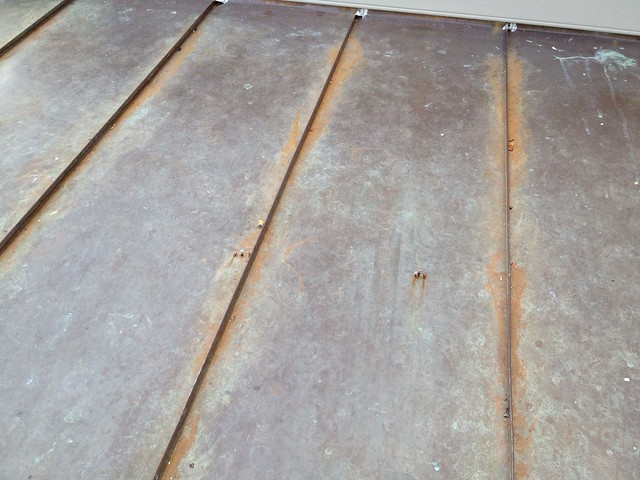
For the floor patch I ended up using my cordless oscillating Sonicrafter, a chisel, and a whole lot of time to turn that horrible looking plywood and chewed up hole patch into something a little worse at first.

Then to something that was more of what I had in mind.
The idea here was to use some of the spare pieces I had to cut a patch piece to fit right into the opening but sit on the edges of the old floor. That way it could support weight on it without much support from below. So I cut the piece we'd eventually use to patch...
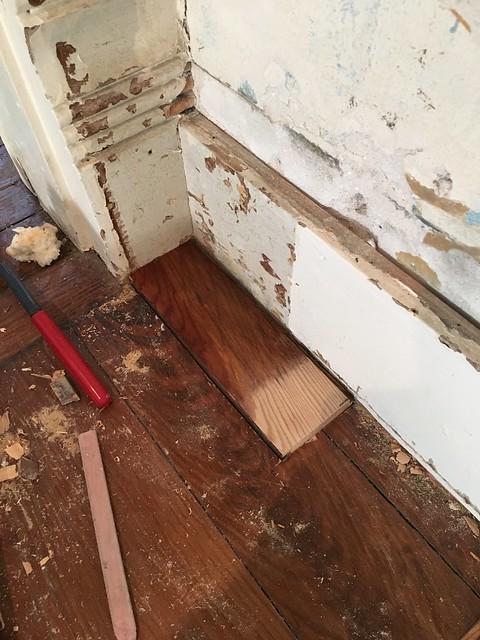
...then marked the back of the piece so I could cut out the back of it on the table saw dado blade. It may not be perfect with the lines of the floor, but this is a floor that's already full of character, so why not just a little bit more?
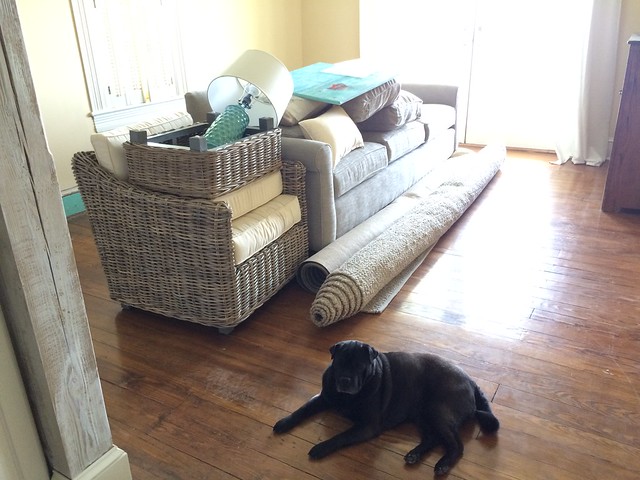
Beyond the patch and plug I spent the whole day on Sunday moving the little stuff we had out of the rooms and covering them in plastic so that Roland could sand. He dropped by on Sunday to test sand a section of one room and even helped me move the couch out on the porch, since it won't fit through any of the doors to non wood floor rooms.

I ended up wrapping the whole thing up in plastic where it will live until the floors are ready for it again.
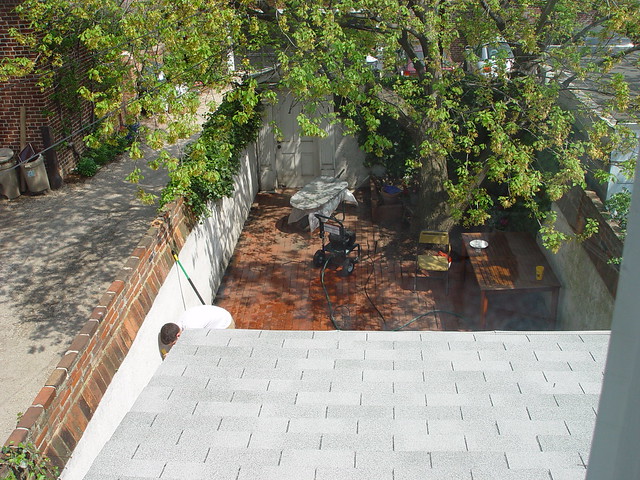
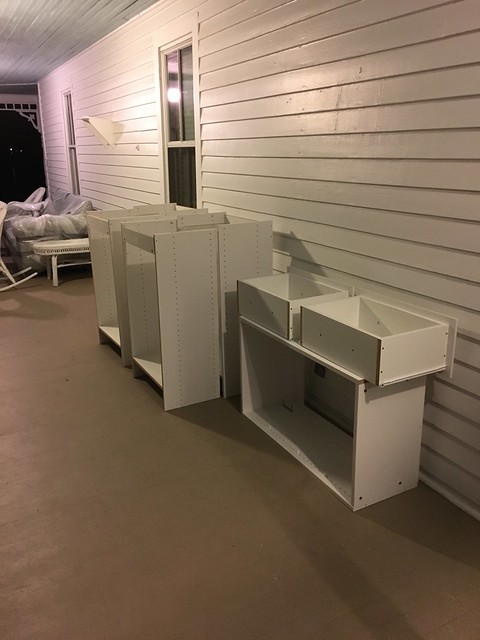
I even had to take apart the cabinets in what we're calling the "Hobbit Room" and put all of them on the porch as well. It was a ton of work and a long day filled with moving things.
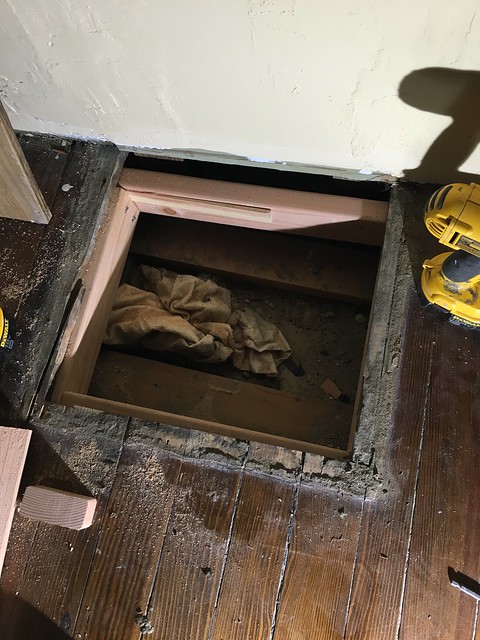
Before Roland could start on the floors there were a few repair items I took care of. I mentioned the two holes, but there was also a large square cutout area in the upstairs back room where a chimney once stood. That hole has had a stained piece of plywood sitting on top of it since we bought the house. Rather than leave it like that, I put a little support bracing in place so that Roland could patch the the hole and make it sort of disappear.
Roland started sanding on Tuesday and we paid him a visit on Wednesday to see some of the progress. When we started looking around our jaws almost hit the floor. Simply from sanding the floors had instantly transformed the house. And that large square patch above? Yeah, I could barely even tell where it was.
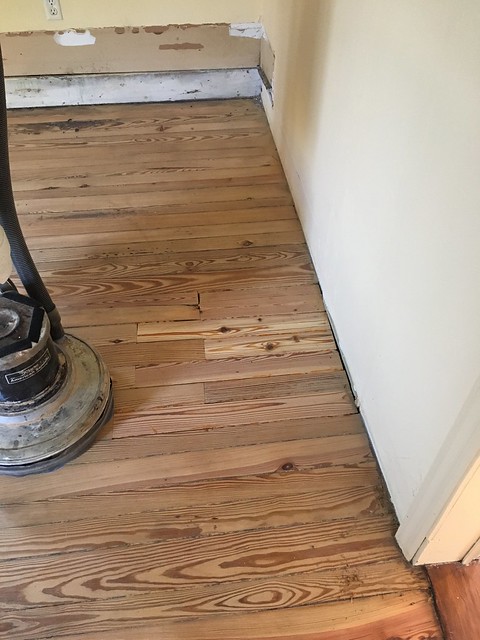
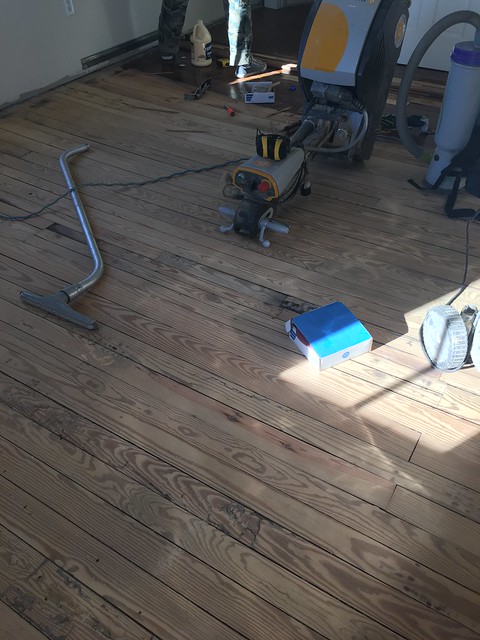
Roland and his guys were furiously scraping, sanding, patching, and repairing all over the house.
Walking from room to room Wendy and I both felt like it was practically a new place. It's amazing what changing the color of the floors will do.
The worst patched job area in the house was in our master bedroom. When the original wall was removed back in the 1990s and the old fireplace taken out, the floor was patched very poorly. Roland and his guys were taking up this bad patch and weaving in new pieces of heart pine to make the room feel correct once again.
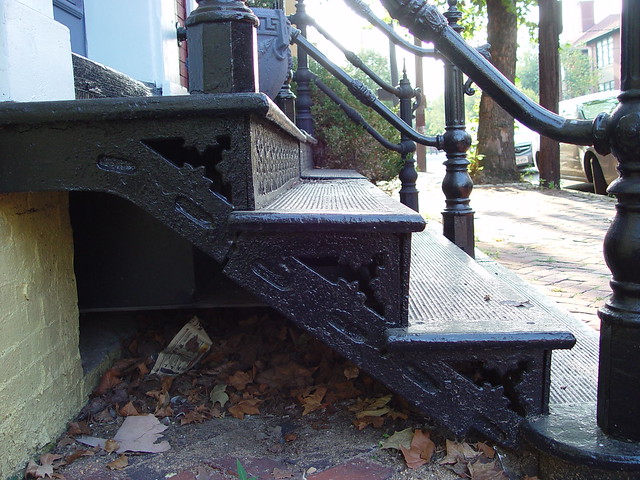
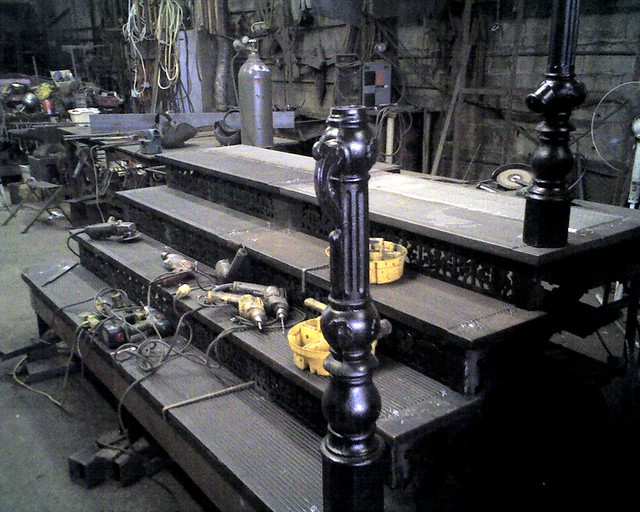
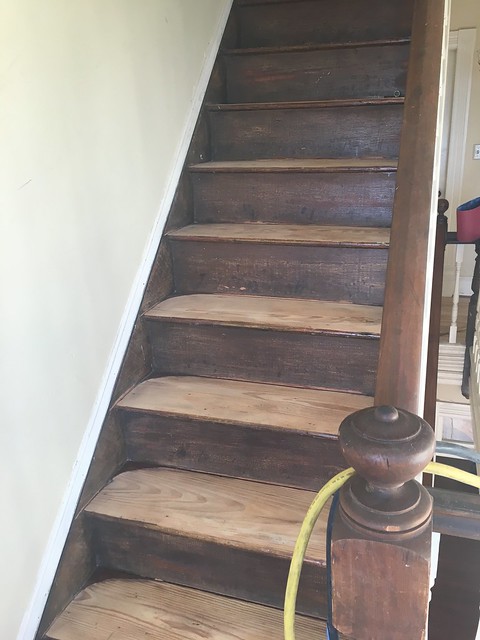
And my personal favorite part of the job, the sanding of the stair treads. The stairs are often the real soul of an old house, and seeing these stairs starting to come back to life was simply fulfilling.
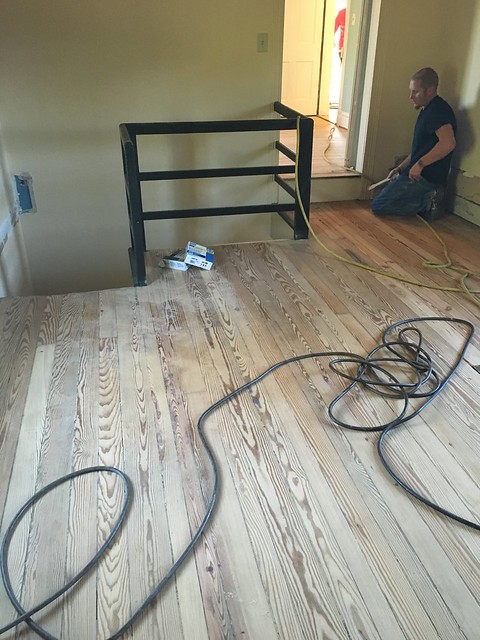
At this point we know Roland has finished sanding and has applied the first coats of finish, but we've not seen it throughout the house yet. We really can't wait to see how it all looks. However, we did see a sample of the finish we chose in the back "Hobbit Room" of the house. Keep in mind, this is a slightly different wood than the rest of the house, but we're pretty thrilled with how it's looking.

What do you think? Can you see our vision? This sample is without any sort of top coat, but it gives you an idea of the beauty of heart pine almost completely on its own. I know a lot of people prefer a dark floor to the lighter look, but with this house, these floors, and the more informal feel Wendy is going for, this seems perfect to us.
Roland should be done with everything next week and I absolutely cannot wait to give you our next update. Those photos will really show how this project has transformed the house!
]]>