This project officially kicked off back on December 10, a short seven months ago. At the outset, the dining room had yellow drywall on the walls hastily covering original plaster, a 25 plus year old fruit and floral wallpaper border, outlets falling out of the walls, a weird section of repainted ceiling, haphazardly applied molding, and a collection of holes in the ceiling and walls where things like ceiling fans, lights, and thermostats once lived. This is what the room looked like on the day we moved in, October 2014.

Way Before: October 2014
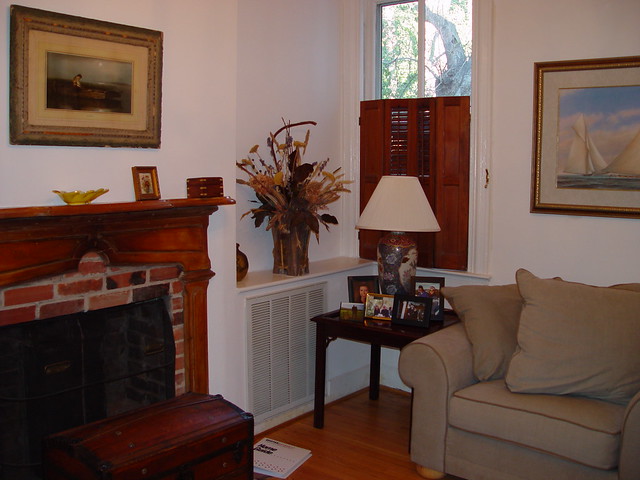
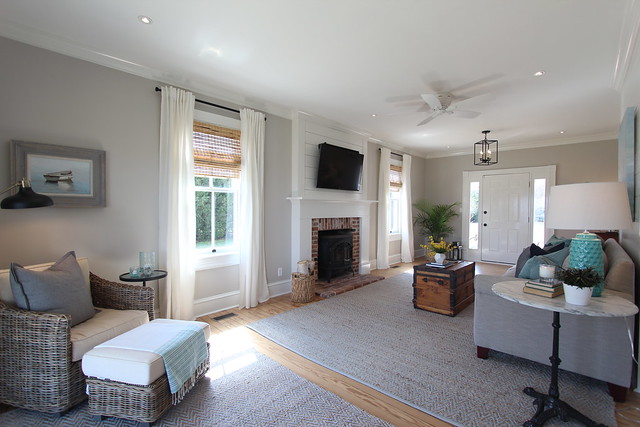
Since 2014 this has been our living room then our dining room. And though we were using the room as a dining room with all of our furniture, every time we were in the room the only things my eye could see were the border, missing fixtures, or problems with the room. I was thrilled when we decided to finally move forward on our renovation of the room!
This project officially kicked off back on December 10, a short seven months ago. At the outset, the dining room had yellow drywall on the walls hastily covering original plaster, a 25 plus year old fruit and floral wallpaper border, outlets falling out of the walls, a weird section of repainted ceiling, haphazardly applied molding, and a collection of holes in the ceiling and walls where things like ceiling fans, lights, and thermostats once lived. This is what the room looked like on the day we moved in, October 2014.
Way Before: October 2014
Since 2014 this has been our living room then our dining room. And though we were using the room as a dining room with all of our furniture, every time we were in the room the only things my eye could see were the border, missing fixtures, or problems with the room. I was thrilled when we decided to finally move forward on our renovation of the room!
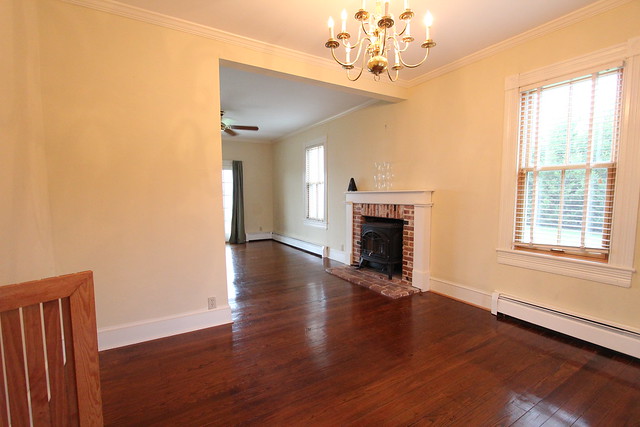
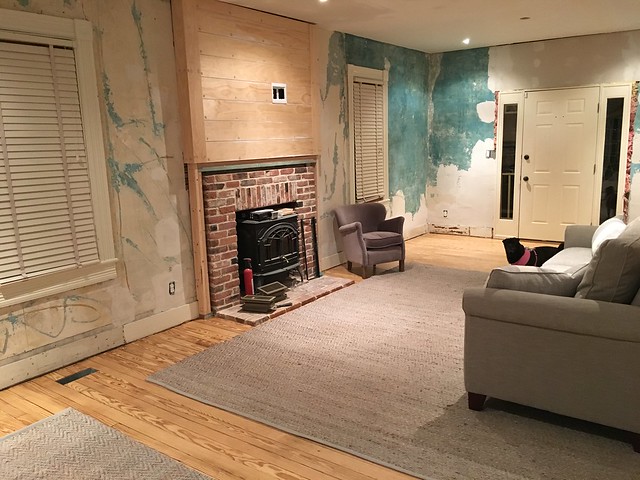
Before: December 9, 2017
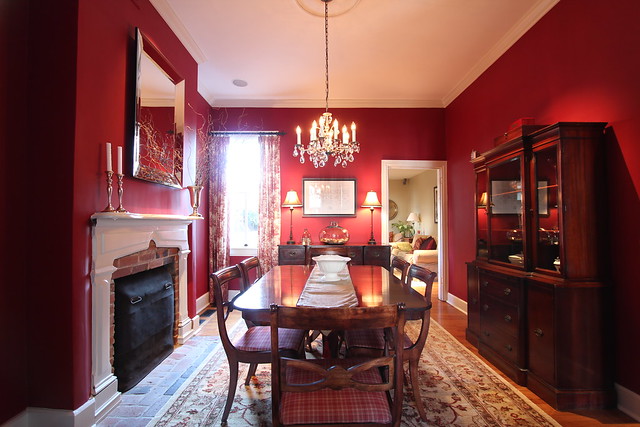
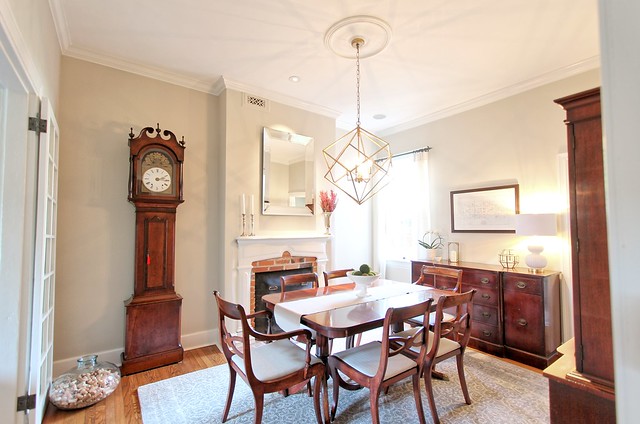
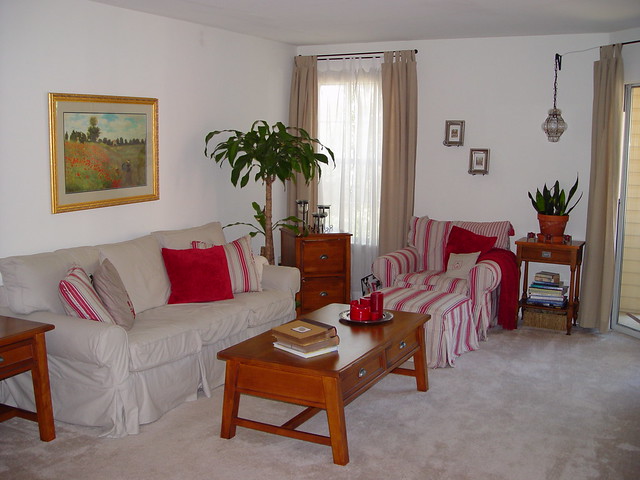
We counted it up and our seven months of effort actually spanned about 35 actual whole or partial days of working on the project. Seven months may sound and feel like a long time, but when you look at the number of days we were actually working on the room, we took just over a month of time start to finish. The end result is a room that not only makes me smile, it makes me downright emotional!
After: July 8, 2018
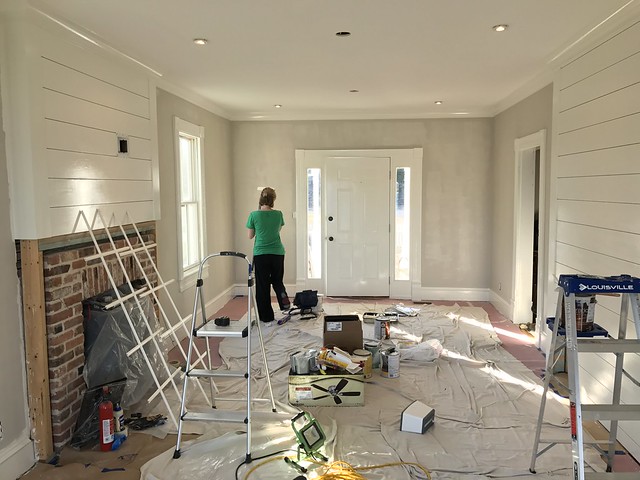
Yes, December 10 was the day that we decided to lay down some flooring protection and launch into the dining room renovation, removing the yellow layer of drywall.
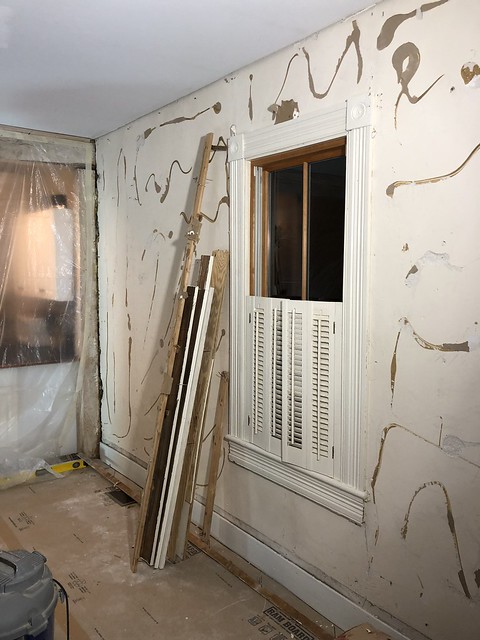
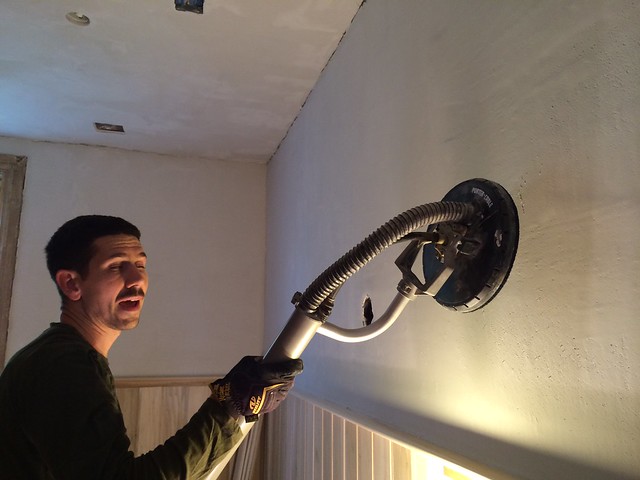
Over the subsequent months we took care of the residual problems in the room. We repaired and skimmed the original walls with a fresh coat of lime based plaster...

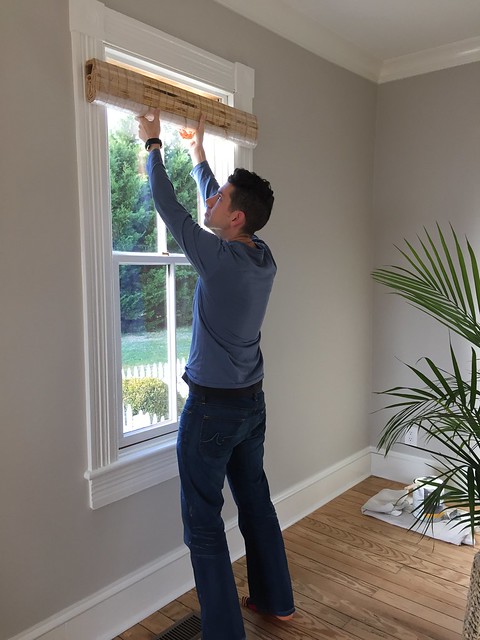
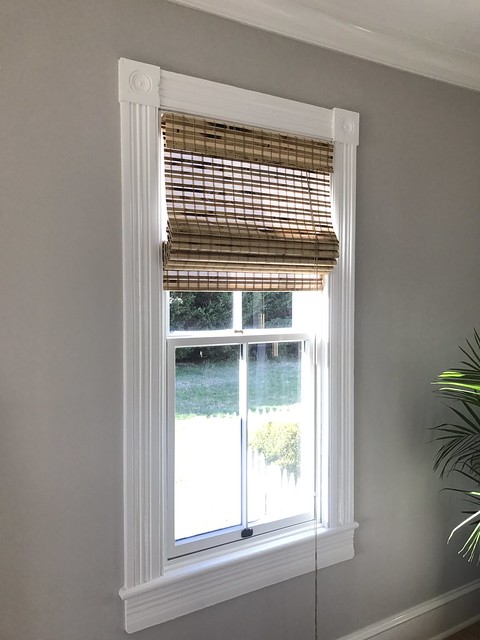
...either restored or installed historically accurate door, window, and baseboard trim...
...installed two part crown molding...

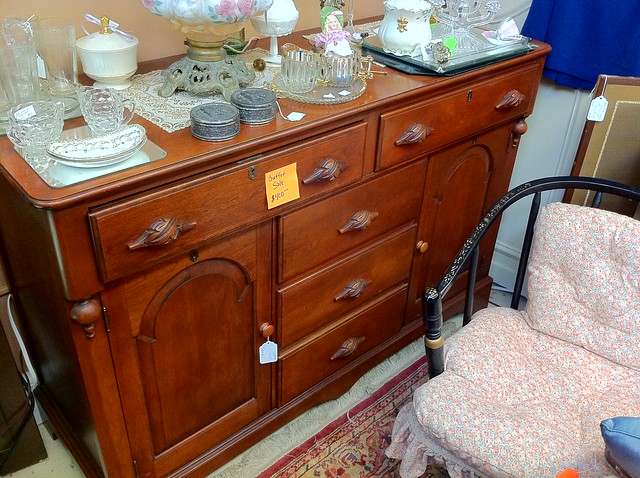
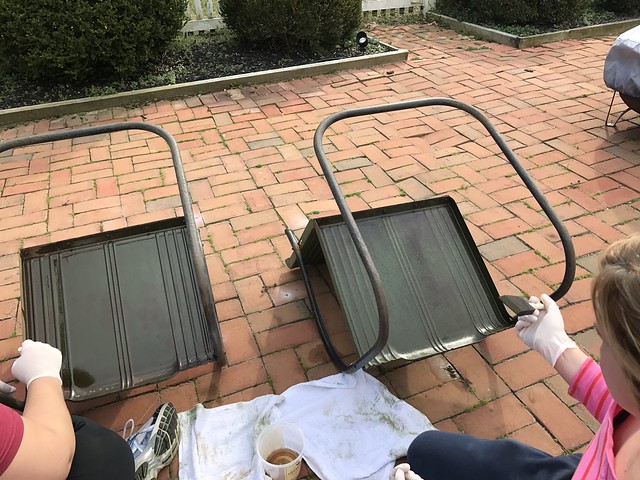
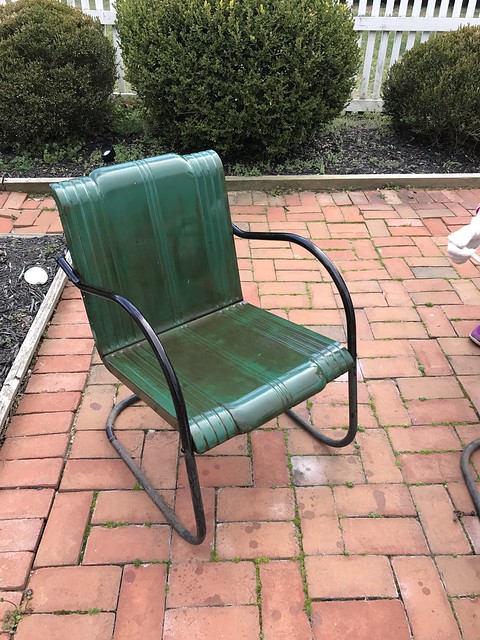
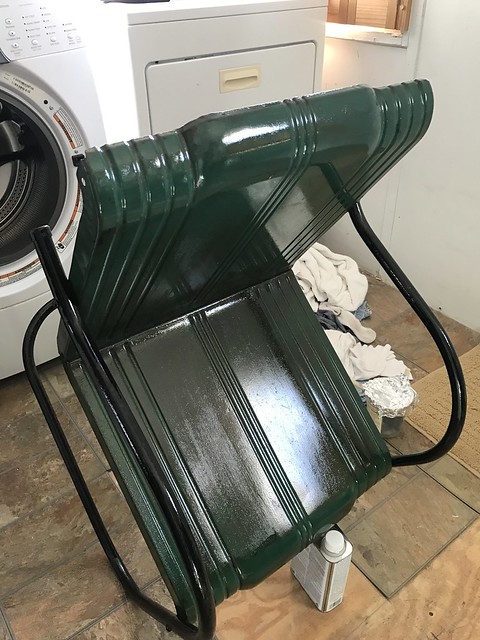
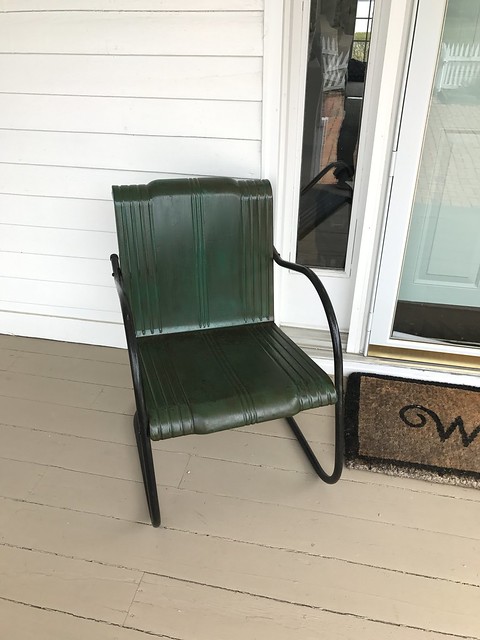
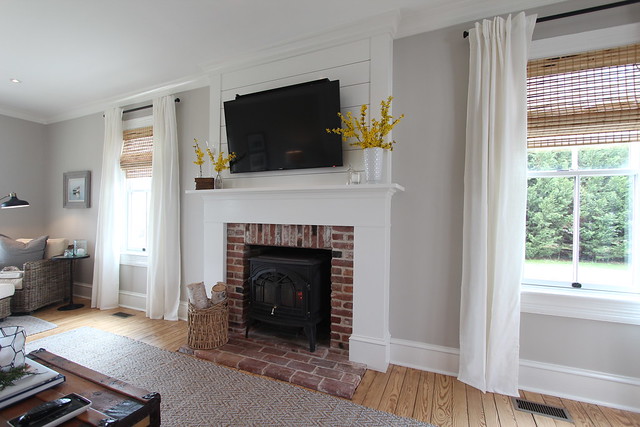
...and searched for many one-of-a-kind pieces of furniture and accessories for the room. Like this antique machine shop cart that will make the perfect drink cart.

After all of our effort it's been wonderful to see the whole room come together over the last several weeks.
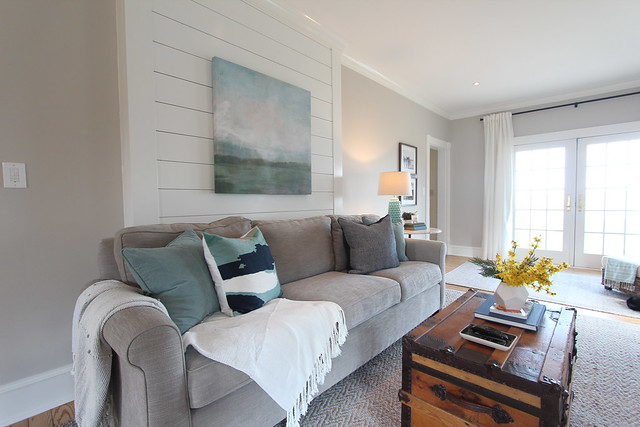
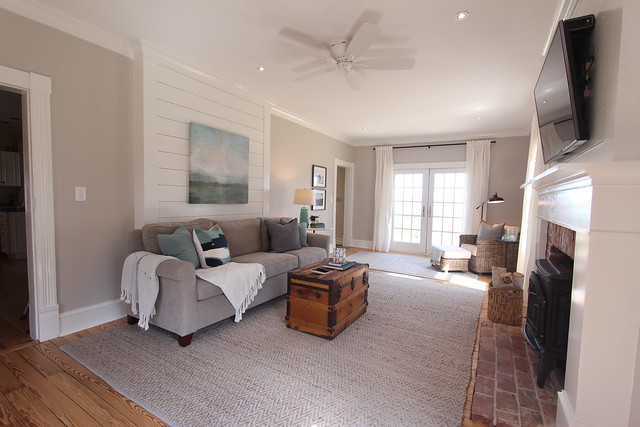
When we take a step back to look at the room as a whole, it's easy to lose perspective when considering everything that goes into an overhaul like this. At first glance we just have different color paint, new lighting, different furniture, and items hung on the walls. But when we really get down to the effort and detail that goes into a room like this, my heart starts to smile at how everything has come together.
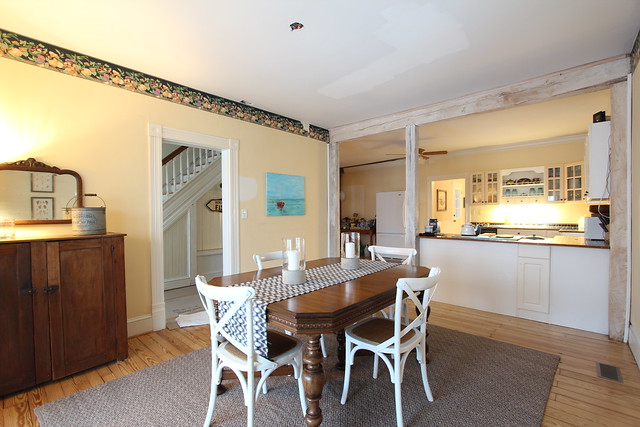
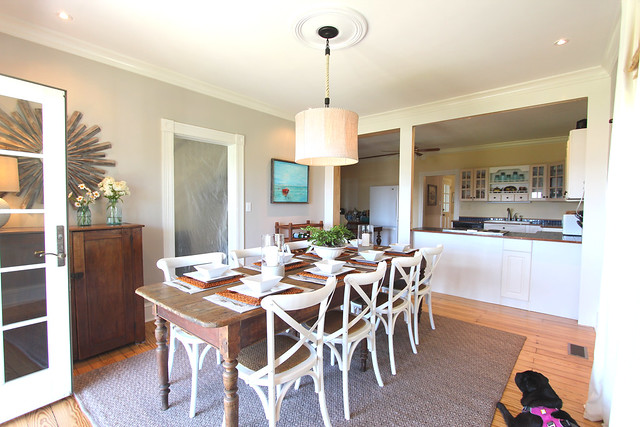
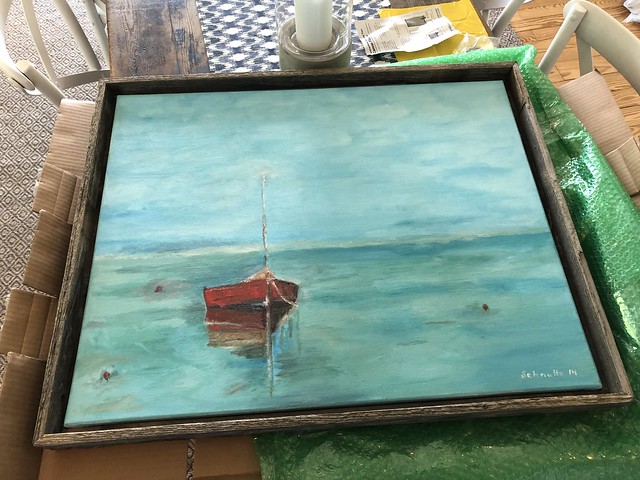
One of my favorite accessories in the room is the boat painting hanging on the wall by the kitchen. This artwork was a gift from my mom several years ago. She painted it for us back in 2014 as a housewarming gift and I've been looking for the perfect frame and the perfect spot in our home since we received it.

We ended up ordering a weathered grey wood frame to embrace the waterfront theme I'm going for in the house. The frame is meant for canvas paintings and it was very each to mount the painting in the frame.
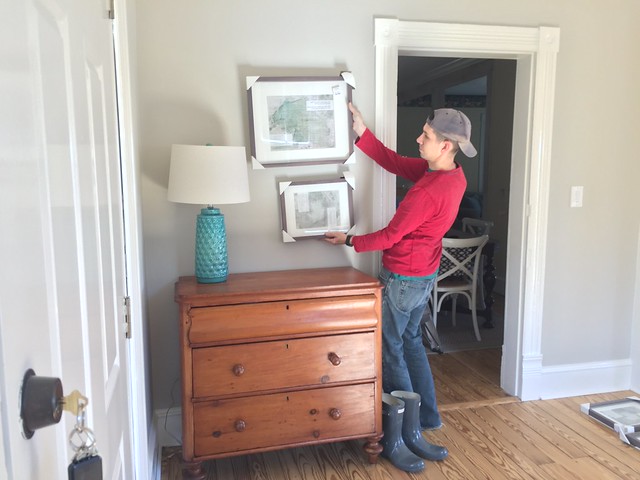
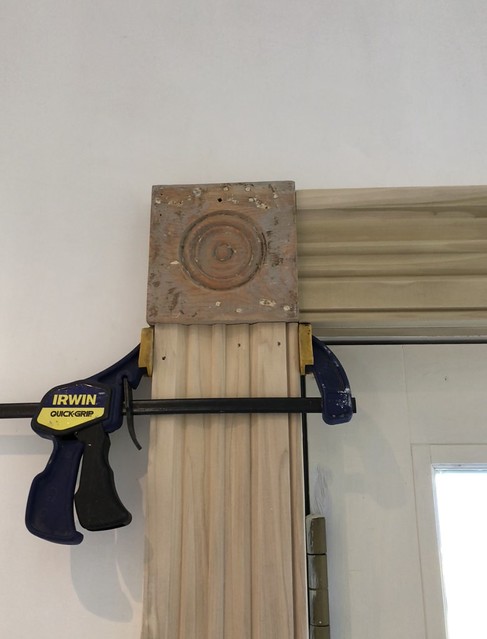
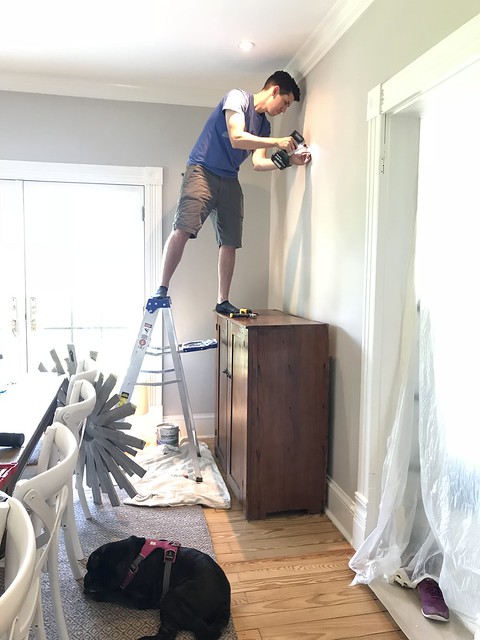
When it comes to hanging anything on these plaster walls, we don't want to leave anything to chance. Driving nails into plaster can easily cause cracks due to the pressure the nails tend to put on the wood lath behind the plaster. As a result, Alex likes to mark our holes for hooks and then drills a pilot hole for each nail (all the while ignoring basic common sense when it comes to ladder safety).
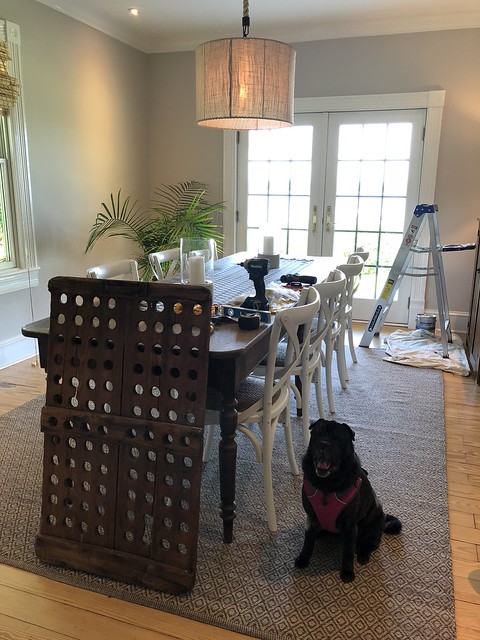
On the other side of the space we hung two antique broom drying racks from a broom factory. These both came from Forge Industrial Works in Old Town Alexandria, and were an anniversary gift from Alex. We'd been looking for champagne riddling racks for this section of wall, but when Alex saw these they seemed so much more unique and he thought they might work well in the room.
These drying racks are old, cracked, crusty, and have a beautifully worn patina about them. To hang them we simply attached a picture wire to the back and hung it on hooks rated for up to 30 pounds.
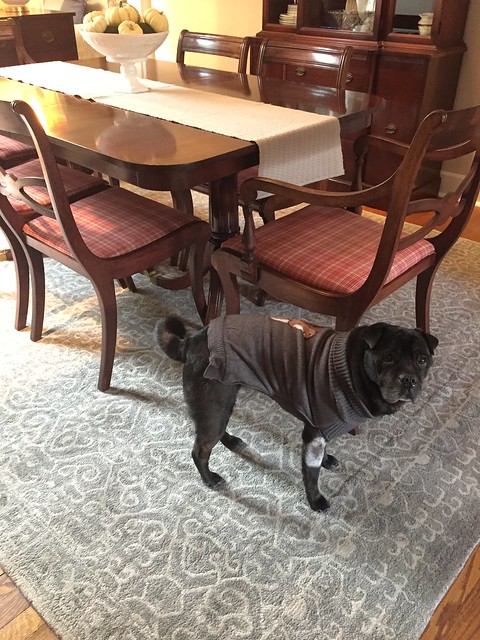
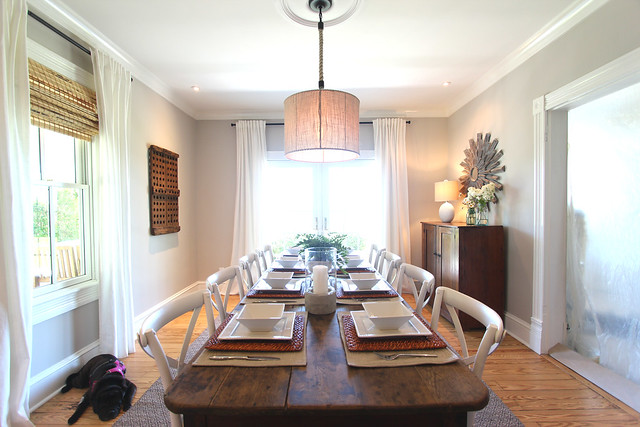
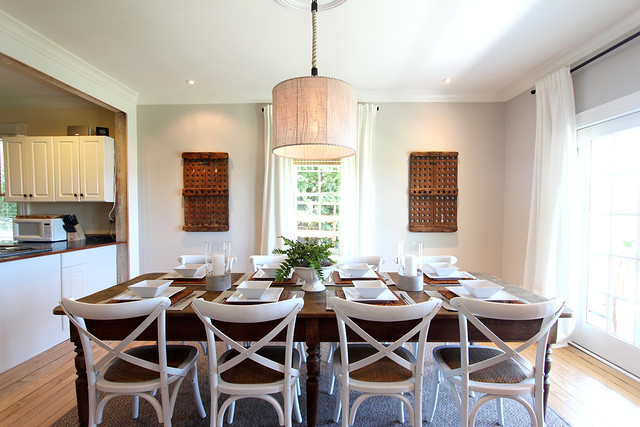
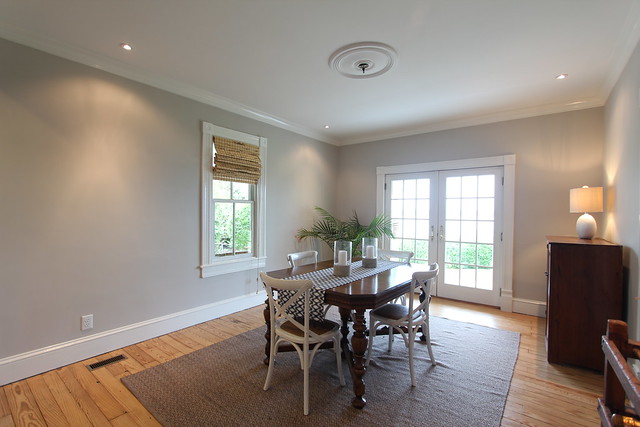
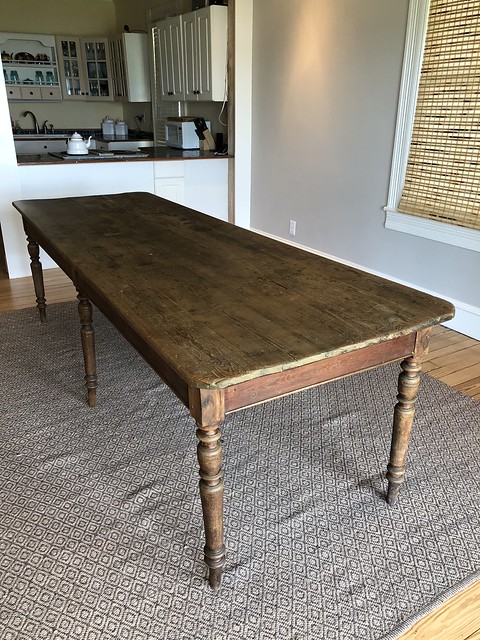
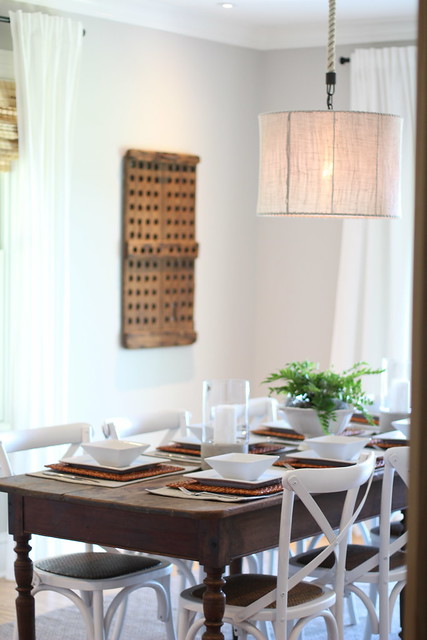
Since this is a dining room, the focal point of the space is also one of our most favorite new pieces of furniture. We'd been searching for the perfect antique table for some time. In the interim we'd been using a table given to us by Alex's parents, that was used in their home throughout Alex's childhood. As you can see, when we had it temporarily in the room it was a little too small for the space.
Though we'd been expecting to search for our perfect table for months more, we lucked out and found our new table at European Country Living in Springfield, Virginia. This store used to be on King Street in Alexandria, but it recently opened in a new warehouse space in Springfield. The store's owner makes several trips per year to Europe and sends back containers full of amazing antiques. Our particular table is about eight feet long, was built around 1910, and is from a Monastery in Antwerp, Belgium.

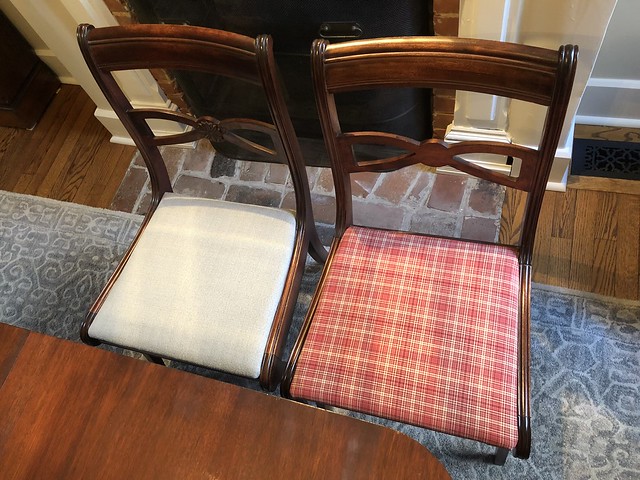
We'd initially thought we would cut the table down slightly, reducing the overall length by about a foot. However, once we had it in place, we changed our seating plan and bought ourselves four new X back chairs, forgoing the seats at either end of the table. This makes the table's current long length work really well in the space.
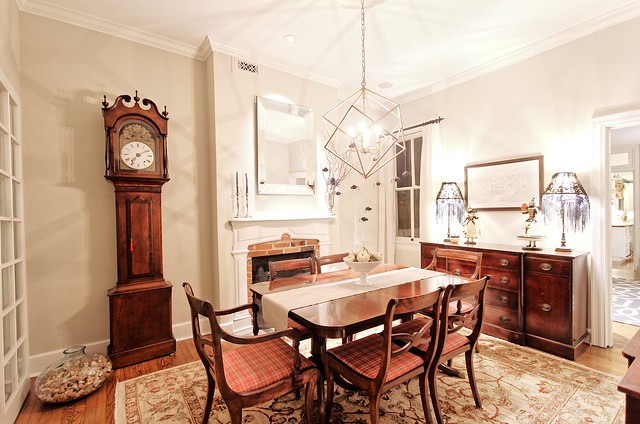
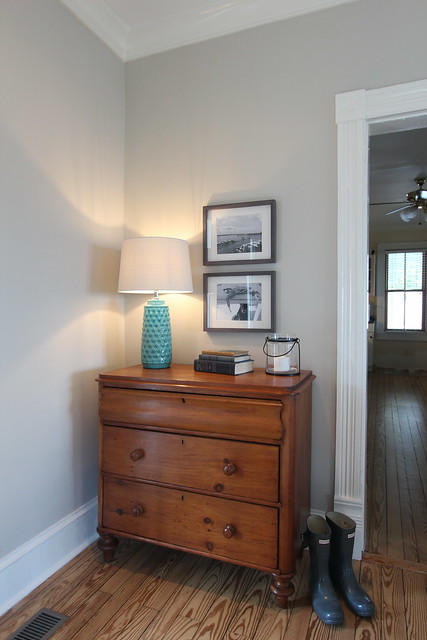
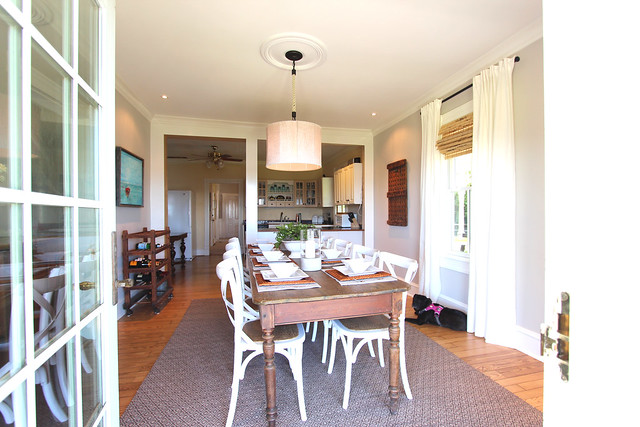
The other corner of the room is home to an antique cabinet given to us years ago by Alex's parents, and a mirror we scored at a yard sale in Alexandria last summer.
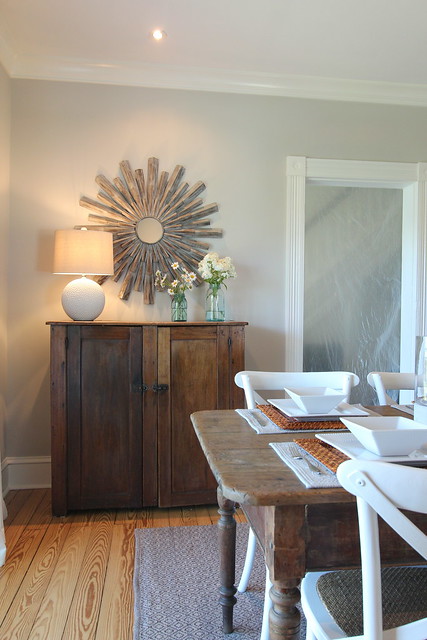
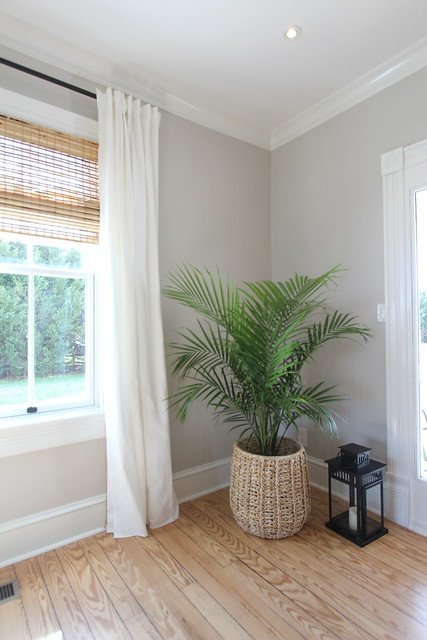
We softened the space up with a few inexpensive white IKEA drapery panels hung on black metal rods from Target. These are the same rods that we used in the living room, and the hardware for these rods work well with the metal accents on the hanging light fixture in the center of the room. We hung the curtains at 96" high and then used our wallpaper steamer to steam out the wrinkles.
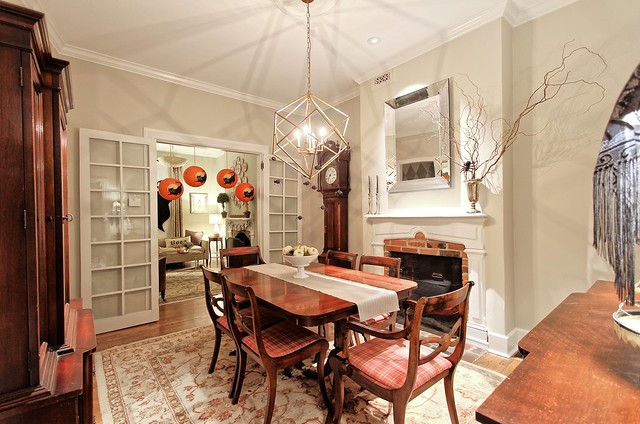
When I look at this relaxing dining space I ignore the items in the nearby rooms that are unfinished, such as the plastic hanging in the doorway to the hallway (our ongoing project), or the kitchen just behind (that we hope to tackle later this year). Instead I just appreciate how far this room has come in a relatively short amount of time. And we can't ignore the thing that really makes this dining room amazing. The view out the French doors over the back porch and onto the water.

This view, no matter the season, is a stunner! The setting for a meal is so wonderfully picturesque and I feel like we've done a good job of embracing the calm and nautical feel of the setting with the decor of the room. We've attempted to layer in antiques, personal items, and eclectic accessories give the space a very relaxed and comfortable vibe.
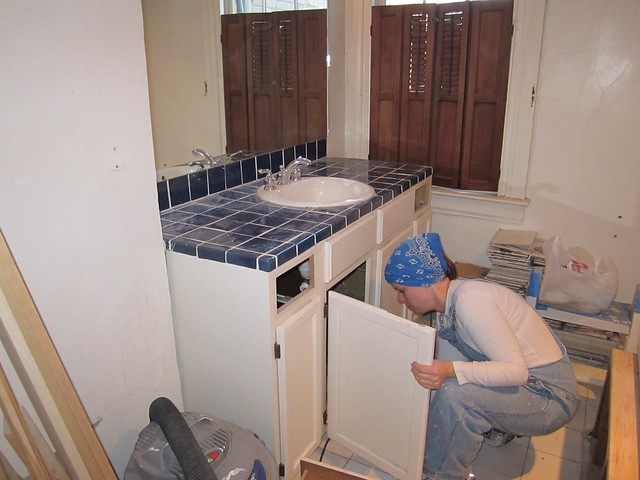
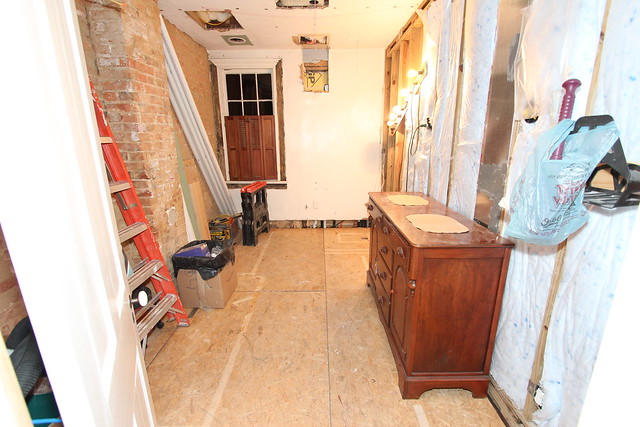
Most of all, the dining room, along with our living room renovation on the other side of the house, and our light office and bathroom renovation at the back of the house, have me excited for what the entire first floor will eventually be. If we're able to finish the main hallway and the kitchen later this year, as we're planning, we will have finished all of the first floor living areas.
What do you think of our overall renovation? How about the table and its length, does not having a chair at either end of the table work for you, or are you a head of the table person?
Source List
Here's a brief summary on our sources and selections for the items in this project.
- Lime Plaster: Master Of Plaster
- Primer: Benjamin Moore Advance
- Walls: Sherwin Williams Matte - Agreeable Gray
- Trim: Benjamin Moore Advance High Gloss - White Dove
- Floor Color: No Color - Antique Pine with Pall-X 325 Sealer + Pall-X 98 Matte
- Rug: HomeGoods Wool 8' x 10'
- Rug Pad: Felt and Latex Non Slip Rug Pad
- Table: European Country Living
- Chairs: Modway Gear Modern Farmhouse Cross Back - White
- Curtains: IKEA Plain White LENDA Panels
- Curtain Rods: Target
- Machine Shop Drink and Wine Cart: Lucketts
- Chandelier: Restoration Hardware Outlet - Cruz Burlap Pendent
- Frame for Painting: PictureFrames.com
- Painting: Gift from my mom
- Broom Rack Wall Hangings: Forge Industrial Works
- Antique Cabinet: Gift from Alex's parents, originally from Avon, Ohio
- Small Lamp: HomeGoods
- Cement Based Candle Holders: Target
- Ceramic Table Bowl: HomeGoods
If you've missed some of our other posts on this project and want to get caught up:
- Starting Our Foursquare's Dining Room Renovation - Farewell Fruit and Flowers
- Our Foursquare's Dining Room - Where We Started and Where We're Headed
- Our Dining Room Electrical and Plaster Restoration is in Full Swing
- Plaster Like a Boss: Tackling the Plaster Weld Prep & Structolite Base Coat Steps
- Our Second Time Using Master of Plaster Restoration Plaster
- Two Part Crown Install Tips & Tricks
- Hacking the Length of Our RH Outlet Bargain Cruz Burlap Pendent Light