Just because we haven't posted here in a while sure doesn't mean we haven't been working hard on house projects, I can assure you! Between our row house's basement project, the hallway in our Foursquare, teaching our new dog, Truman, the ropes, a server crash that impacted the blog, life in general, and many outdoor projects, we've sure had our hands full. Rather than trying to bombard you with a million and one little details from all of the projects, let's focus on just one for today.
It's THE CRAWLSPACE DIG!!!!!!

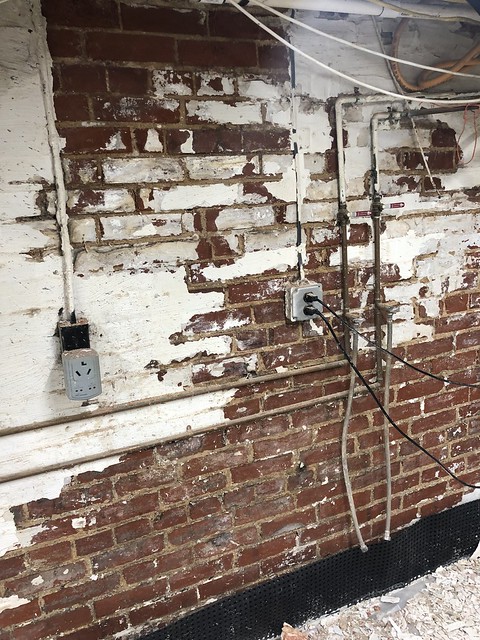
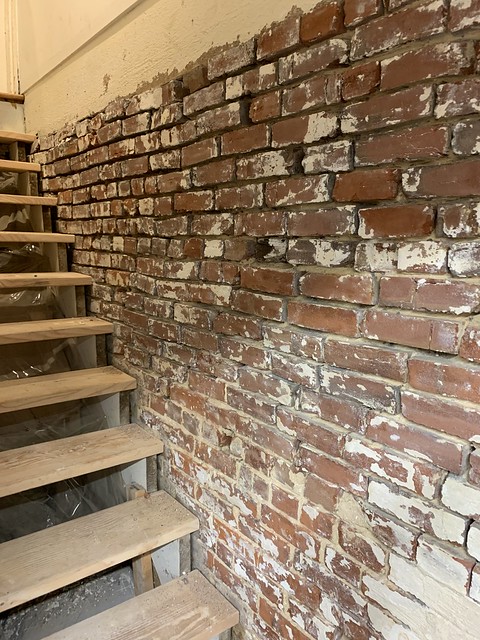
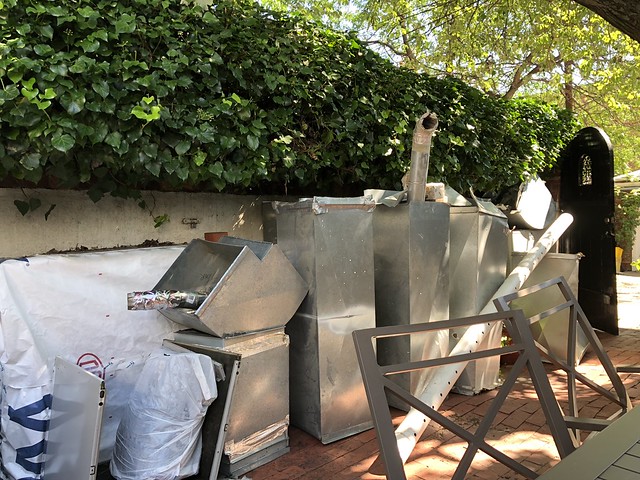
This is a project that we've been thinking about since nearly day one in our home. Way back when we bought our house in 2003, we knew that we'd possibly need to handle our mess of a crawlspace. I mean, this is how it looked in those early days.
more]]>
Just because we haven't posted here in a while sure doesn't mean we haven't been working hard on house projects, I can assure you! Between our row house's basement project, the hallway in our Foursquare, teaching our new dog, Truman, the ropes, a server crash that impacted the blog, life in general, and many outdoor projects, we've sure had our hands full. Rather than trying to bombard you with a million and one little details from all of the projects, let's focus on just one for today.
It's THE CRAWLSPACE DIG!!!!!!
This is a project that we've been thinking about since nearly day one in our home. Way back when we bought our house in 2003, we knew that we'd possibly need to handle our mess of a crawlspace. I mean, this is how it looked in those early days.

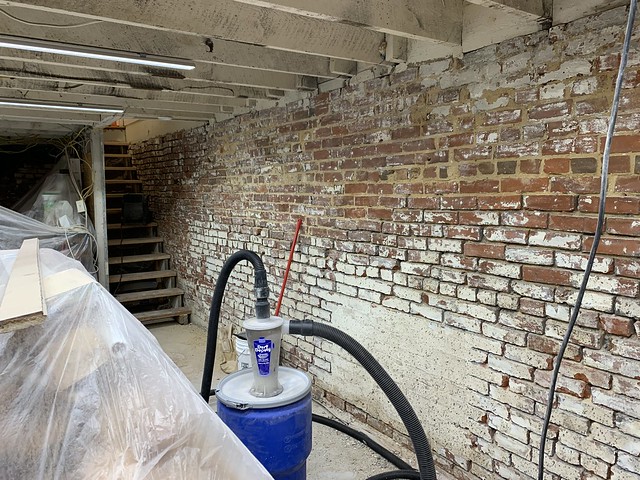
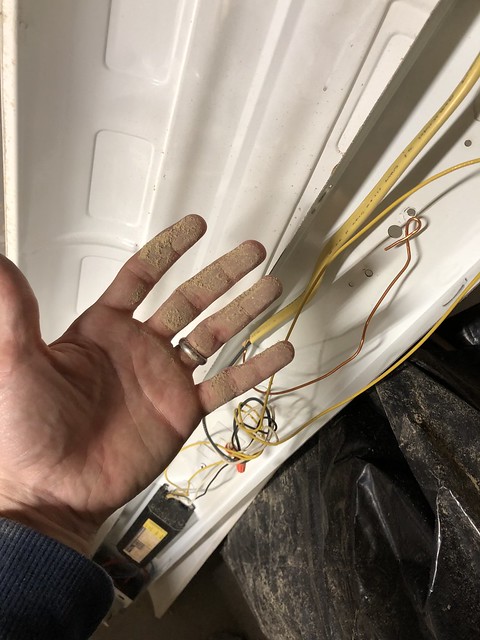
That's the look from our basement peering into the crawlspace. Abandoned steam pipes, random insulation, HVAC ductwork, a rats nest of wires (most of them not doing anything), and a mound of dirt almost up to the floor joists in the middle.

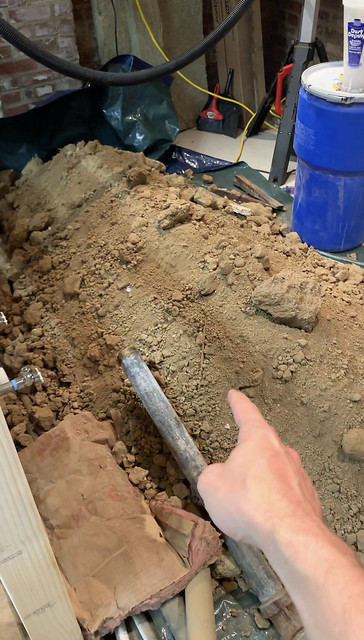
This is following the first hour of digging
While we've been staring at this mess for over 16 years, we were never quite sure how, when, or why we'd tackle it. So before I launch into the project, let's take a moment to cover the purpose.
One of the projects we're working on is the conversation of our home's heating from forced air to boiler-fed radiant floor heat. We'll eventually cover this in more detail, but it's an essential factor as to why we're digging out our crawlspace.

We're not trying to turn our crawlspace into another room because that would require way more effort and engineering. Rather, in order to install radiant floor heating on our first floor, we're going to need access to the underside of the floor. We can only accomplish this via our basement and crawlspace...and while our basement is in good shape for it, our crawlspace doesn't really have enough room for us to even think about crawling!
To complicate matters, years ago someone ran plumbing and HVAC duct through the crawlspace and to the back of the house. To run this they had to dig space for themselves. In the true half-assed nature of a lot of the work that seems to have been done to our house in the 1980s, the dirt that was dug wasn't removed, but rather mounded onto its neighboring dirt. This is why the dirt was piled up to the floor joists of the room above. This is also what we had to rectify.

We'd given this epic hand dig process a fair amount of thought. Our questions boiled down to these.
"How does one remove mass amounts of dirt from a small area?"
"How does one accomplish the above in an area to which there is no access from the outdoors?"
"How would we accomplish this without making a giant mess in the house?"
"How do we dispose of the removed dirt?"
"How in the hell are we going to do this ourselves?"
To perform this task, we initially settled on a ridiculously inefficient process that highlights my foolishness.
I just started digging...digging and filling a 5-gallon bucket full of dirt. Then I started to dump that bucket into a pile on the floor on a tarp. I mean, this ain't rocket surgery after all.
This seemed like a reasonable approach...apparently because I hadn't really giving my stupid plan much thought. Then we'd need to take the dirt out of the basement one bucket at a time, filling those buckets up again from the pile on the floor and dumping them into a vehicle of some sort (I was thinking...a truck...because I'm brilliant like that).

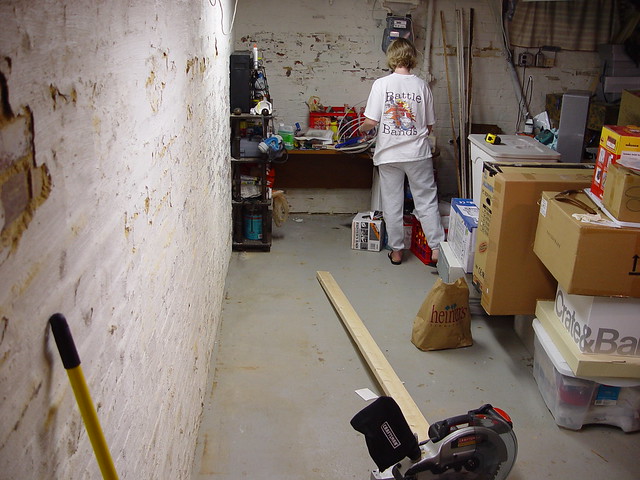
Then we'd drive the dirt to...somewhere...then shovel it out of the truck. If you're following along, that's filling and emptying the same dirt into a bucket or container three separate times before it reaches its final destination. I am so SMRT! The look on Wendy's face says exactly how smart I am.

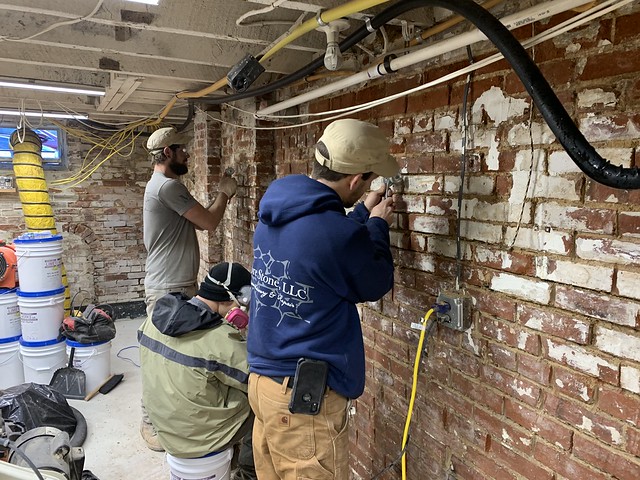
To facilitate this poorly formulated process, we also enlisted the assistance of our neighbor, Connor. Connor is the 22-year-old lad that lives across the street, son of our good friends, and boy that I've known since he was about six years old. Connor is a recent college grad, looking for a little extra cash for the summer, a fan of CrossFit and agony, and willing to lend a hand to my desire to do my own manual labor, probably because he's worried I might share embarrassing photos of him when he was much younger. I would never!

However, Connor is not a small guy. Unlike the photo above, circa 2010 and showing off his masterpiece gingerbread house, he's now approaching 6'2" and has me beat by probably 40-50 pounds. This did mean that Connor would not be able to dig in the tight space of the crawlspace. Lucky for him, I would be the one digging and pushing dirt toward him. Connor would stand at the opening to the crawlspace and would fill the buckets and take them out to the truck.

"Truck?!?" You ask. No, we don't own a truck, but we were able to borrow a truck for a day. Our good friends and neighbors own a 2000 Ford F150 that they graciously allowed us to use.
I'm telling you, if you ever luck into a neighborhood as good as ours, hold onto it as your life depends on it. You can't put a value on friends and neighbors like the ones we have; it's truly priceless.
Ok, back to how I was taking advantage of our friends and neighbors' generosity to enable us and our ridiculous attempt at a labor-intensive project.

The first truckload of dirt was underway. I was in the crawlspace digging and Connor filling, hauling, dumping, and returning. While I dug, I also did math in my head. The truck we were using is a half-ton truck, but that doesn't indicate the amount you can haul in it like it did in the 1970s or so. Instead, modern trucks have a payload capacity based on the Gross Vehicle Weight Rating (GVWR). Sparing you the crazy details of using this value to calculate payload, it means that the truck we were using could comfortably haul about 1,500 lbs of dirt at speed before things get a little squirrely.
I said to Connor, "Hey Connor, about how much do you think each bucket of dirt weighs? We need to know this to calculate how many we can safely dump in the truck."
Connor responded, "Not sure. Maybe 30 pounds?"
From the dirty and cramped sarcophagus from which I was digging, I enthusiastically responded "Great, that means we can dump..." quick head calculation, "about 40 buckets and still be in good shape."
Connor filled bucker after bucket, almost as quickly as I could push the dirt back to him. Once full, he would walk them out back to the truck, two at a time, and return to the basement to keep filling. When we'd successfully filled and dumped about 40 buckets, Connor reported our progress, and then we dumped four more and called it a load.

I thanked Connor for his effort and headed out back to drive the dirt to our Foursquare, where I planned to dump it in the low spots in the front yard.
As I walked to the truck, tired and broken as if I'd just spent several hours rolling around and digging in nothing but dirt as old as dirt, I noticed a problem. The bed of the truck was nearly touching the rear wheels.
It turns out that young Connor doesn't truly know his own strength. Apparently, those 30 lb buckets of dirt weighed in more in the realm of 50 lbs - 60 lbs. So the truckload we thought was good to go at about 1,250 lbs actually weighed in at a solid payload of about 2,100 lbs - 2,500 lbs. I wasn't about to chance it, so I did what any reasonable insane person would likely do in this situation (don't you even say "hire someone"), I started shoveling the dirt back into buckets and setting it in our backyard for the next dirt run.
After removing about 600 pounds of dirt from the truck, satisfied that I'd successfully rectified this minor misstep among many other flawed aspects of strategery, we headed to our Foursquare to dump the first load.

Sweating my butt off in the 100-degree heat of the day, and then working well into the night, we filled and dumped load after load. However, with each passing load, we got just a little bit smarter. Watching us figure out how to do this smarter, faster, and easier was likely similar to watching a monkey learn how to use simple tools.
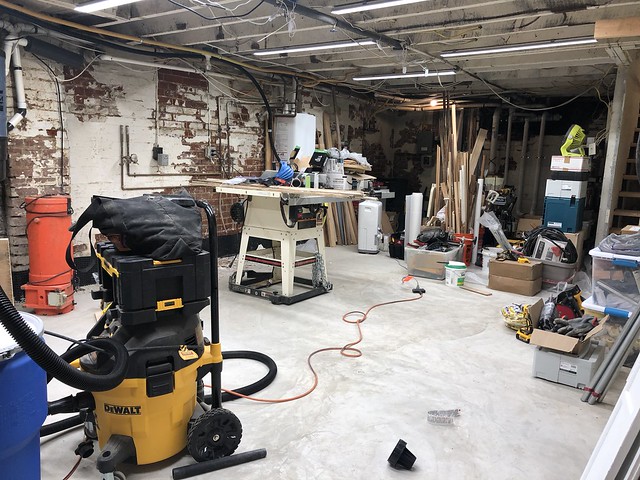
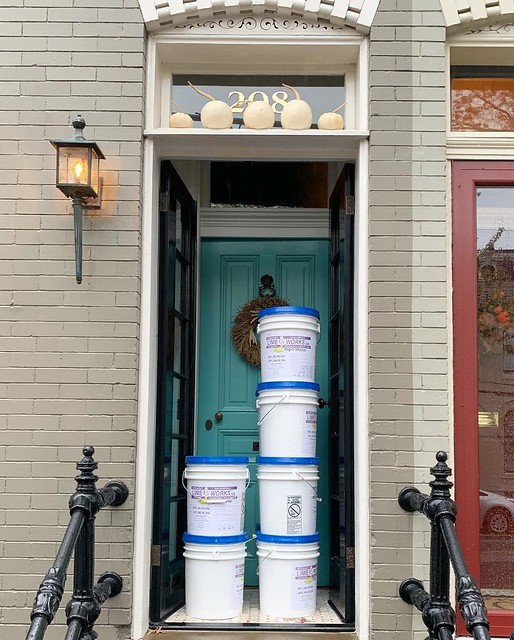
To ease our pain, we hit up Lowe's and bought ourselves enough 5-gallon buckets to make a full truckload (25 to be exact). Then we started filling those buckets and staging them in the basement, rather than dumping them on the floor only to fill them up again. Our exercise in near futility gave way to a somewhat fruitful yet foolish endeavor.

Filling the buckets, staging them, then carrying them up and loading them in the truck bed for transport was far more effective than the constant filling and dumping we'd attempted early on in the process. Twenty five buckets, about 1,250 lbs of dirt per load, and a relatively quick process for both filling the truck and dumping the buckets. Our process was becoming a well oiled machine full of dirt and debris.
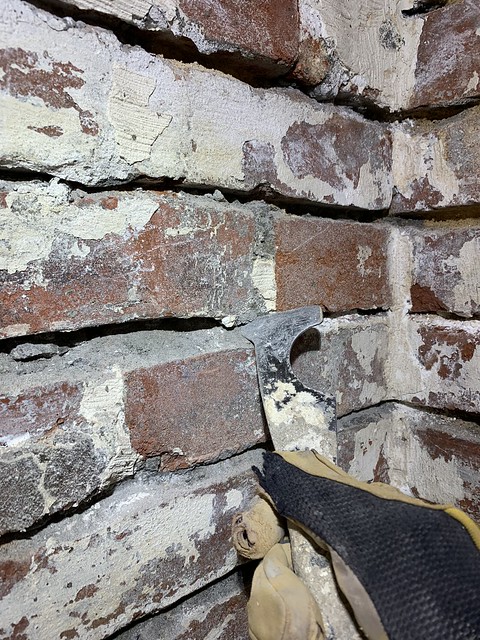
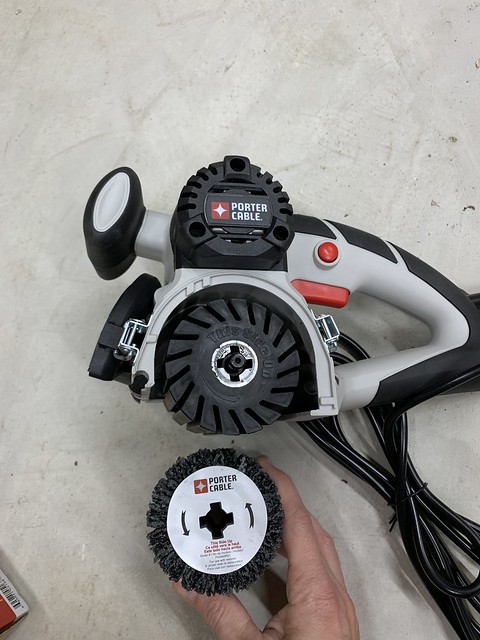
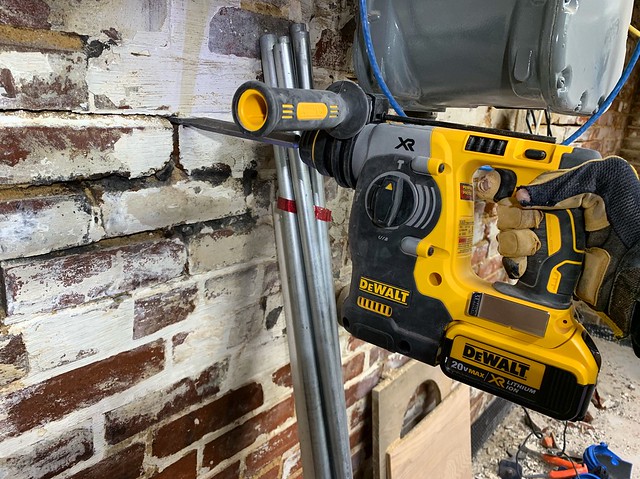
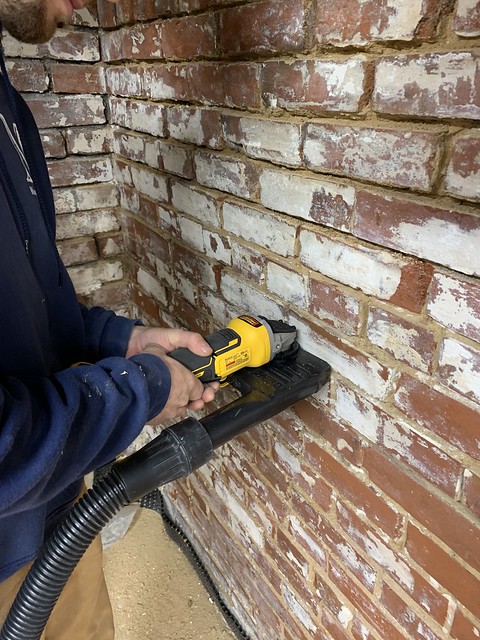
The digging itself was difficult but not impossible. Using a trenching shovel to pull and push the dirt around, and a rotary hammer with chisel bit to break up the hard packed clay soil, proved to be an effective means for accomplishing our goals.

While Connor had to head back down to a summer job, I continued to work on my own, albeit at a much slower pace. We shuttled load after load of dirt, and when all dirt had been removed we tallied roughly 11,000 lbs of earth that we'd removed from the crawlspace.

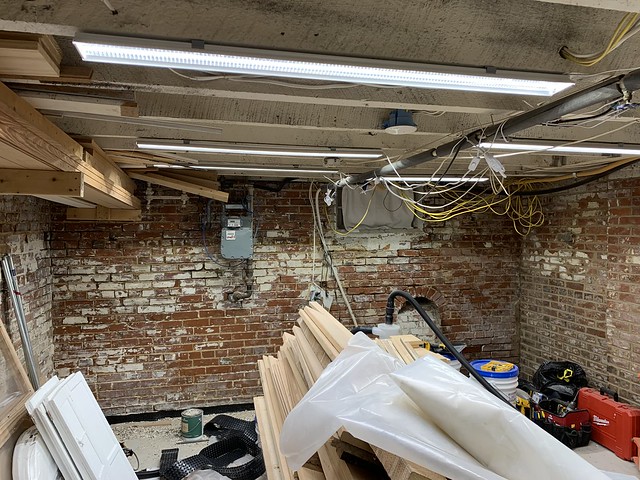
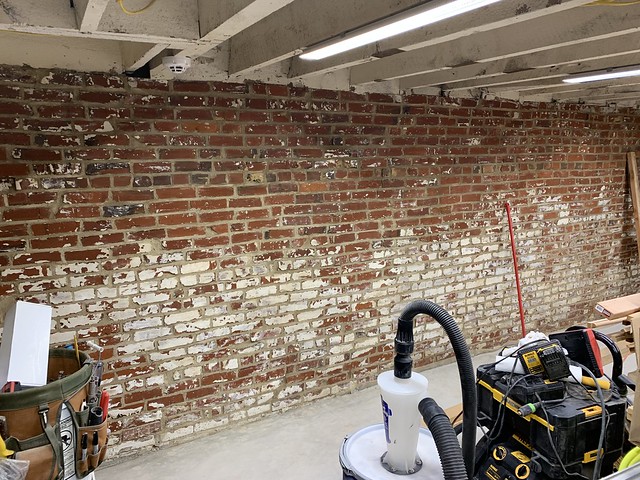
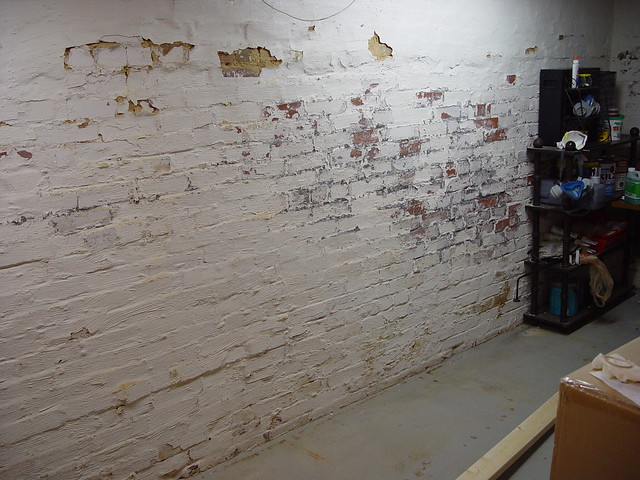
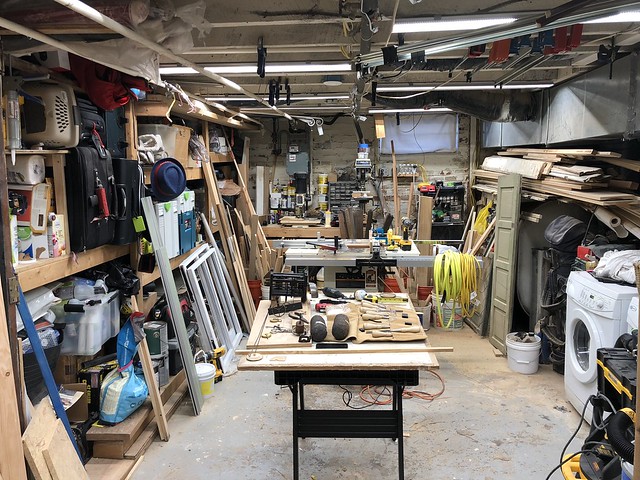
Now mind you, we were only removing enough dirt to give us space to work. We weren't "digging down" or removing anything more than the mound that was in the middle of the space. I can't imagine the effort if there was going to be an attempt at any actual added room. But here's the "after" of the space to show how far we've come.

For reference, here's the before.

At the end of each day my clothes looked like they'd been in some sort of a spaghetti western and I'd just taken my horse down to Old Town Home, gonna ride until I can't no more, covered in dirt from head to toe.

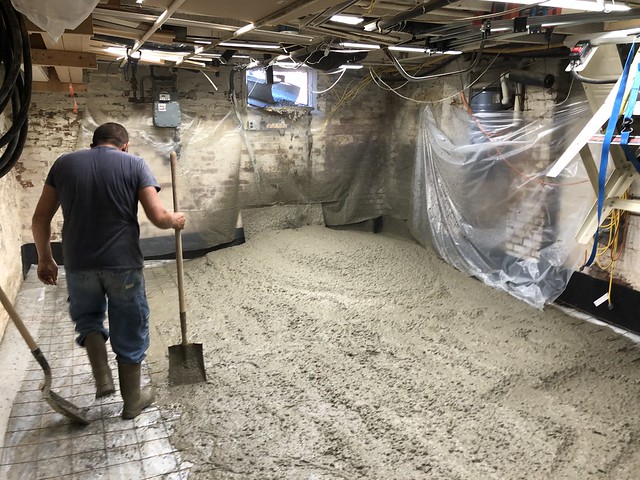
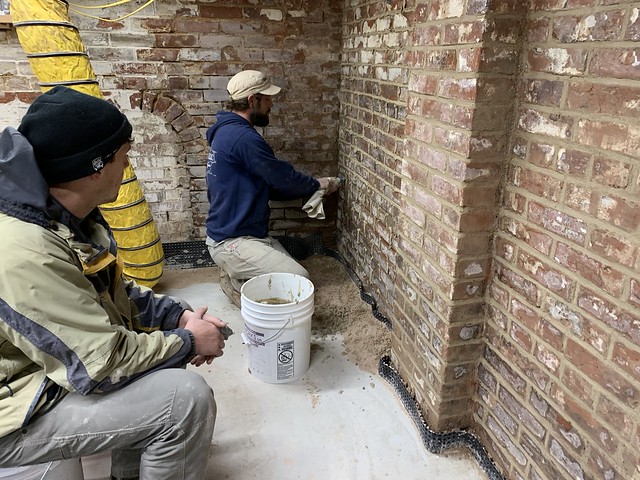
This is just the first phase of a much larger project. This is decidedly unglamorous but undoubtedly necessary. Next up we'll install a vapor barrier, install the radiant floor heat, and insulate the entire space.
And before you ask, yes, we found LOTS of really cool stuff while digging. But that's a story for our next blog post, that I promise will be in many fewer months than the span between our prior post and this one. Here's a teaser.

So stay tuned, as we'll take some time to share some of the fantastic stuff we found while playing around in the dirt below our floors.
]]>