This summer has felt like a battle against the elements when it comes to our home's vegetation. Take our ivy, for example. When we purchased our home in 2003 it was one of the few things, along with the large tree, that seemed to be growing in our urban "garden."

While it was thin, a little scraggly, and did little to provide a much needed bit of greenery to inside of the yard as well as the outside of our wall, it was what we had to work with.

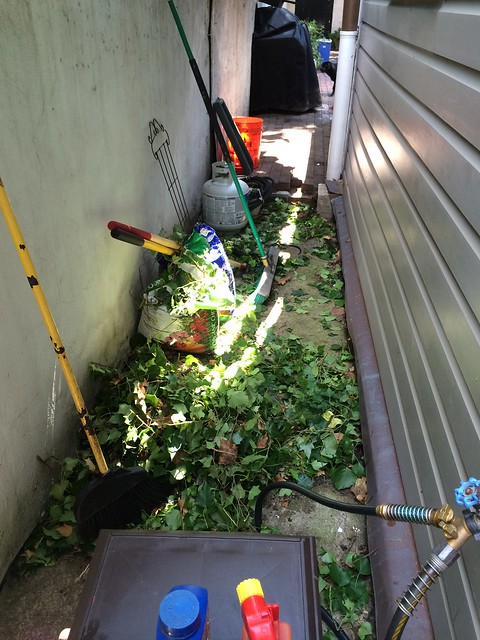
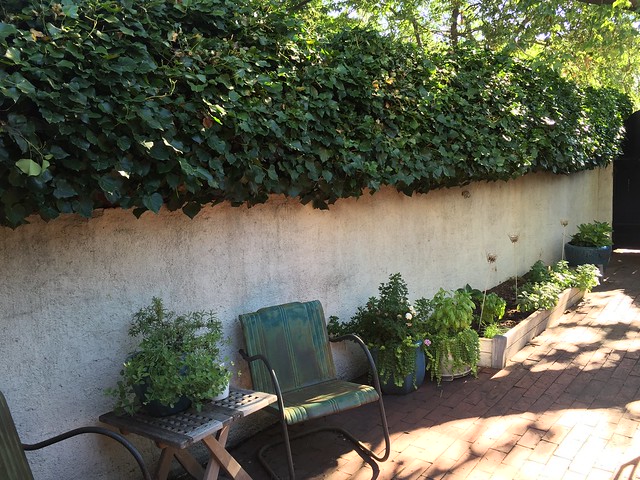
For the last 13+ years we've been slowing cultivating our relationship with this green monster. Sweeping away cobwebs, removing dead vines, and carefully trimming and sculpting the mass into a thick, lush, and sometimes overbearing bit of foliage. What was once a haphazard stringy collection of vines is now one of the favorite parts of our backyard. In some places the ivy is up to roughly 18" deep and adds a significant amount of privacy in the way of extra wall height. Today those scraggly lengths of vine now look like a border to a secret garden.
more]]>This summer has felt like a battle against the elements when it comes to our home's vegetation. Take our ivy, for example. When we purchased our home in 2003 it was one of the few things, along with the large tree, that seemed to be growing in our urban "garden."
While it was thin, a little scraggly, and did little to provide a much needed bit of greenery to inside of the yard as well as the outside of our wall, it was what we had to work with.
For the last 13+ years we've been slowing cultivating our relationship with this green monster. Sweeping away cobwebs, removing dead vines, and carefully trimming and sculpting the mass into a thick, lush, and sometimes overbearing bit of foliage. What was once a haphazard stringy collection of vines is now one of the favorite parts of our backyard. In some places the ivy is up to roughly 18" deep and adds a significant amount of privacy in the way of extra wall height. Today those scraggly lengths of vine now look like a border to a secret garden.

We're very proud of the effort we've put into turning this ivy into something respectable, especially since we don't have the best track record with keeping stuff alive. It took many years of cutting back the ivy three times per year, but it's now one of those elements in our garden that even our neighbors appreciate the added character it brings.
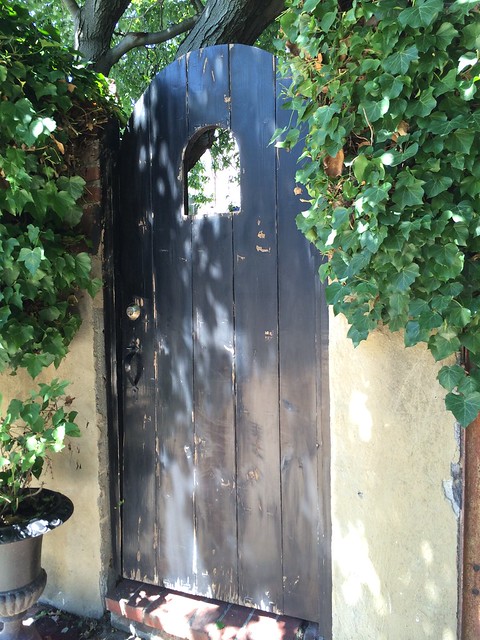
Many times we've become so focused on interior projects that the long green tendrils get out of hand, like the grasping clutches of a monster lurking outside. It grows high, it grows low, it provides shelter for vermin and mosquitos, and in some cases has become so cumbersome we can hardly open our back gate.

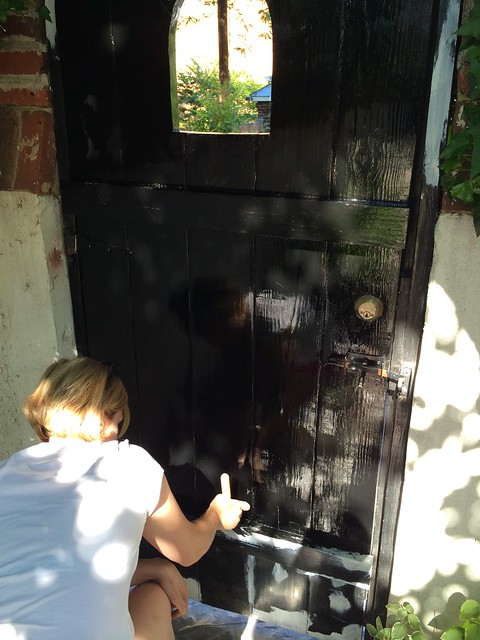
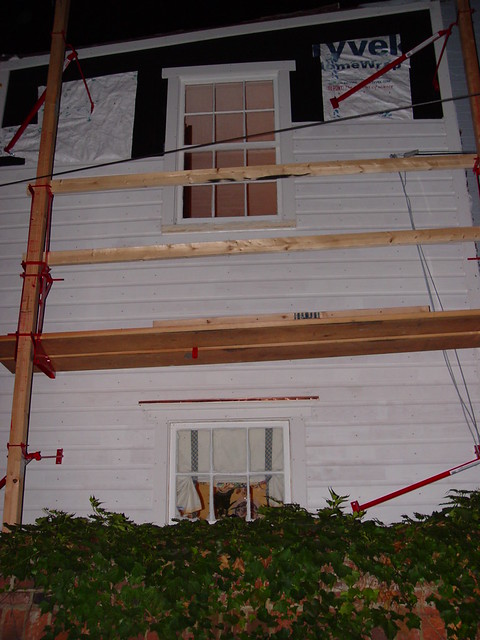
The record breaking heat of this summer has done little to dissuade its advances, and for weeks I've been commenting on how Alex and I needed to take the time to tame the beast. In fact, we have several exterior projects that have been looming for ages. Projects like trimming the ivy, repairing our deteriorating original windows, repainting the metal roof, back gate, front stairs and entire home's exterior, and rebuilding our brick back step (where the garbage truck has repeatedly run it over and broken off the corner). When looking at the list as a whole, it makes me want to completely shut down, but heck, when looking at the entire list it's easy to pick "trim ivy" as a manageable project we can knock out in a few short hours.

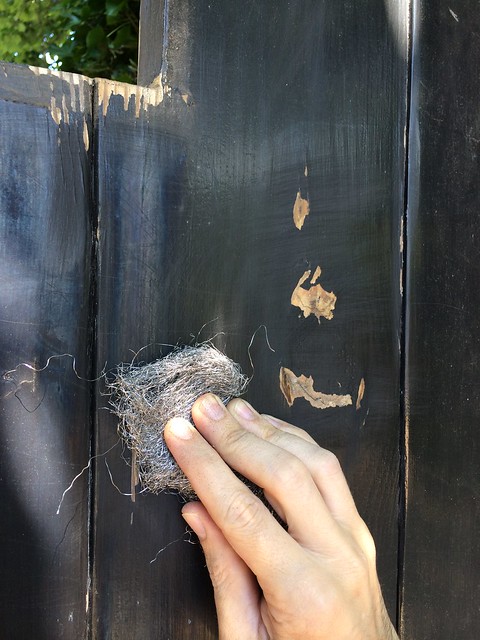
In year's past we hand clipped the ivy, a blister and profanity-inducing endeavor that prolonged the agony exponentially.

Sometimes the old way is the better way and that's the way we should do it, but sometimes the old way can give way to much better ways to accomplish the task at hand with less overall effort.

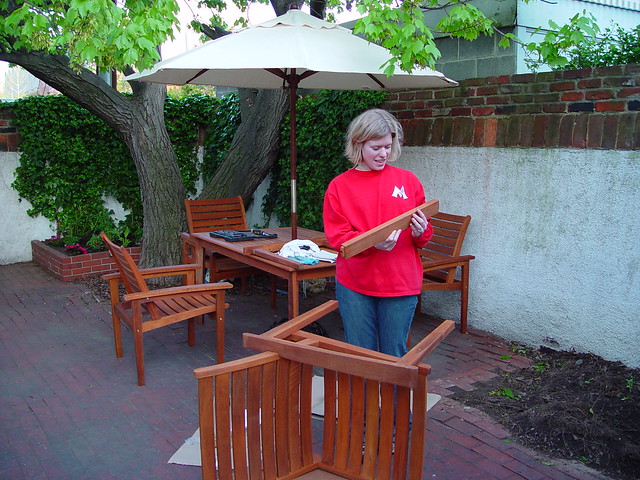
In the years we've lived in Old Town, with our 15' wide row house and brick back courtyard, one collection of tools we've not amassed is an impressive array of yard and garden tools. While we've collected a seemingly massive number of indoor power tools, especially of the woodworking variety, there's been no need for outdoor items like a lawn mower, weed whacker, or hedge trimmer, among the dozens of other implements that are nearly standard issue for less urban dwellings. But now that we have a house that's far more country than not, and we have a sizable garden and yard to tend to, we're now in the position where we need to buy ourselves some solid yard tools.
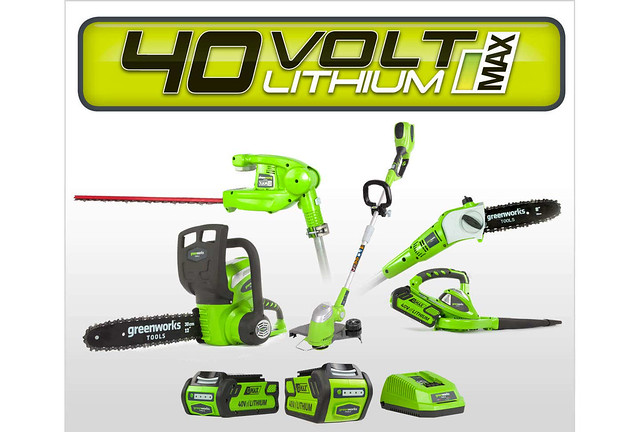
Ever since we bought our house in the country we've been doing a lot of research on the yard tools we wanted to purchase. While we grew up using largely gas powered or corded electrical tools for yard work, technology has progressed to the point where battery powered cordless tools are not only available, but often work as good as their alternately powered alternatives. Lithium-Ion batteries have extended battery life and power of the tools, and a plan by different manufacturers to "dominate the landscape" of yard tools has made for a wide selection of tools to select from.
After lengthy debate, reading lots of reviews, test driving many different brands, and combing over the tool offerings each brand's batteries could swap between, we settled on starting our collection with the GreenWorks 40V 24" hedge trimmer. Think of this as our gateway tool to the whole suite of options GreenWorks offers that all work with the same 40V batteries. From this first tool we can now jump to everything from a leaf blower to a chain saw to a lawnmower to a snow blower...all battery powered! One thing for sure, when Alex saw the list of tools that work with this battery, his eyes certainly lit up.
We ordered the hedge trimmer and eagerly awaited its arrival so that we could officially add it as a new tool in our arsenal. When it arrived we were more than happy to welcome the super duper sharp and efficient electric hedge trimmer for our tool shed. And the best part? We're no longer dragging and draping extension cords to reach the far off hedges. Something that's proven difficult at the new house as well as here in Old Town.

The tool itself is light and balanced. It comes with a handy safety cover that protects the blades when not in use, and the handle allows the operator to twist and articulate it to easily trim the hedges from any any angle.
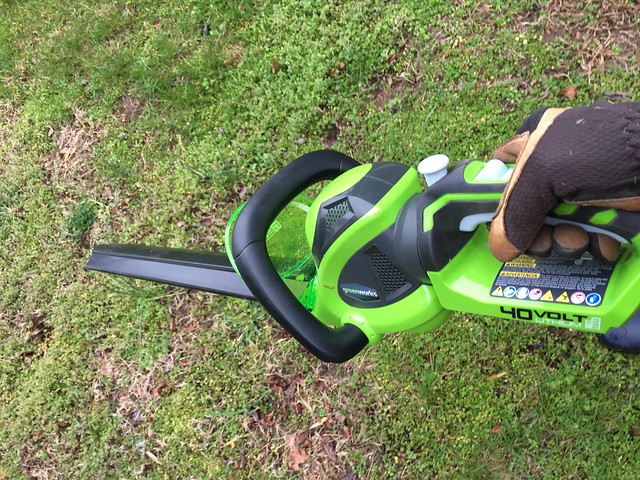
The overall construction is largely plastic, but it still feels sturdy, not flimsy like many battery powered tools. The trimmer's weight is sufficient but not overly heavy. I'm able to operate it easily with two hands, and when I need to switch to one handed operation when stretching for the hard to reach places, I can do so with ease. The safety switch for operation takes a little getting used to, but it's by no means hard. And the rechargeable battery lasts for about an hour and a half of cutting time and is able to reach a full re-charge in under 45 minutes.
One thing I'm very glad about is that we decided on the 24" trimmer instead of the shorter models. We have several areas that need trimming with a little reach, and the extra 4" or so allows us to reach everything we need to trim. Now that we have this trimmer for our country house, it can play double duty in Old Town where we no longer need to use the hand trimmers. Now instead of blisters and sore arms, I can zip through the cutting in no time flat.

I imagine that my cutting now likely looks a little like Edward Scissorhands crossed with the Tasmanian Devil. What used to take up to four hours to complete was easily knocked out in about an hour and half last week. That's on less than one full charge of the 40V battery!
Now that we have this cordless trimmer in our outdoor tool collection, I'm sure Alex is already looking at the other options he can pick up. But before we get to that next major steps, we'll keep putting this trimmer through the paces to make sure we want to stick with the GreenWorks brand. I mean, picking a specific brand of tool and sticking with them for all of your battery powered needs is even more commitment than choosing wedding china these days.
Do you have any experience with any outdoor cordless yard tools? If so, any thoughts on the brand you chose and whether it's worked out well for you? So far so good for us, but we always like to hear opinions from everyone else.
Did you enjoy reading this post? Want to learn more about our first-hand experiences with other tools, devices or items used throughout our renovation? If so, check out our complete list of product reviews in our Toolbox Tuesday section.
Note: We weren't compensated for this review. We simply want to share good products when we see them, and hope that learning from our mistakes can help save you time, money and frustration.
]]>