Our bathroom cabinets are really becoming something!
While we're busy bouncing from project to project, the time and effort I've been putting in on the two large cabinets that will flank our bathroom vanity are slowly transforming them into something cool.
We left off on the base cabinet build with two basic cabinet boxes. Though progress was definitely being made, they were far from complete, and I was ready for the next steps.
One of the things I've long been considering with these cabinets was to add a round over bead detail around the openings. This is a detail I love on high end custom cabinets, like those from Crown Point Cabinetry. The problem is that this is typically an integrated piece of the face frame, and one that needs to be planned from the start. And I hadn't don't that.
However, I decided I was going to go ahead and cheat a little bit on this element. Rather than cutting the beads before assembly, I decided to cut the beads after initial assembly and apply them as embellishments.
I started by setting up my router to cut the beads into individual pieces of stock pine.
I selected wood that would be long enough for the beads I'd need, but tried to use as much of the scrap as possible in order to not waste anything. I've been very frugal with lumber usage throughout this project.
I then took the cut boards over to the table saw to rip the beads right off of the boards, leaving the perfect amount of ledge on the edge.
I carefully set up the saw fence at precisely the right width to only cut away what was needed, and then I cut all of the beads at once so they would be as consistent as possible.
Public service announcement. If you're ever doing anything similar, be very careful of kickback. When you're cutting small pieces that can more easily bind between the blade and saw fence, this is your primary risk for injury. More people are hurt from table saw kickback than are hurt by getting cut by the blade. Now you know, and knowing is half the battle.
Once all of the bead was cut it was just a matter of carefully measuring and cutting each piece. Even though I could have used the miter saw for the 45 degree cuts, I opted to use the table saw at a 45 tilt and the Osborne miter gauge. Since the piece are so small and delicate, there's less chance as splintering and damaging the bead on the table saw. I could also repeatedly make small cuts, just a little at a time, until I had the bead pretty much perfect.
I dry fit each set of beads on the respective openings, making sure the fit was nice and tight. I kept in mind that I was building this in the humidity of early summer, so the wood is likely a little expanded. Hopefully the right fit of each piece means I'll have less chance of a small crack in the corner as the weather gets colder and drier in winter.
Once happy with the fit I then organized the pieces so I could apply glue to the back of each bead. To make sure I kept each piece with the right location, I turned to my web nerd ways. I used the process for applying CSS padding or margin values to an element. It goes, Top, Right, Bottom, Left. So I laid each bead out in the same way on the top of the cabinets and applied the glue.
Sliding the beads into place, I held clamped scrap piece of wood on the front of the cabinet to make sure the bead sat flush against the front.
I then nailed with 5/8" - 18 gauge brads to tack the beads into place while the glue dries.
I feel that the key to cheating with applying these beads is to make sure the glue is properly applied to the backs and corners of the beads. This is the only way I feel like the joint has a chance of not splitting over time.
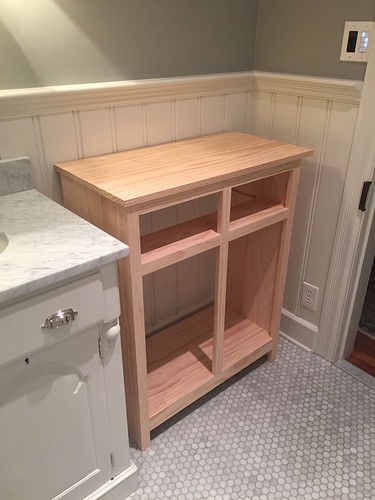
After filling in all of the nail holes with wood filler and sanding, you'll never know I cheated while applying these beads. Well, except that I just publicly announced it to all of you.
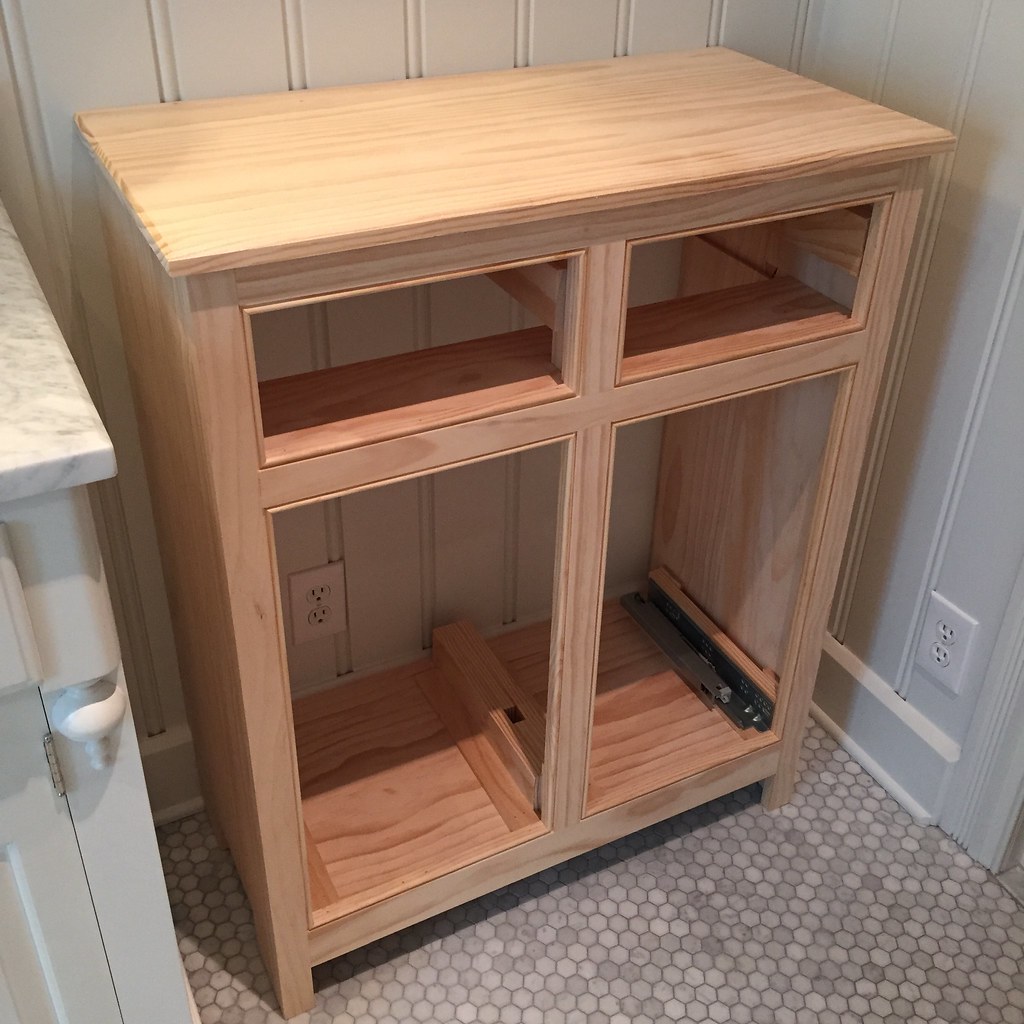
In addition to the beads, I also added several supports on the upper and lower section for drawer slides. For all of these I simply used extra pieces of wood that would allow me to mount all of the slides nice and flush against the edge of the opening.
I used my square to ensure I had a solid 90 degree angle everywhere and created sufficient supports for everything we'll need for the drawers. I'll fill you all in a bit more on this aspect, and the slides we chose, when I get to building out the drawers and door fronts.
Have you ever built anything with the integrated bead look? I'll eventually do a cabinet that does it the right way, but would love to know if you've ever tried to cheat on it the way I did. With how much effort it took the cheating way, I'm not sure it really saved any time over the "right" way. All it really does it make it so you don't need to buy a new router bit for the cuts you'd need (though you can use a good chisel too).